• About

Impoverished Vegan

Impoverished Vegan

Tag Archives: vegetarian

Review: Trader Joe’s Japanese Style Fried Rice

20 Monday Apr 2015

Posted by whatahipster in Reviews

≈ Leave a comment

Tags

animal free, arsenic, cruelty free, dairy free, edamame, fried rice, frozen meals, hijiki seaweed, japan, japanese, quick meals, review, seaweed, tofu, trader joe's, vegan, vegan review, veganism, vegetarian, vegetarianism

So…

It has been a few (four) months since my last post. Oooooops! My blog should be taken away from me due to neglect. I plan on getting back in the swing of things as soon as possible, but until then, enjoy this product review of one of my favorite quick meals.

Trader Joe’s is abundantly vegan friendly, if you know where to look. They are in the process of marking all of their explicitly vegan products with a large V, but if you look carefully, there are quite a few products that are inherently vegan and unmarked.

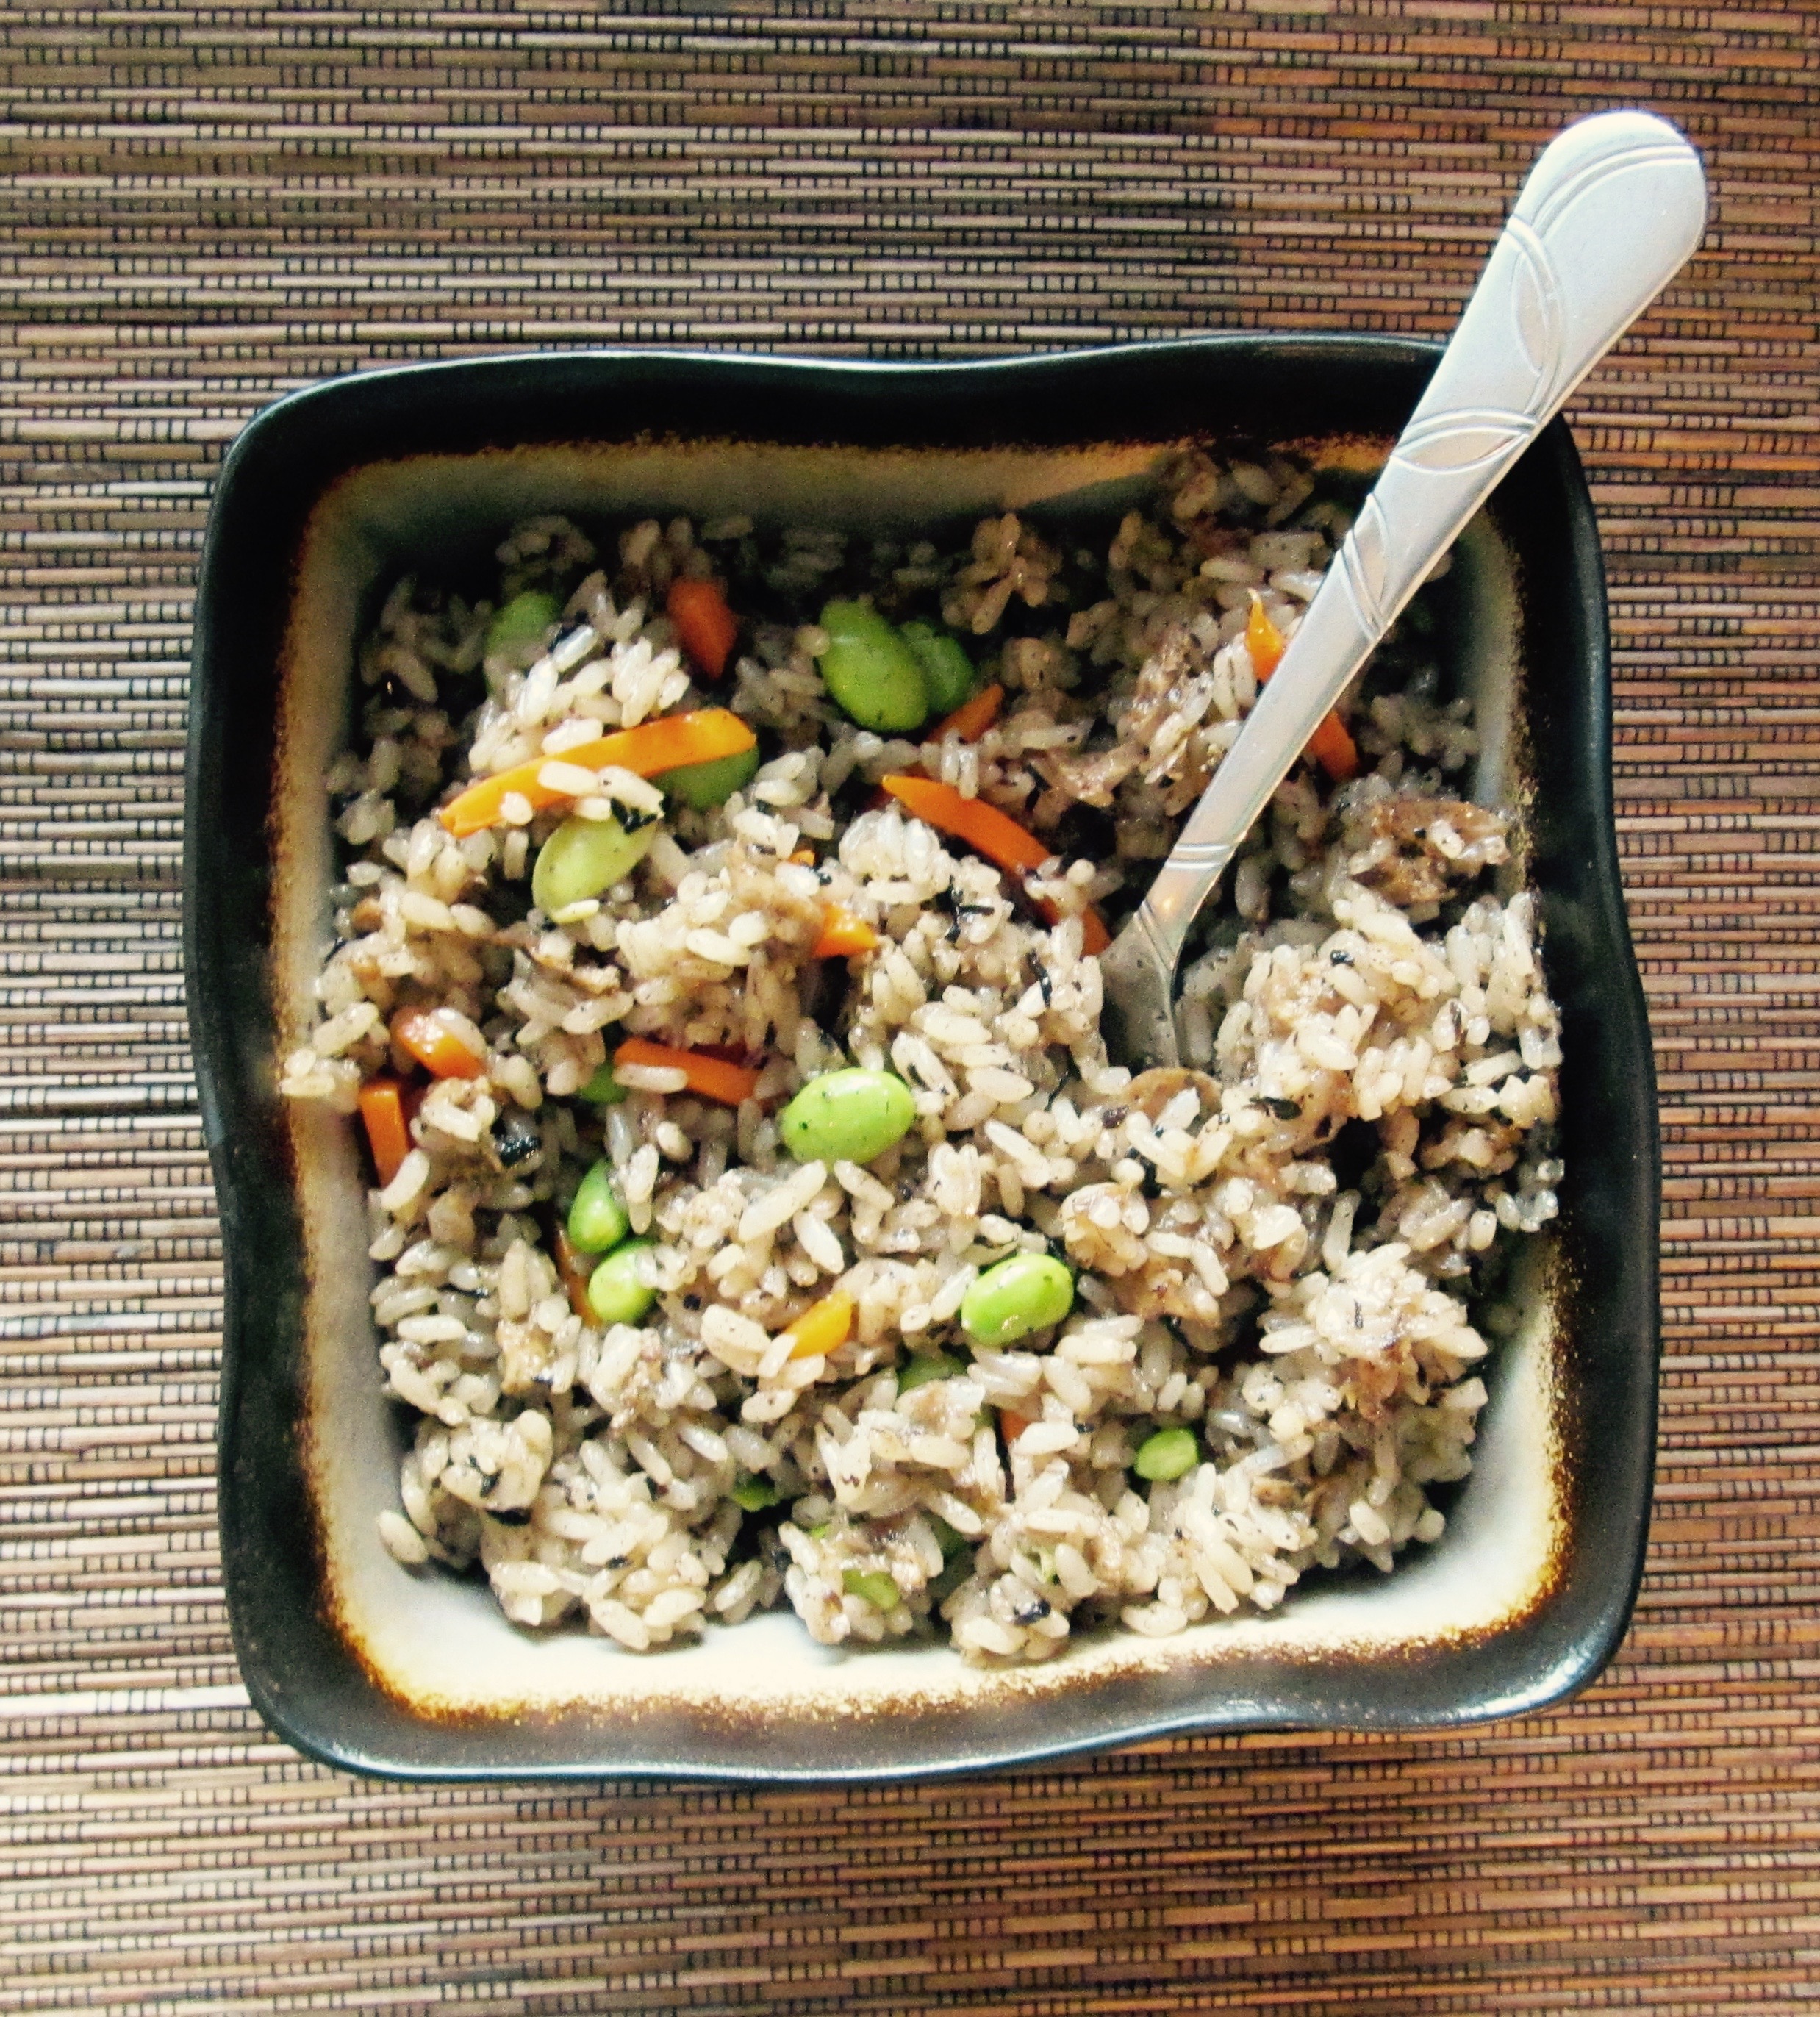
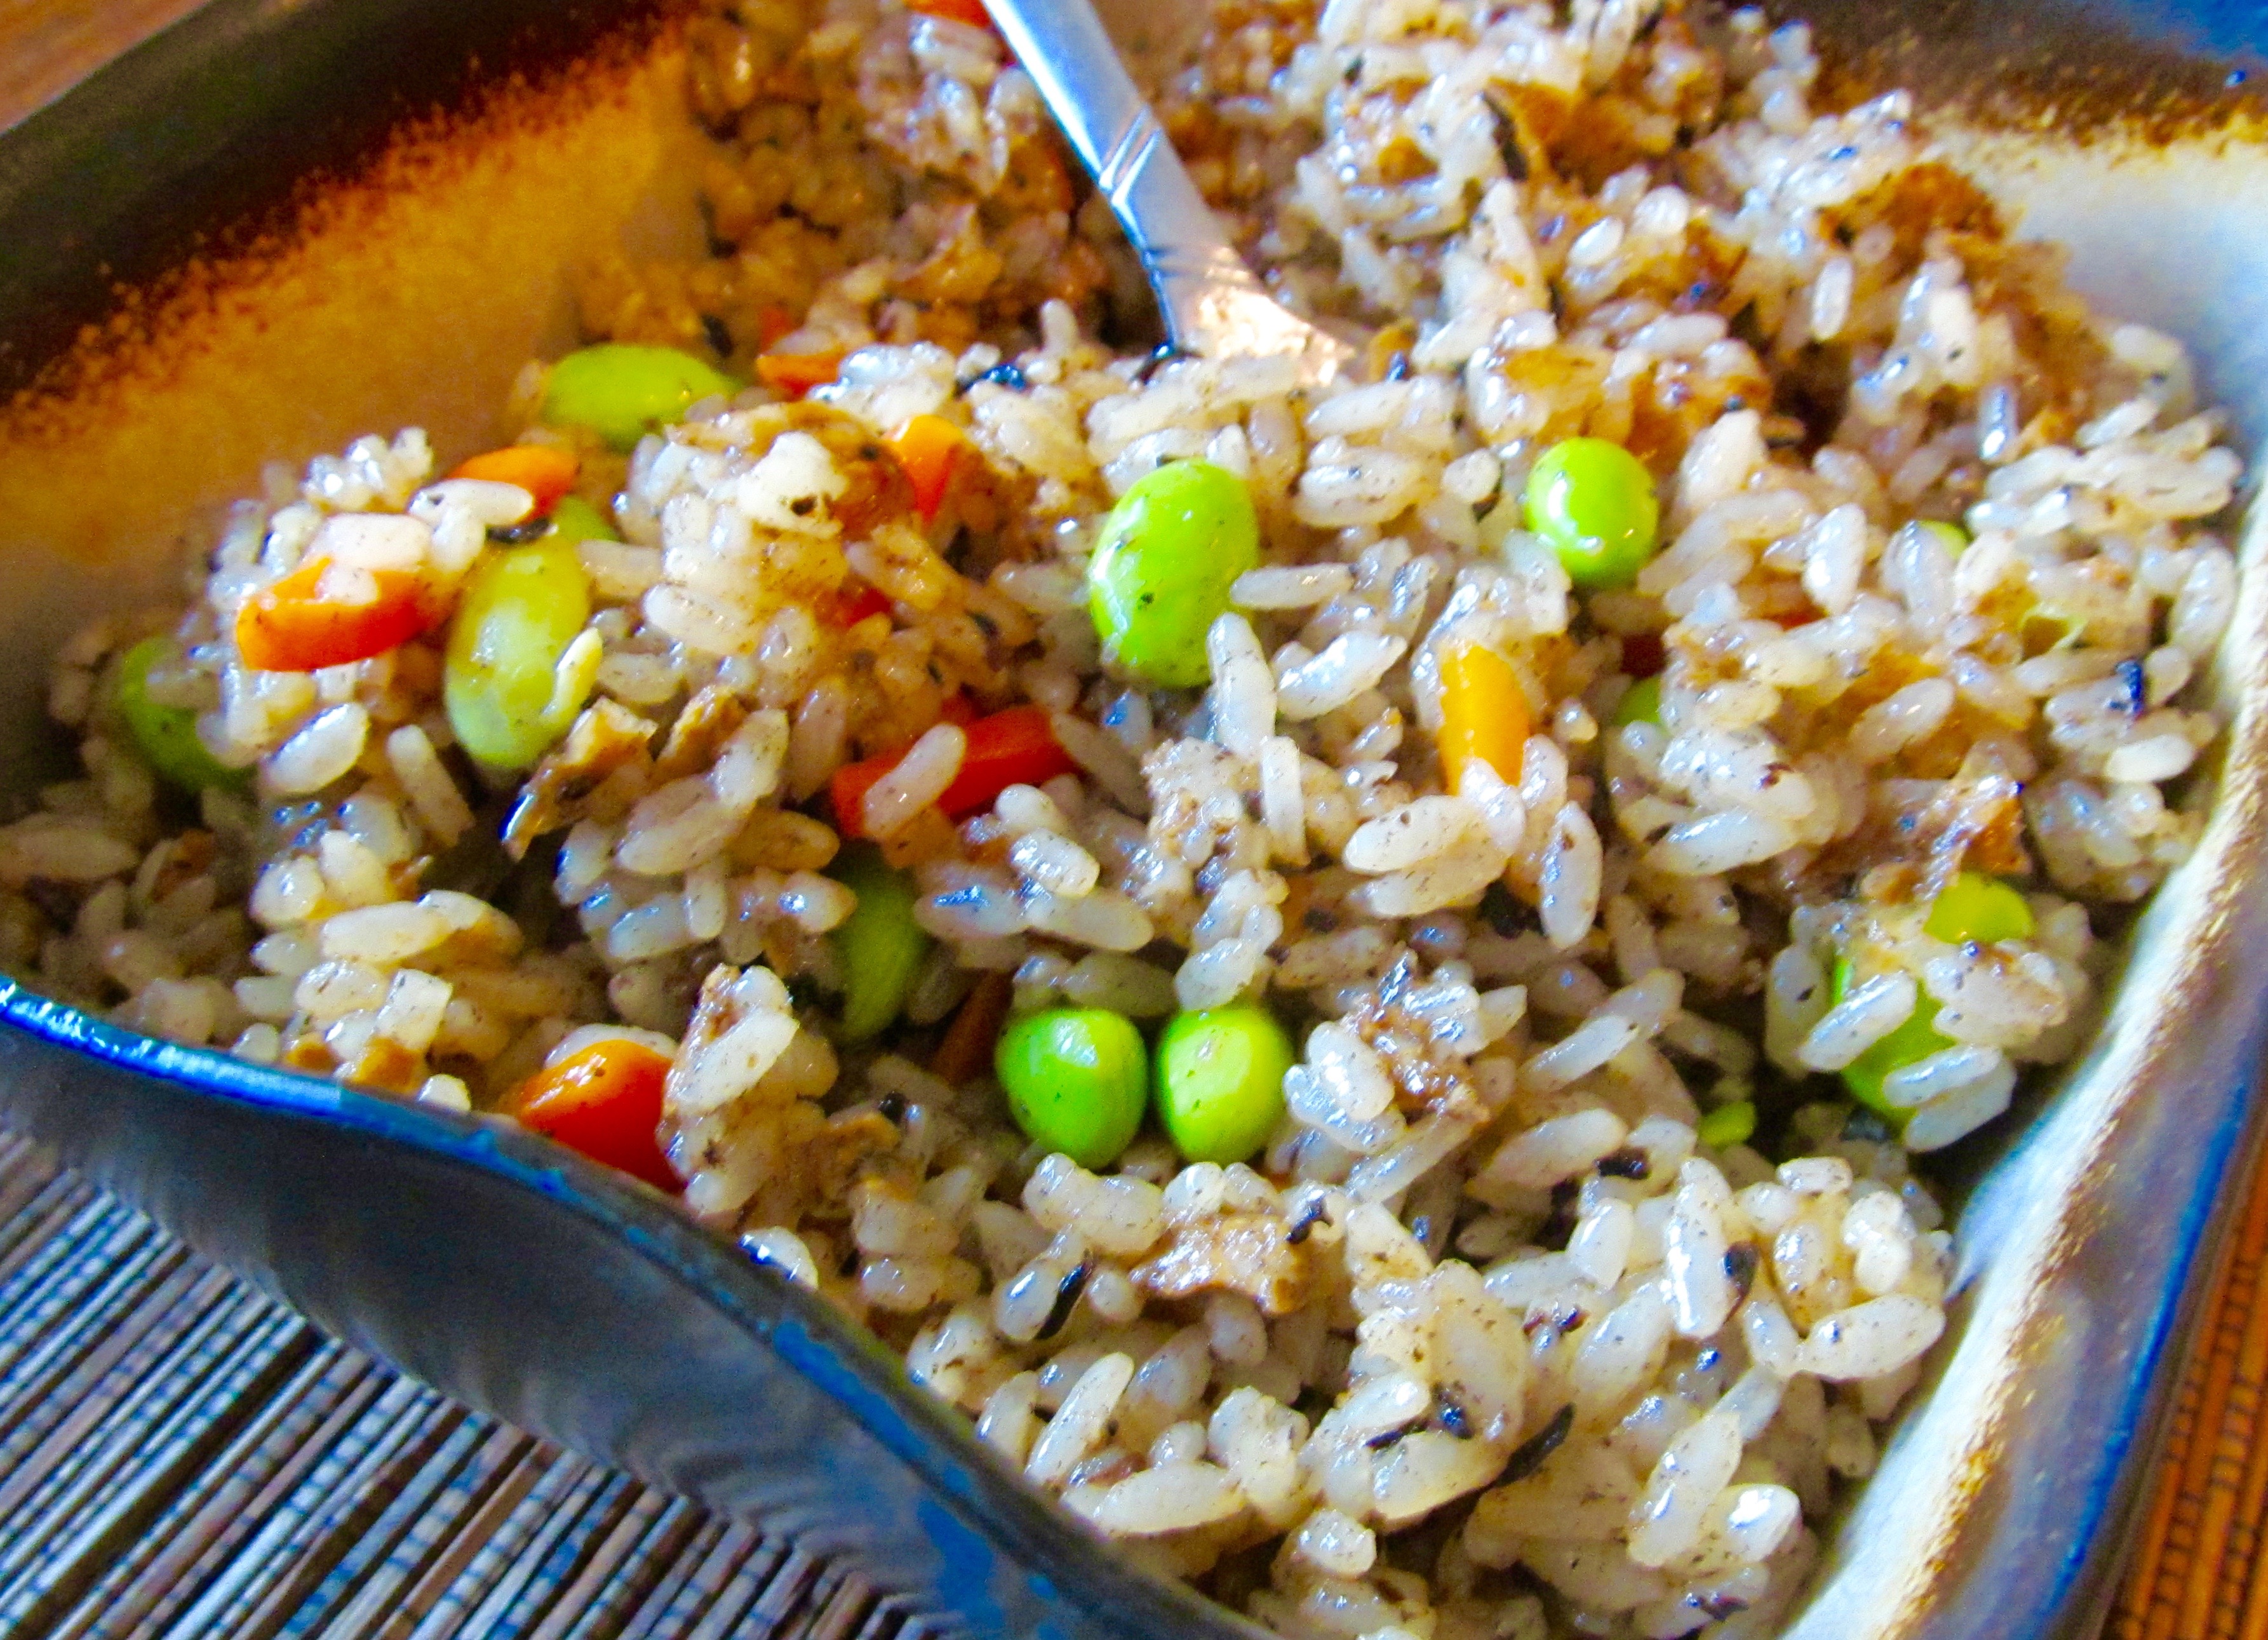
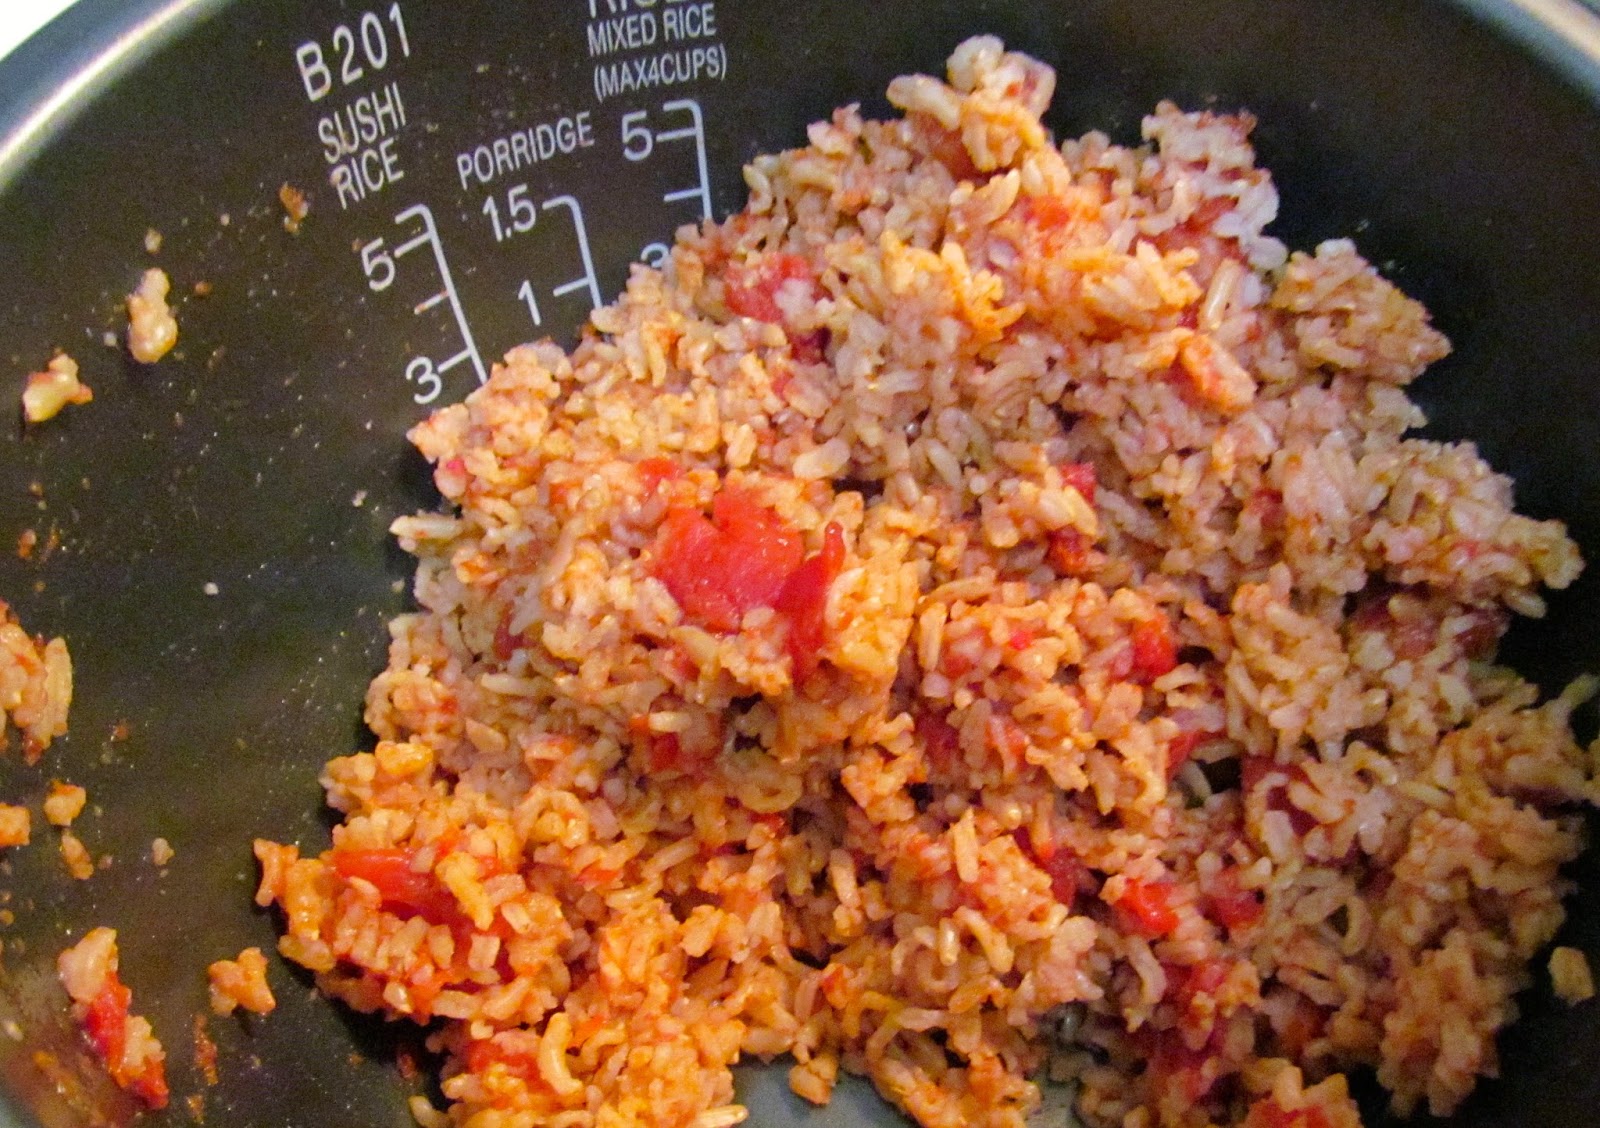
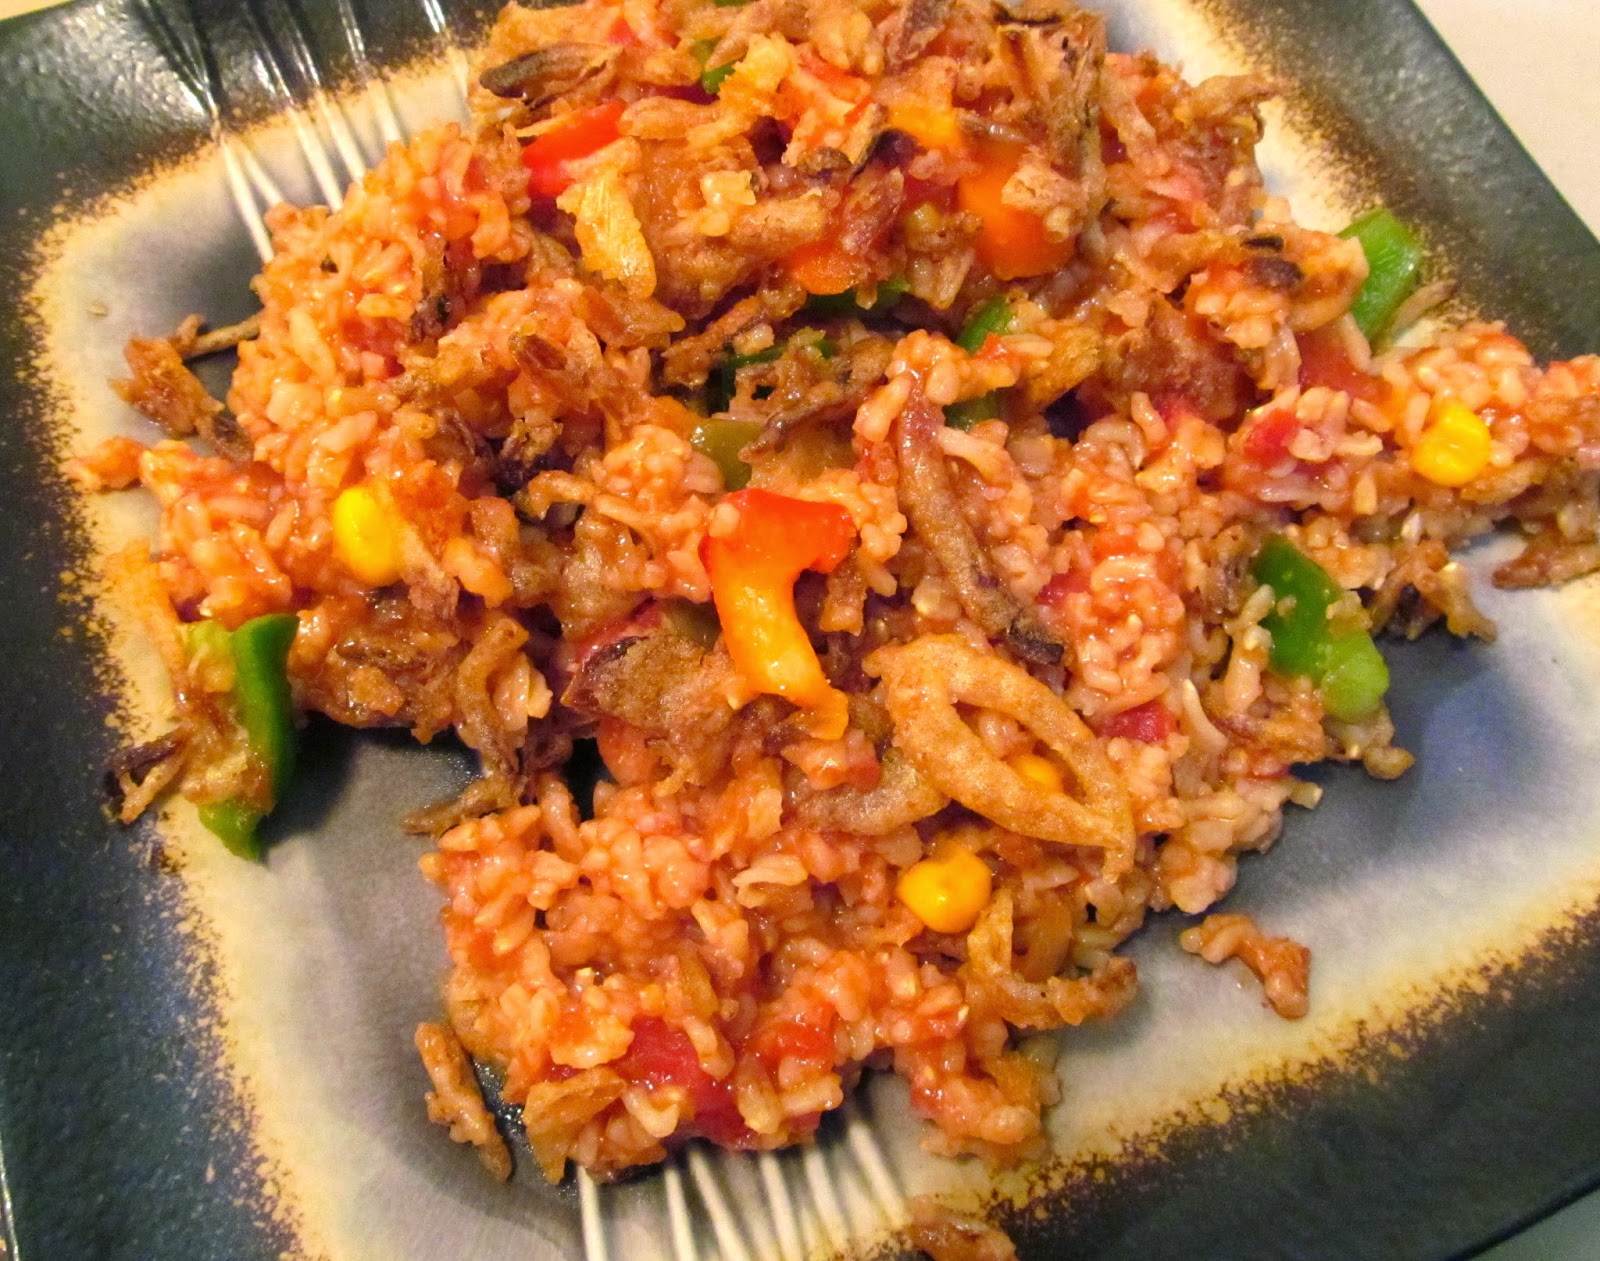
From the tiny island called the “Land of the Rising Sun,” this frozen frenzy of flavors is an expedient way to get a whole lot of nourishment.

Trader Joe's Japanese Style Fried Rice with Edamame, Tofu, and Hijiki Seaweed


Seriously, this product tastes like you are in a petite Japanese market with the briny breeze of the ocean wafting through the wooden slats. As you peruse the fresh seafood, you catch glimpses of fishermen dumping their plump nets into a rusty bucket. Fish flapping about, seagulls sailing overhead, waves washing up.

I have never been to Japan, but I have had numerous traditional Japanese meals, courtesy of my local Japanese club (don’t judge). The flourishing flavors of this dish are very impressive. One look at the ingredients and I could tell it was almost authentic. If you are looking for flavors from around the world, definitely check this dish out!

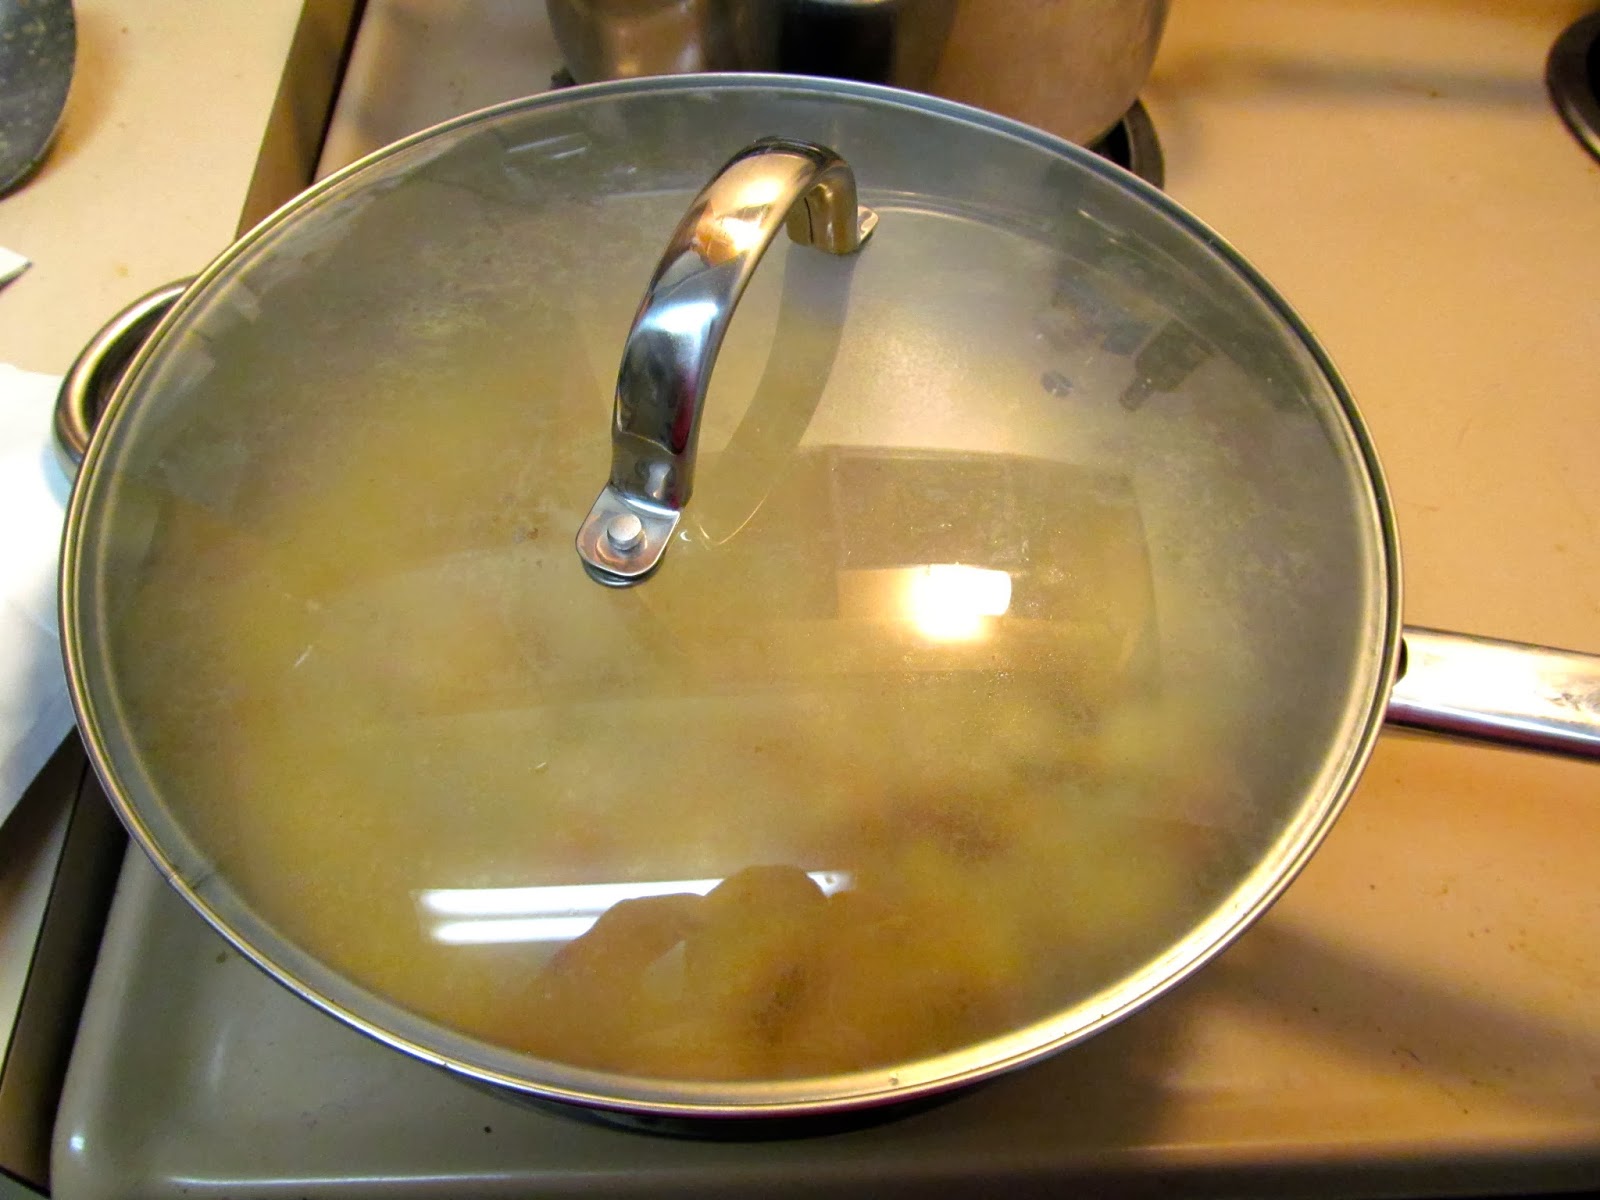
Ease of preparation is surprising.

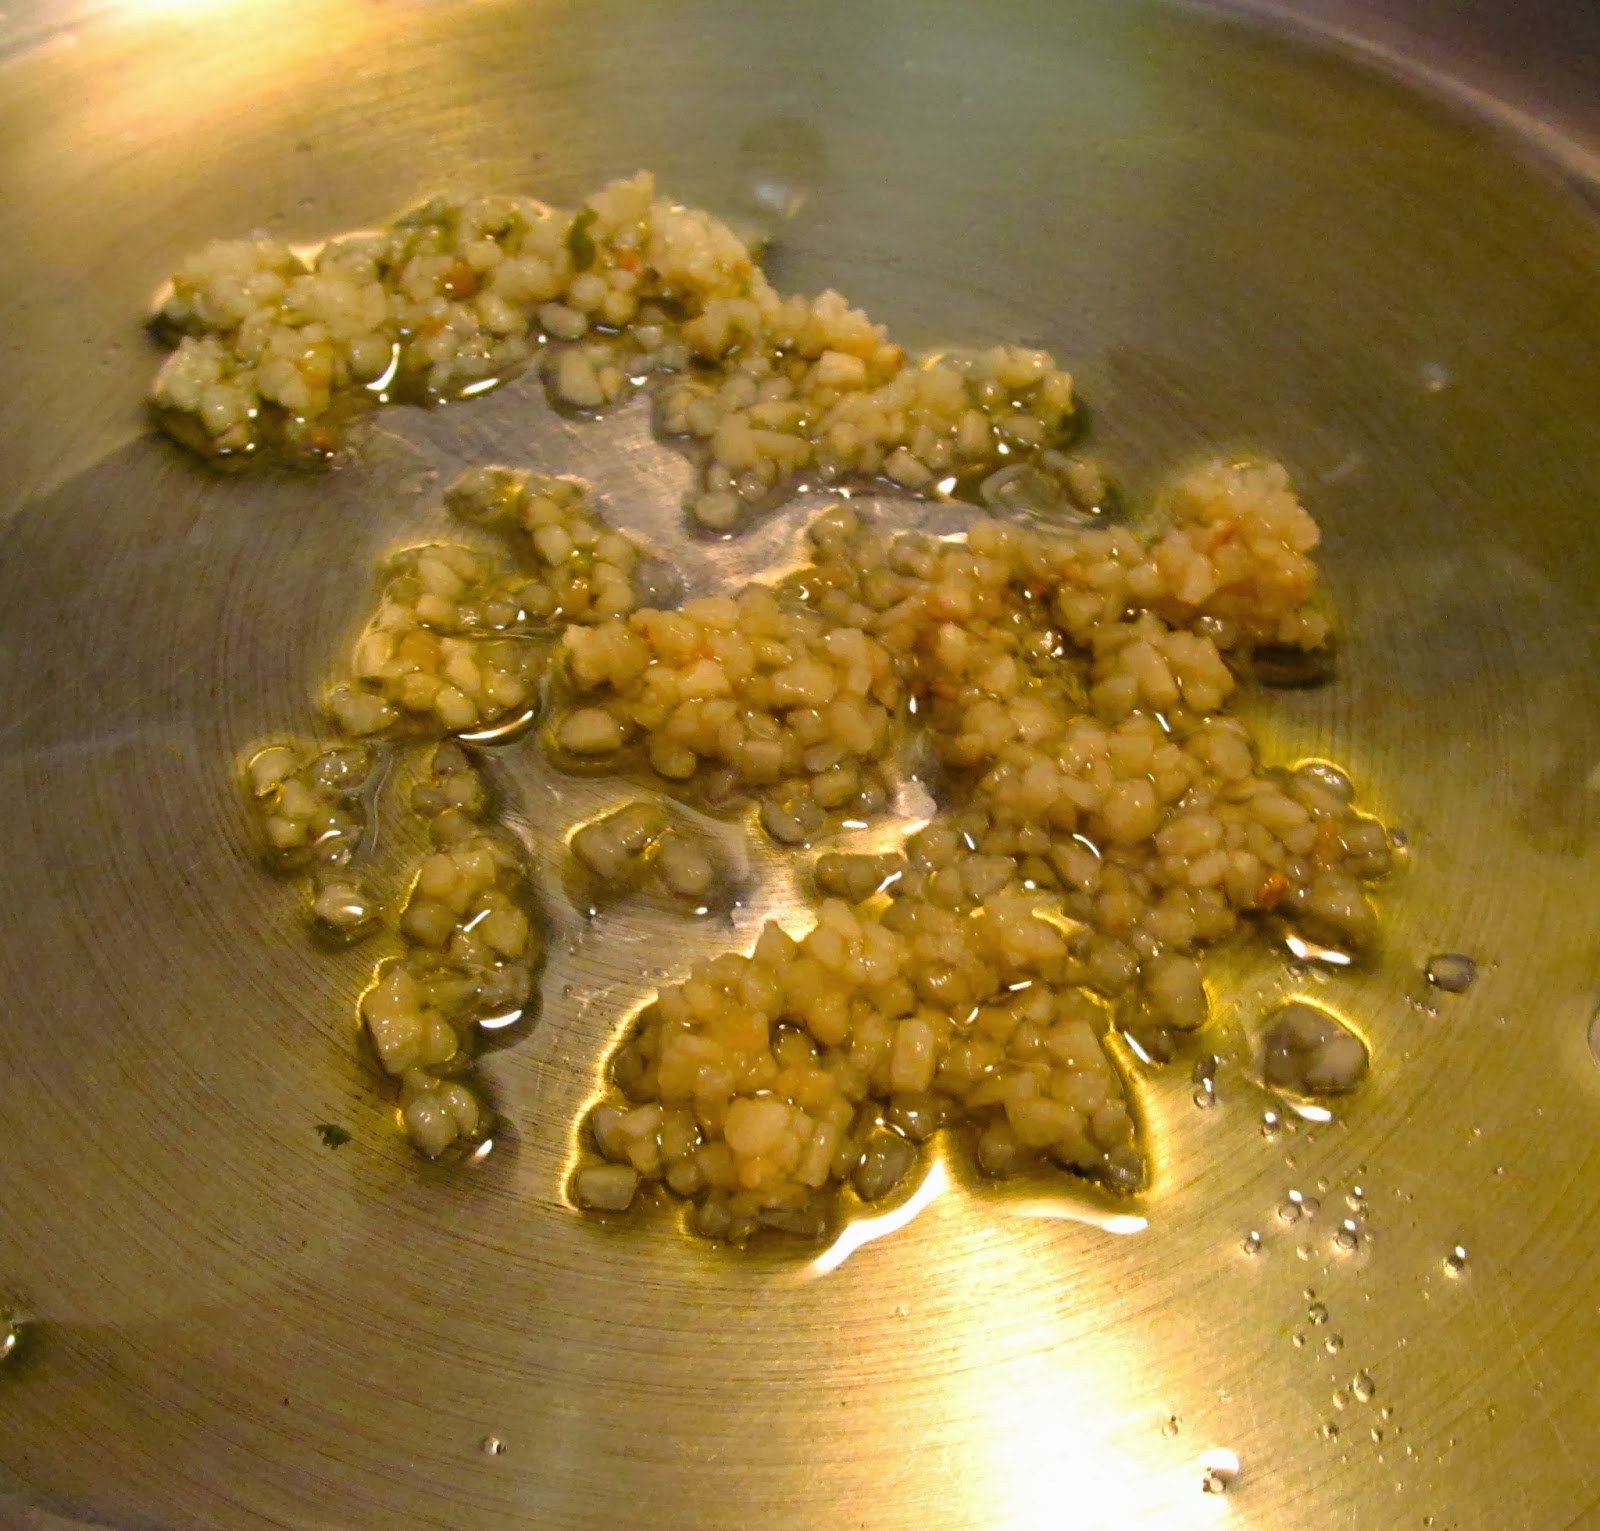
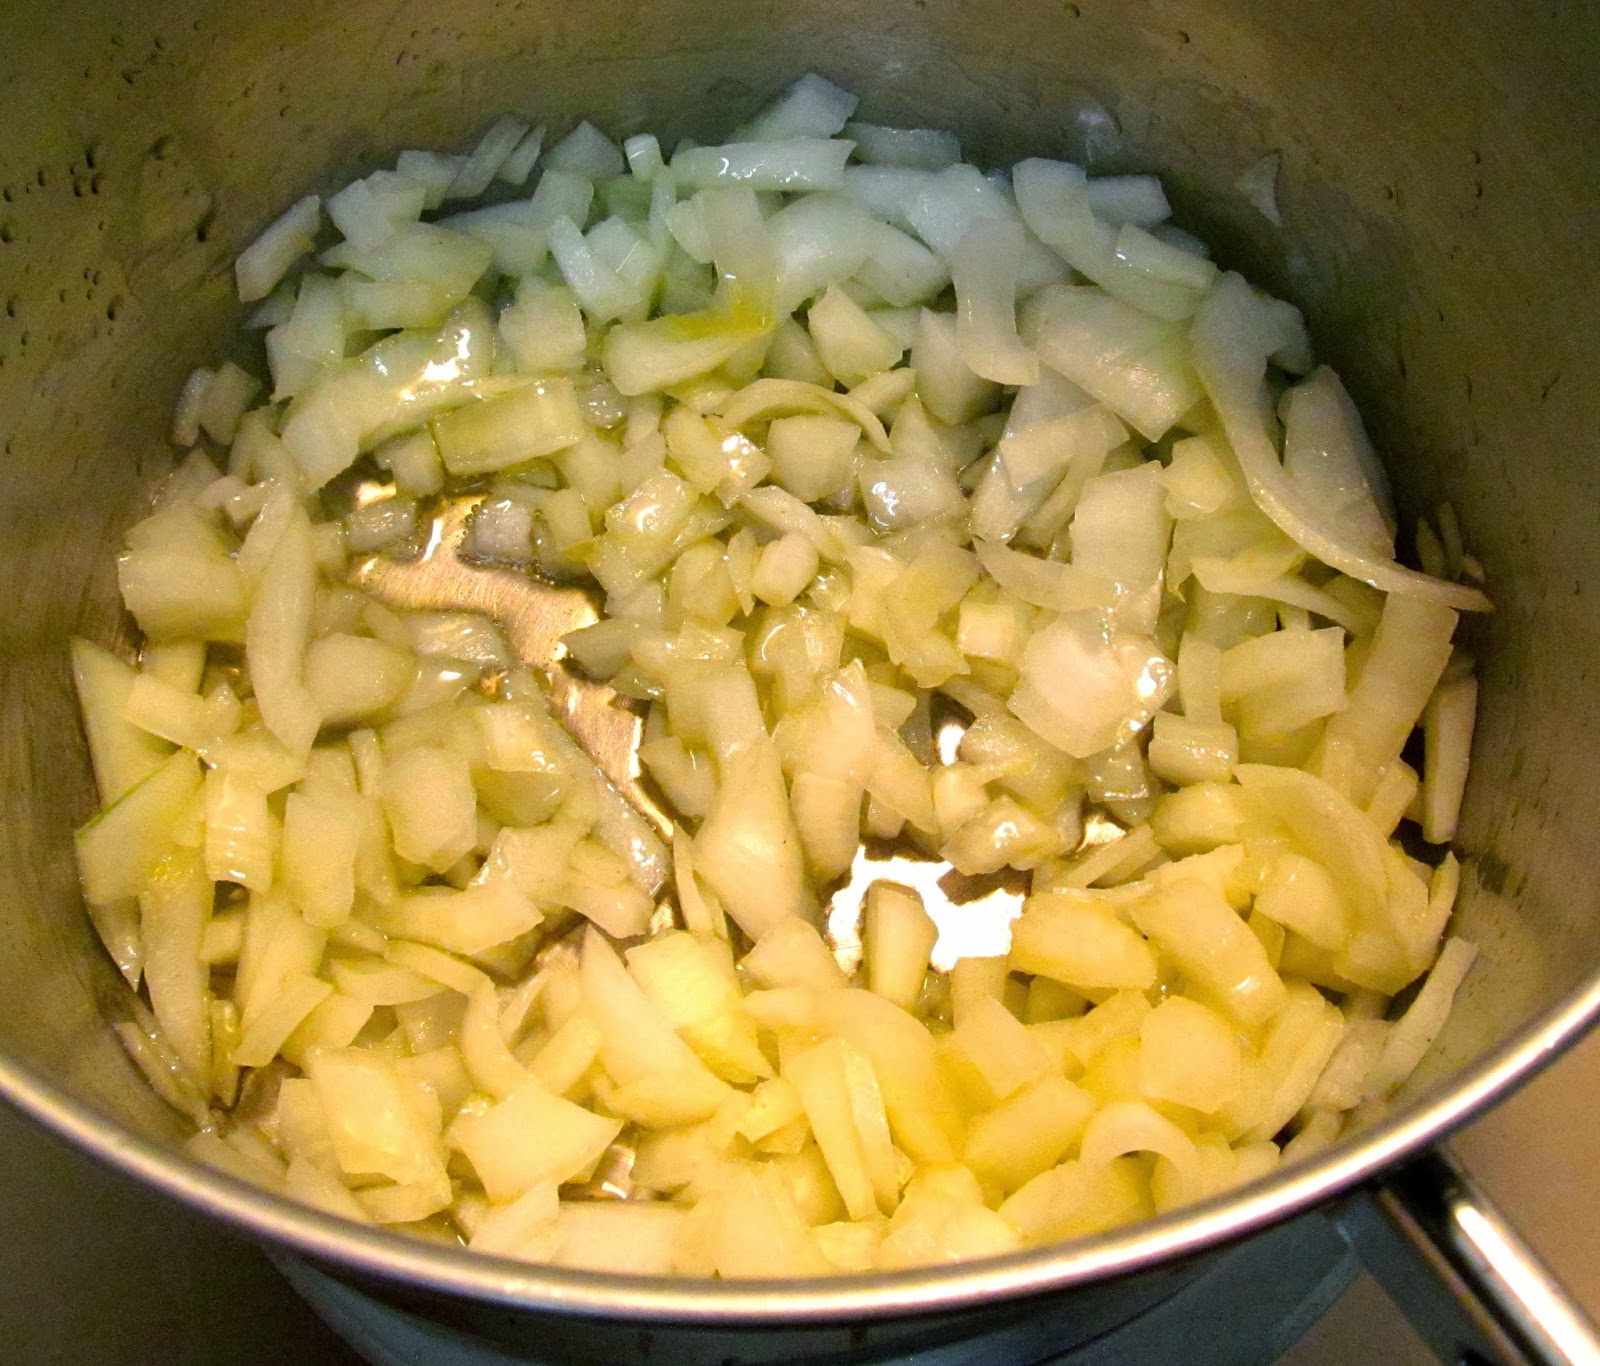
Step 1: Heat some oil in a pan

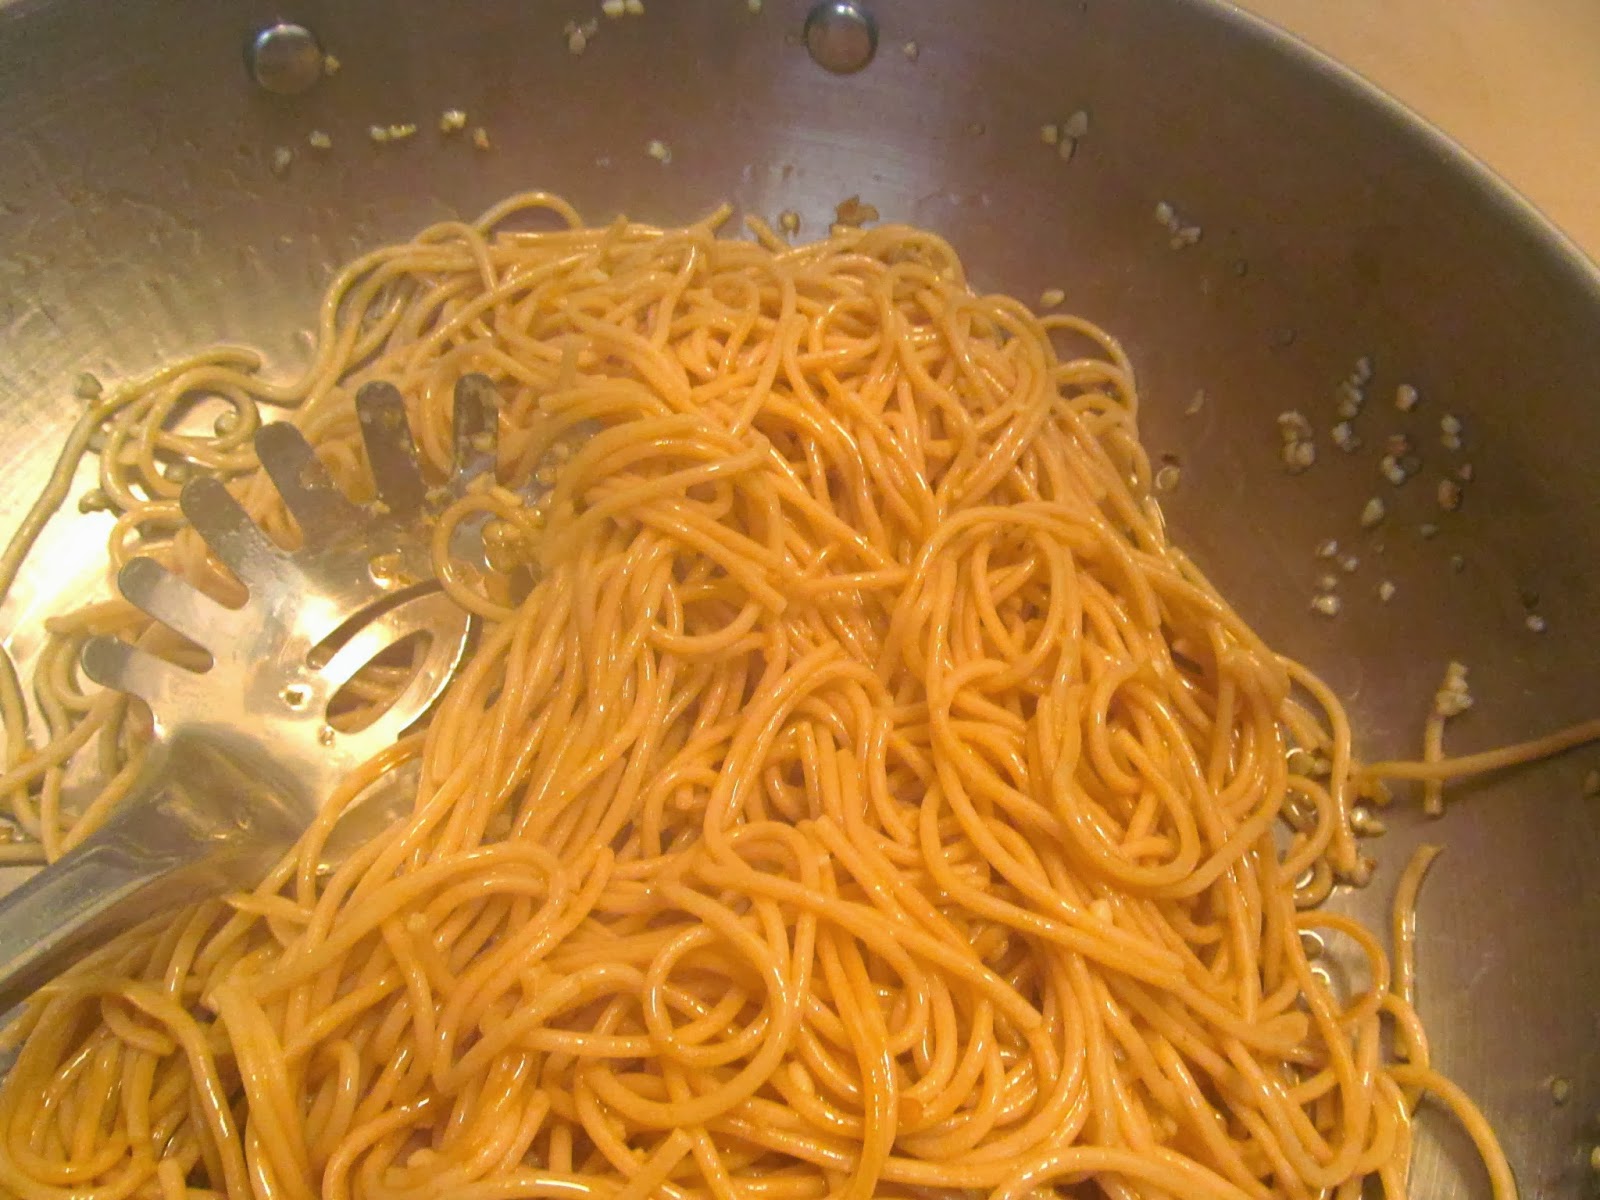
Step 2: Stir fry the dish until warmed through

DONEZO!

Nutritionally, this meal is sufficient; the only drawback is the amount of sodium, so just offset that by drinking a lot of water with your meal.

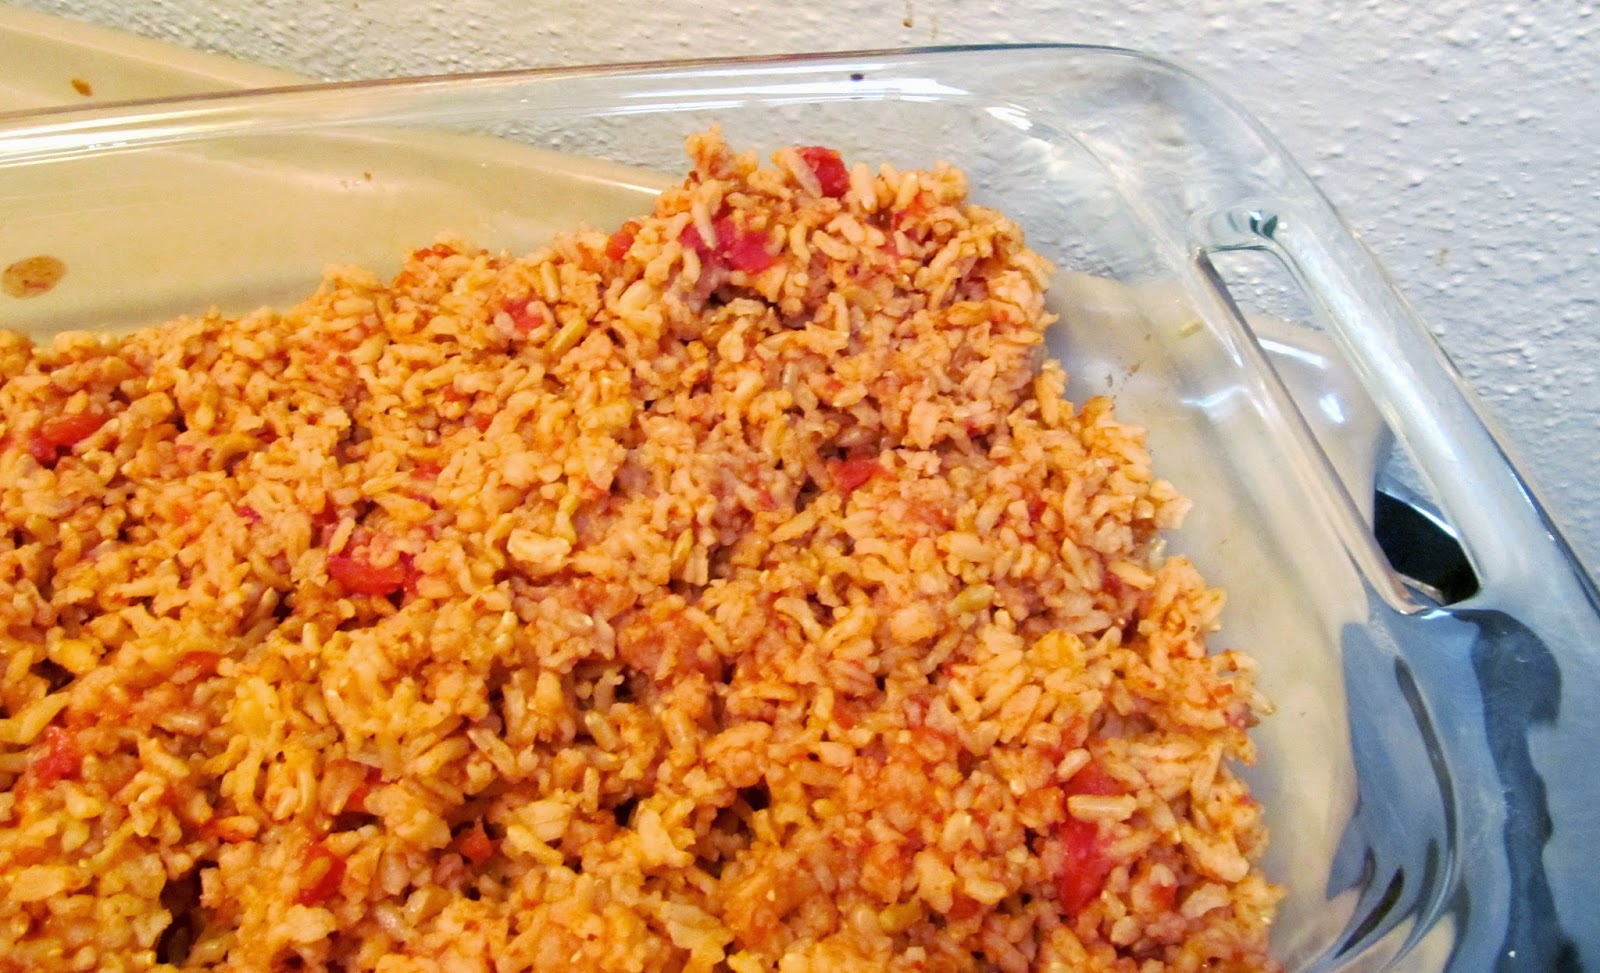
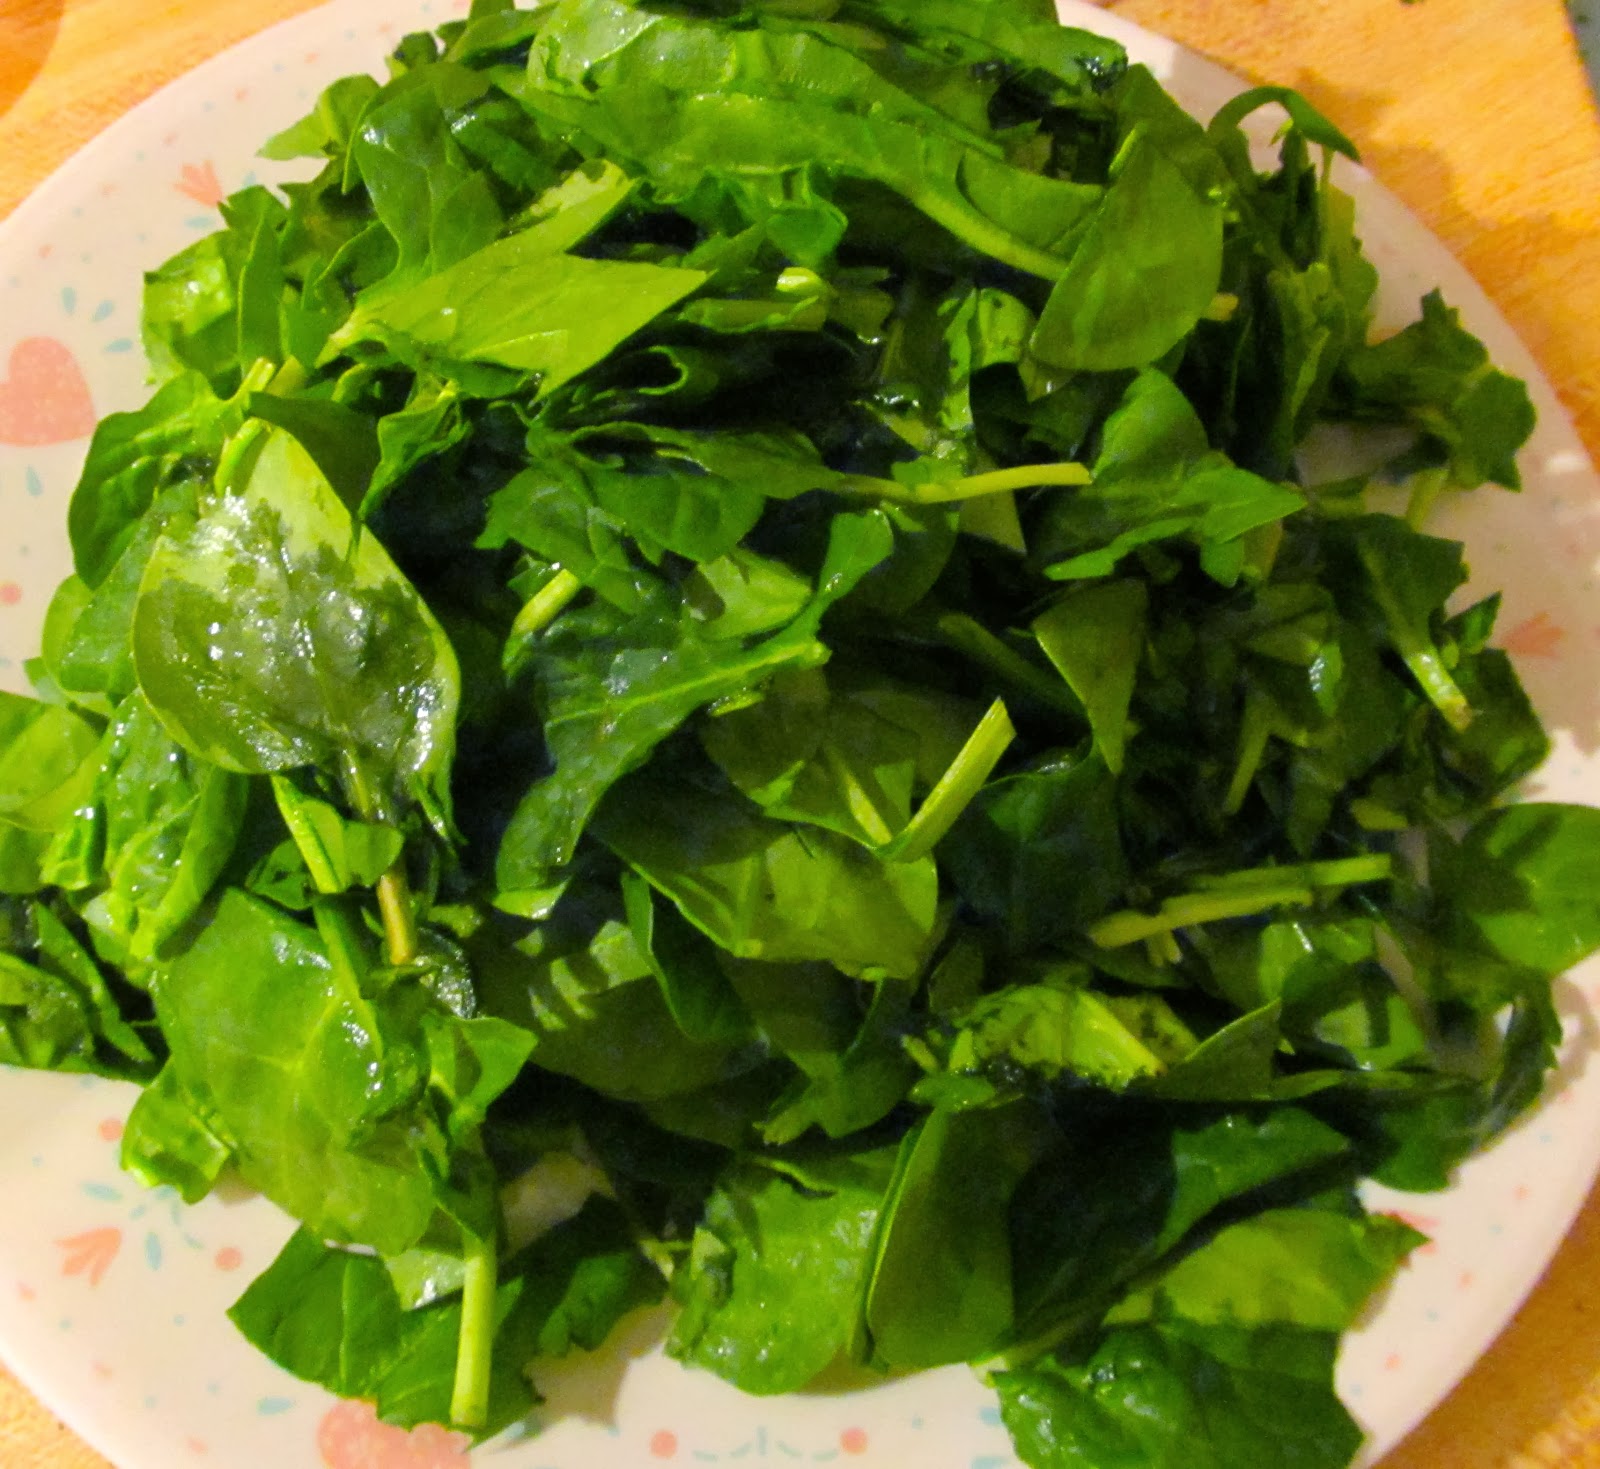
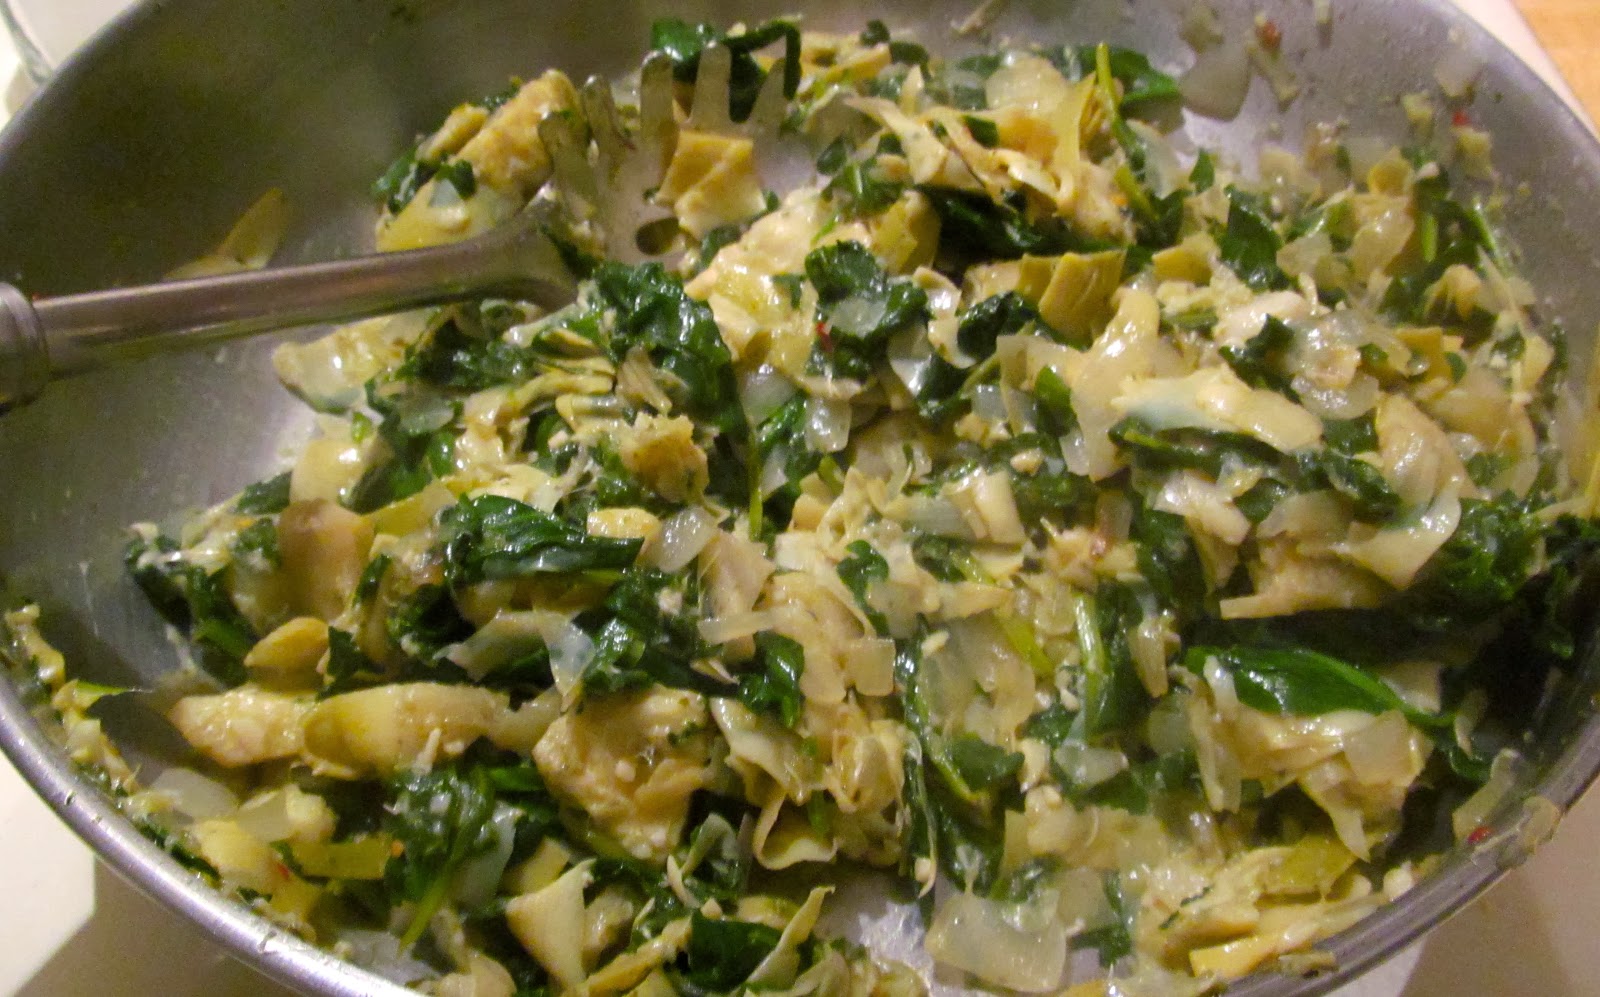
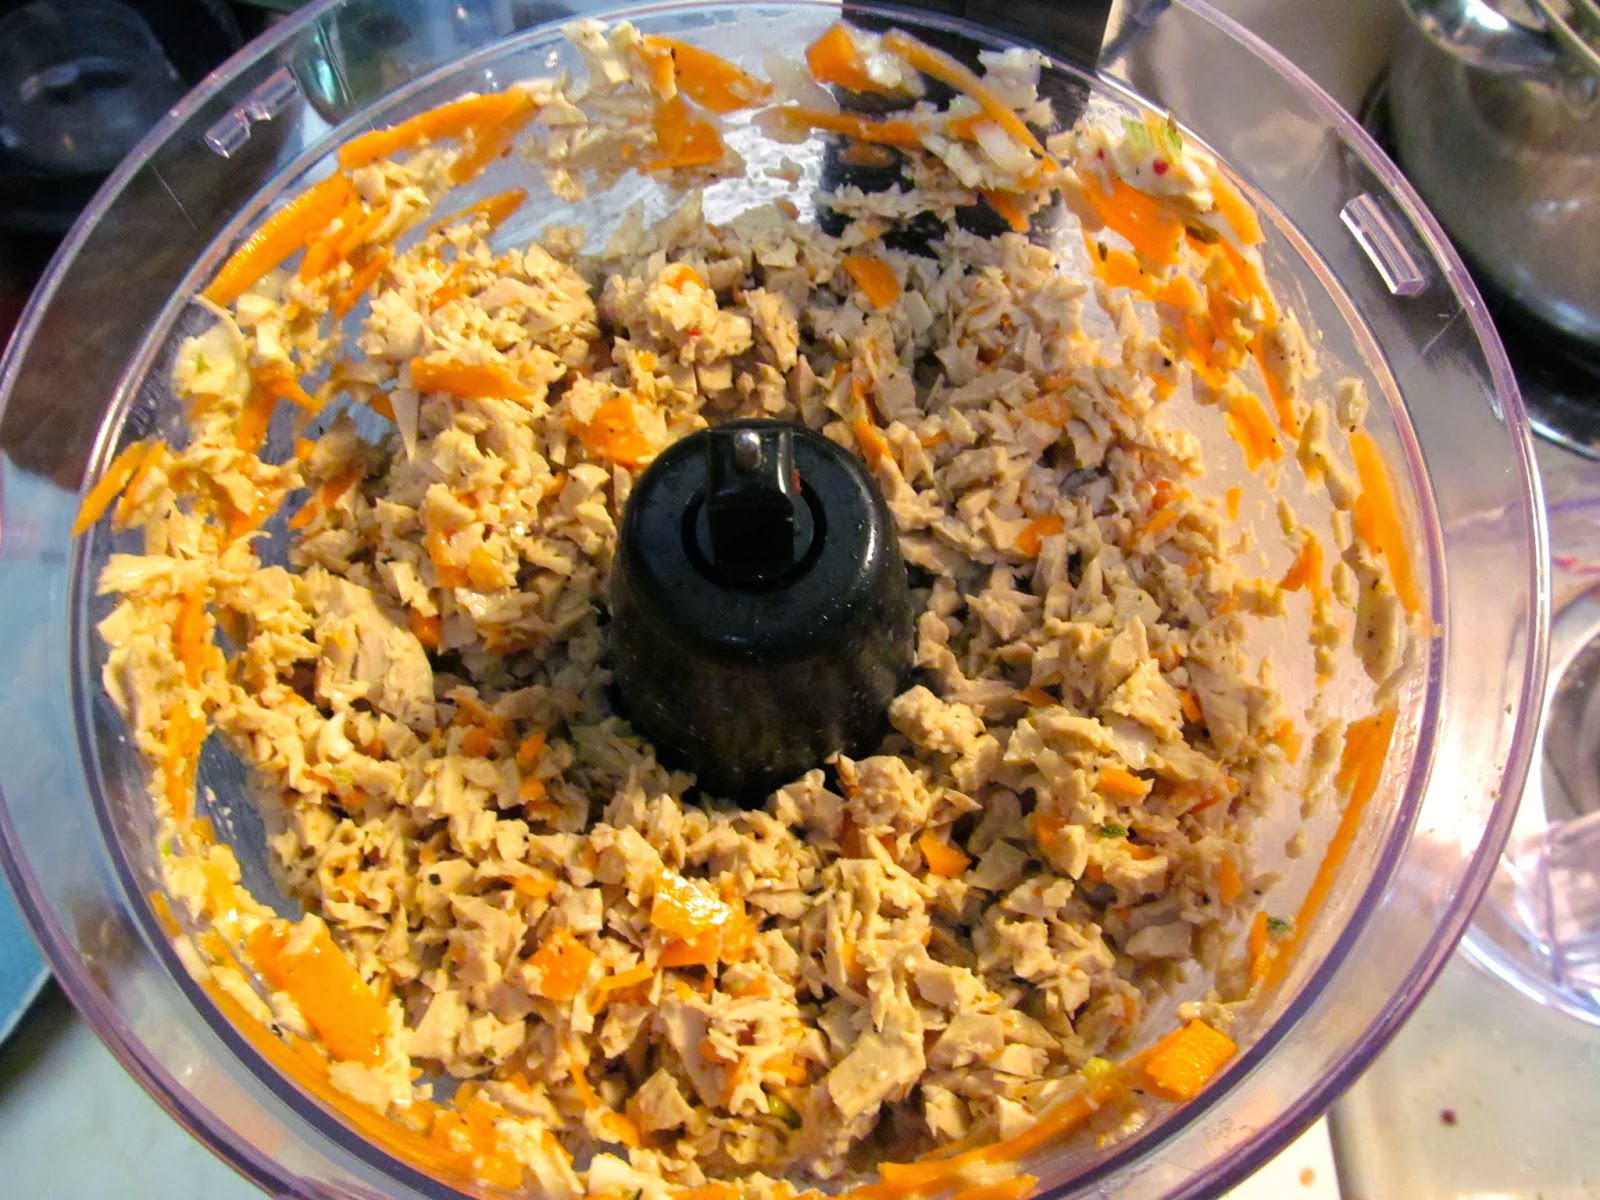
My favorite part of this dish is the tofu; the texture and qualities of the stringy tofu are reminiscent of the egg that is traditionally in stir fry. I ate SO MUCH Chinese Take Out growing up that I am exceedingly familiar with this type of fried rice. I can’t help but to love this taste and texture. You know, that off-yellow scrambled mess that you see in your rice? IT IS DELICIOUS.

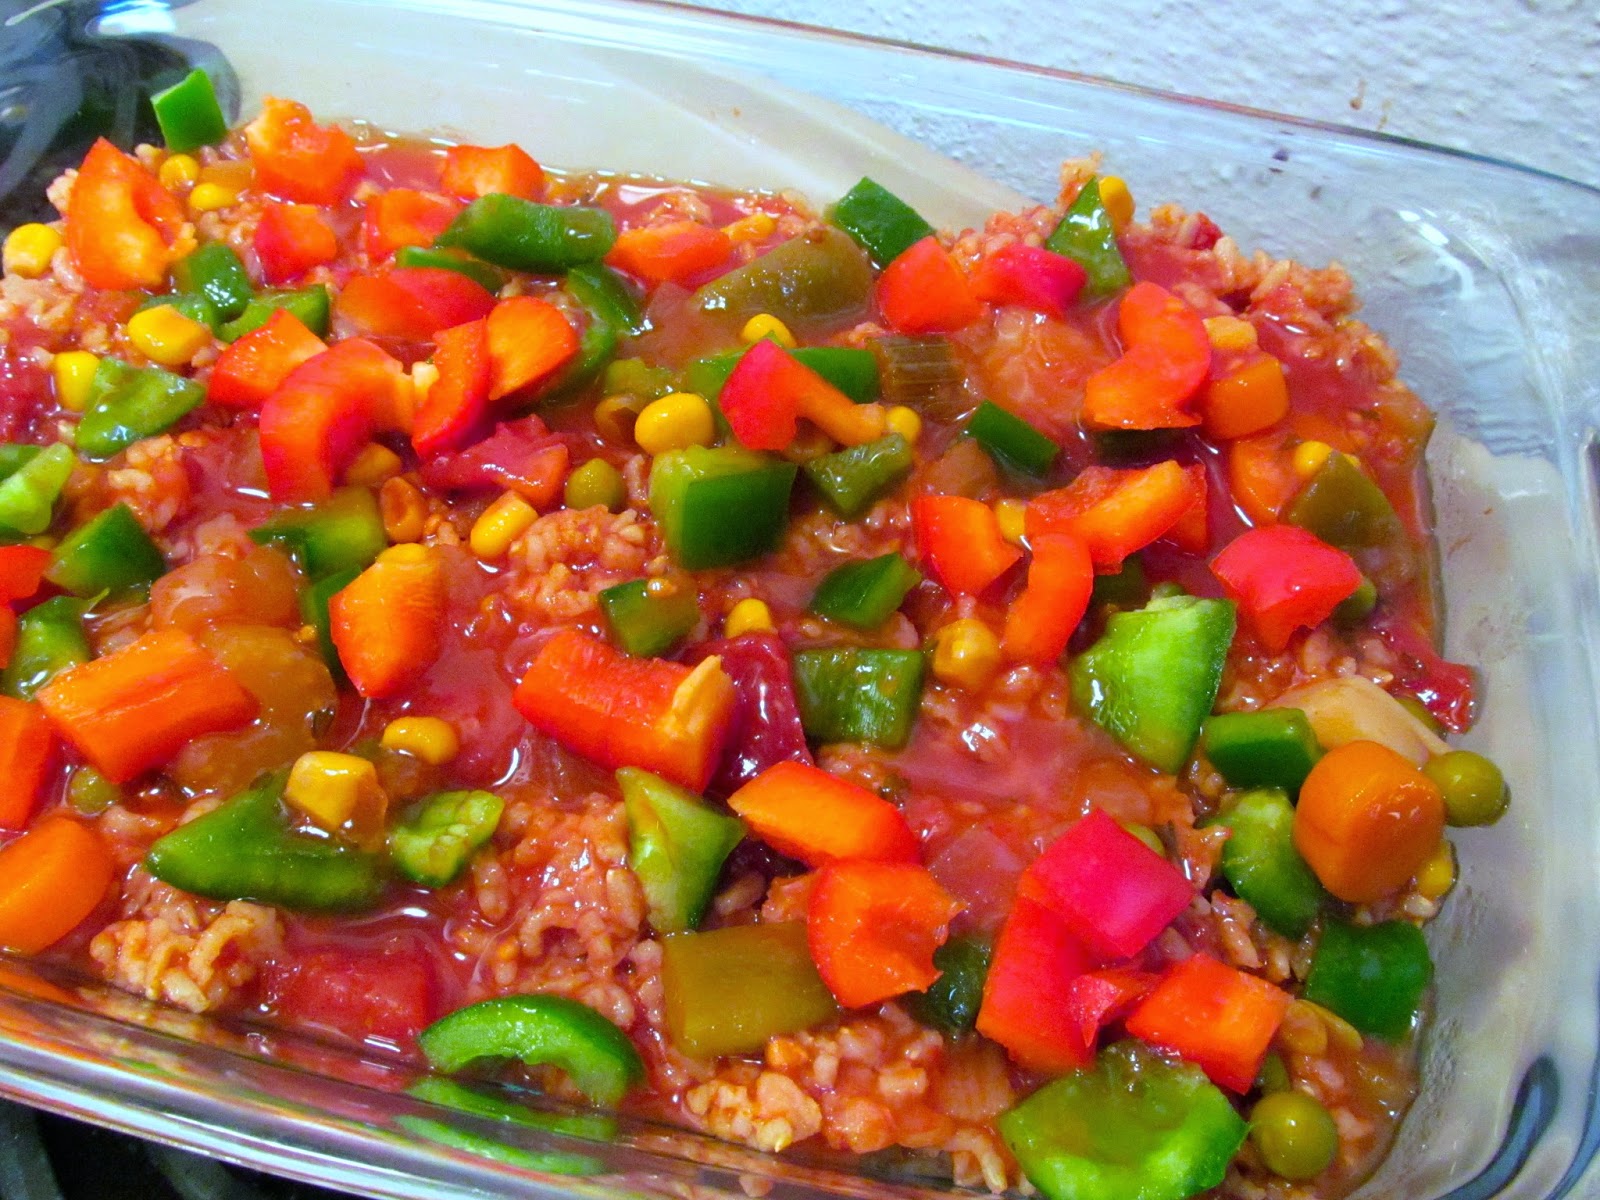
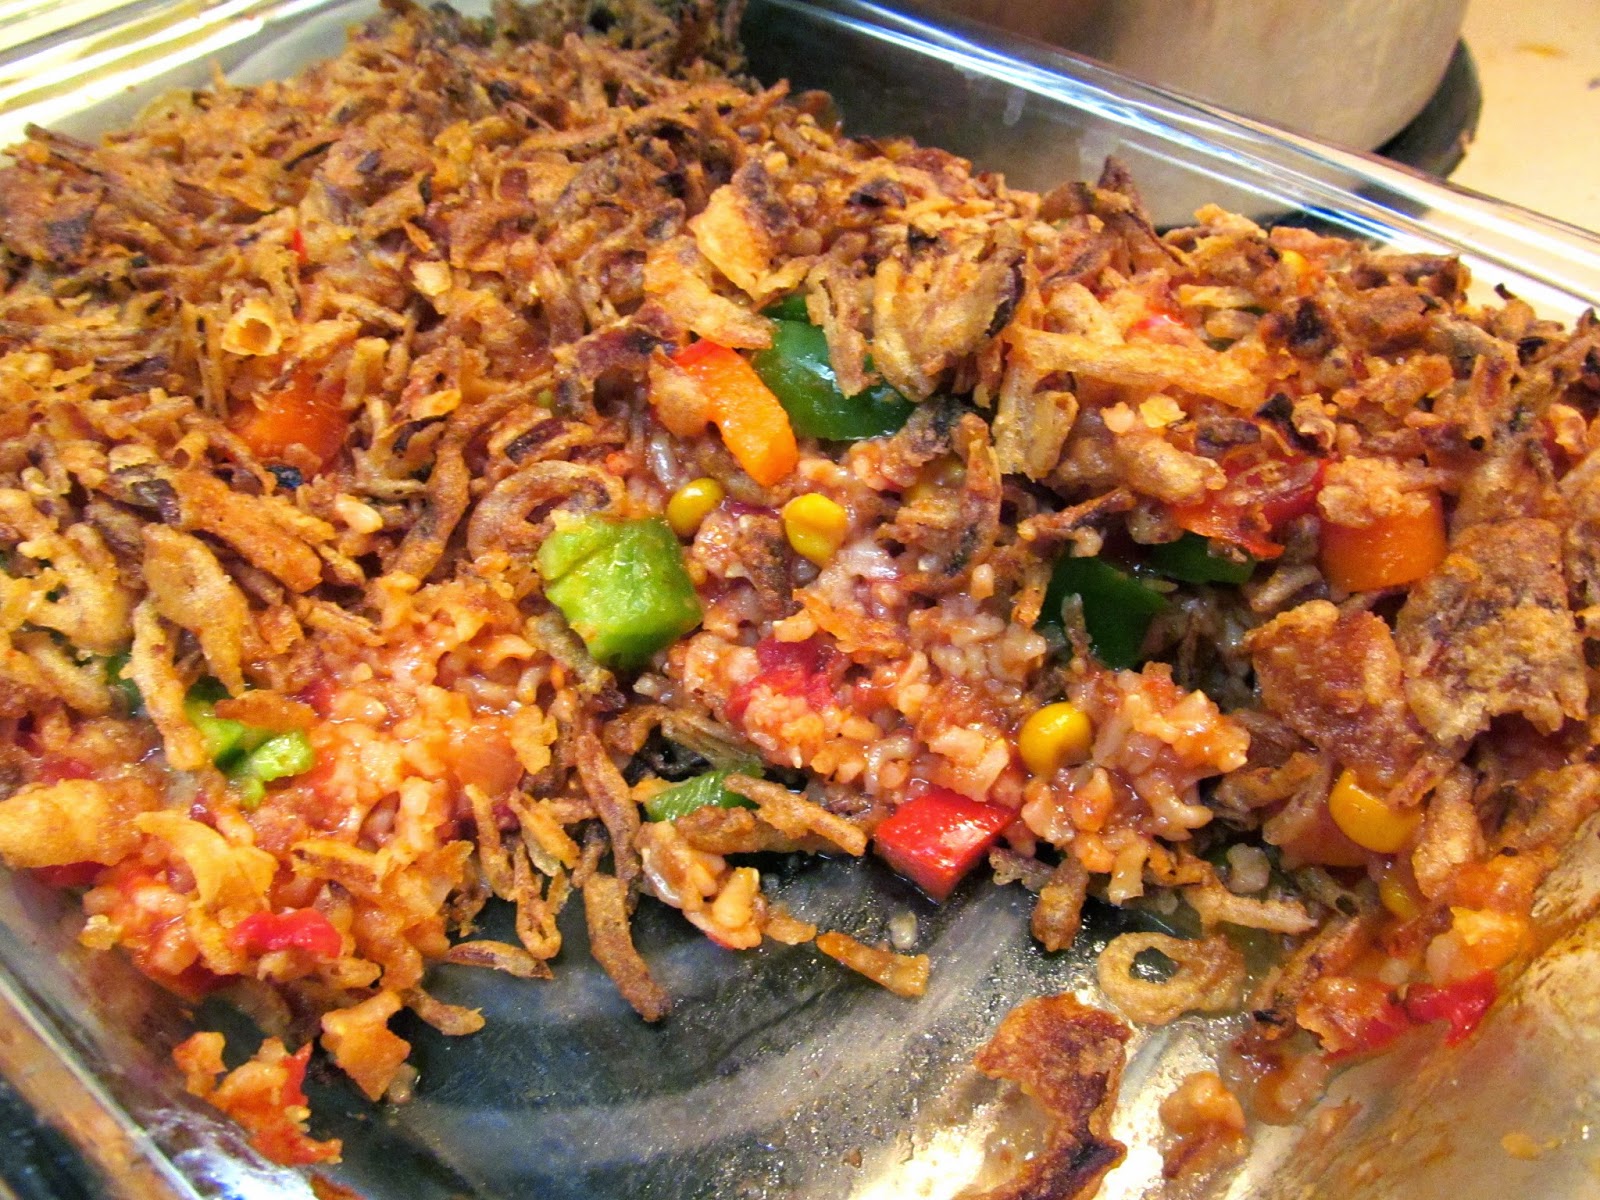
Oh, and the product actually resembles what is pictured on the front of the bag! It does say the typical “Serving Suggestion” and “Enlarged to show texture” but it is abundantly plentiful with the distribution of the edamame and carrots. Good on ya, Trader Joe’s.

The only drawbacks are: 1. It tends to get oily quickly, but if you do not use enough oil it definitely sticks to the pan. 2. The rice isn’t brown rice (I am a bourgeois, white, smoothie drinker, I know). 3. I do not have five more bags in my freezer right now.


IMG_2326


Trader Joe's Japanese Style Fried Rice with Edamame, Tofu, and Hijiki Seaweed

The Verdict:

Taste: 9/10

Texture: 8/10

Preparation: 9/10

Value: 8/10

Nutrition: 7/10

Quality: 9/10

Score: 85%    B


Did you know?

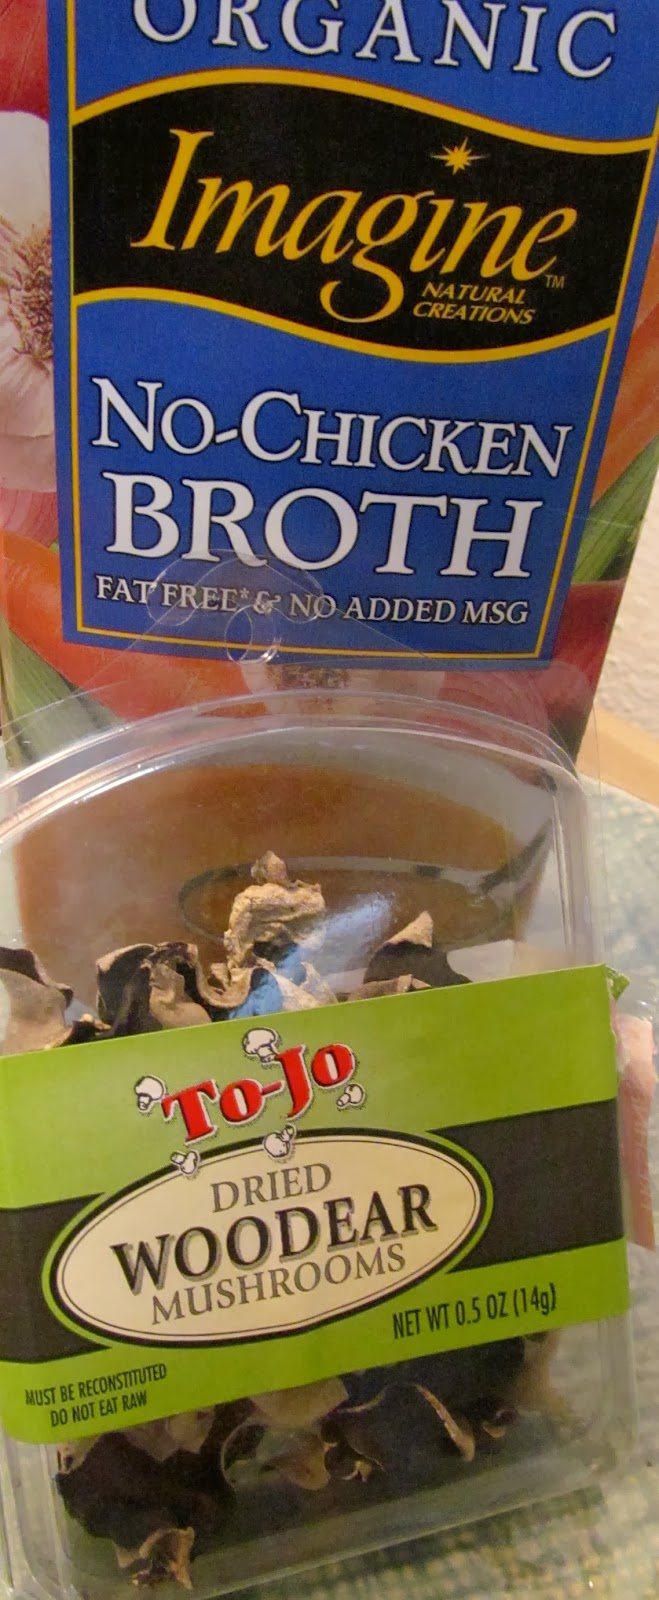
Hijiki seaweed is a brown-colored seaweed grown on the rocky coasts of Japan, China, and Korea. It is harvested at low tide and used in common Japanese cuisine. It has potential health benefits due to the high levels of dietary fiber, calcium, magnesium, and iron. Japanese folklore lends to the belief that daily consumption of this long, stringy, brown seaweed aids health and beauty; supposedly, the key to long, lustrous, black hair is eating hijiki.

Some health concerns have arisen regarding some inorganic arsenic appearing in hijiki. Health agencies have proposed removing hijiki consumption from a daily diet. The Ministry of Health, Labour and Welfare of Japan has responded by acknowledging the fact that ingesting 4.7 g of hijiki is potentially dangerous, but the average daily consumption of Japanese citizens is only 0.9 g. Normal servings of hijiki would never reach the high level required for possible arsenic poisoning.

So yes, ingesting hijiki does place inorganic arsenic into your body. HOWEVER, arsenic levels also appear in fish, rice, and wine. So I am totally ingesting away! (I want long, lustrous, black hair!)

Savory Spanish Rice & Beans Gratin

03 Tuesday Jun 2014

Posted by whatahipster in Uncategorized

≈ Leave a comment

Tags

au gratin, Casserole, gratin, rice and beans, rice and beans casserole, spanish rice, vegan, vegan casserole, veganism, vegetarian, vegetarianism

My mother would always make us Rice-A-Roni Spanish Rice or Chicken with our dinners growing up. Actually, she started with that “San Francisco Treat” but eventually started to make her own, superior versions of our favorite side dish. She would just add a can of diced tomatoes to the rice and it would give it just that little kick to bring the Spanish flavor! She basically inspired me to get creative when trying to imitate my favorite foods and thus, I created a casserole from one of my childhood side dishes. 


Ingredients:

  • 2 servings rice                              ($0.75)
  • 1 can petite diced tomatoes        ($0.62)
  • ½ green pepper, diced                 ($0.35)
  • ½ red pepper, diced                     ($0.99)
  • 1 can mixed vegetables               ($0.65)
  • 1 can black beans                        ($0.99)
  • ½ jar fried onions                         ($0.42)

Preparation:


Preheat the oven to 350°F. I use a wonderful rice cooker from Japan by the brand Zojirushi that cooks wonderful fluffy rice. I just added a can of diced tomatoes to the cooker and made sure the liquid measurements were correct and it cooked beautifully! If you are using a pan and the stove, just cook the rice as per usual and stir in a can of diced tomatoes after it has finished. Layer the rice in the bottom of a casserole dish. Drain a can of mixed vegetables and pour over the rice. Dice the peppers and toss on top of the rice as well. Drain and rinse the black beans and again, add on top. Finally, top with fried onions and throw it in the oven for 20-25 minutes or until browned and crispy! Let cool for 5 minutes before slicing and plating. 


Cooking rice with diced tomatoes adds a richness and tangy depth

This dish is very colorful and vitamin packed!

Avocado is my most FAVORITE food ever. I will seriously add
it to any food ever. Ever. So naturally, I added avocado here
AND IT WAS DELICIOUS!!!


There you have it, folks. A European twist on the casserole that will be sure to satisfy. Let me know what you guys think in the comments! I hope to hear from some of you. 

Personal Pizzas with Eggplant Crust

31 Saturday May 2014

Posted by whatahipster in Uncategorized

≈ Leave a comment

Tags

dairy free, eggplant, eggplant pizza, gluten free, gluten free pizza, health, healthy lifestyle, healthy living, meat free, pizza, trader joe's, vegan meals, vegan pizza, vegetarian, vegetarian pizza

Ever thought, why does pizza have to come on a doughy crust? I did too. Well, I was perusing the internets when I came across a unique take on homemade pizzas. Eggplant pizza? What, even? Intrigued, I scanned the recipe; realizing I had the majority of the ingredients I seriously went to Trader Joe’s just to buy an eggplant. Only an eggplant. That’s all. This is the aftermath which a few of my friends so luckily got to enjoy.

Photo courtesy of the Instagram: ZeroDecorum

Ingredients:

  • 1 eggplant                              ($0.89)
  • 1 cup marinara sauce            ($0.53)
  • 4  vegan italian sausages      ($1.35)
  • ½ cup vegan mozzarella        ($0.96)
  • 2 tbsp vegetable oil                    –
  • enough coarse sea salt to coat both sides of the sliced eggplant but I did not measure so I am not sure how much that is, sorry


Preparation:


Preheat the oven to bake at 400ºF. Slice the eggplant into ½ inch slices. If sliced too thin, the salting and baking will cause the eggplant to get soggy and crumble. If sliced too thick, the baking process will not make the eggplant crispy enough to hold the weight of the ingredients. I have found that ½ inch thick slices yield the most sturdy, crispy pizzas; every eggplant is different so you may have to adjust the thickness for your liking. Coat both sides of the eggplant with the coarse salt and let sit for 15-20 minutes. Salt brings out the bitter taste inherent in the eggplant; after 20 minutes wipe all moisture and residue off of the eggplant slices. Slice the sausages and fry them in oil until crispy. Heat the marinara sauce on the stove until warmed through. Lightly sprinkle the eggplant slices with sea salt and set on an oiled baking sheet. Bake for about 20 minutes but do not let the eggplant get mushy when baked too long. Remove the slices and top with the sauce, sausage, and cheese. Set the oven to broil and place the pizzas in for about 3 minutes, just to melt the cheese. Remove and devour. 

The smaller end of the eggplant will make mini bite sized pizzas
while the larger end makes personal “pan” pizzas

Place the eggplant slices on a paper towel before salting to ensure
the most moisture is absorbed and the bitterness removed

Sometimes the smaller slices will get crispy quicker than
the larger slices so keep checking while baking and remove if necessary
Tofurky is my go-to faux meat
WATCH OUT: Trader Joe’s meatless Italian Sausage contains egg whites!
 
Slice the sausage into ½ inch slices for a more meaty texture
Slice thinner for a crispier variation

I usually place the cooked sausage bites on a paper towel
to soak up that extra oil
I KNOW, I am THAT person who dabs their greasy pizza…

Fav sauce right now: Trader Joe’s Tomato Basil 

Yurm

Whatta feast!

Oven Roasted Chili-Crusted Cauliflower

29 Thursday May 2014

Posted by whatahipster in Uncategorized

≈ Leave a comment

Tags

baked cauliflower, cauliflower, healthy lifestyle, healthy living, healthy meals, oven roasted cauliflower, vegan, vegan meals, veganism, vegetarian, vegetarianism

Impoverished Vegan is not dead. I promise. I had a really crazy past few months and had to take a little break from cooking and writing. I had to take a school trip to Washington DC at the end of the semester with finals falling as soon as I got back; I was also in the middle of a huge job change. Things have finally settled down. Enough with the personal details. Let’s cook some cauliflower!!


Ingredients:

1 whole cauliflower                  ($0.99)
1 tbsp vegetable oil                      –
1½ cups vegan sour cream     ($0.75)
1 lemon, zested and juiced     ($0.10)
2 tbsp chili powder                  ($0.20)
1 tbsp cumin                            ($0.05)
1 tbsp garlic powder                ($0.03)
1 tsp curry powder                       –
2 tsp sea salt                                –
1 tsp black pepper                       –

Preparation:


Preheat the oven to 400°F. Spread the olive oil evenly over a baking sheet. Peel the green leafy stems from the base of the cauliflower. Cut the base level and flush with the florets so the cauliflower will sit evenly on a flat surface. Stir together the sour cream, lemon zest and juice, chili powder, cumin, garlic powder, curry powder, sea salt, and black pepper until fully combined. Dunk the cauliflower into the marinade and spread it across all the florets. Make sure the whole head is covered except the bottom. Place it on the baking sheet and bake for 30-40 minutes or until browned and slightly crispy. The marinade will create a dry crust across the cauliflower. Let it sit for 10 minutes before slicing it into wedges. Enjoy! 


You can use vegan yogurt instead but make sure it is plain

I added extra cumin and garlic powder for an extra KICK!

Do not be afraid to get your hands dirty to spread the marinade!

Yeah… the marinade looks goopy and gross before it is baked

I use a sheet of aluminum foil to keep the baking tray clean

Baking for a little bit extra will make a very crispy crust!

Feel free to experiment with your spices! Use dill and parsley!

For an Indian twist, use more curry powder!

You can cut it into fourths to share with others…

…or just eat the whole thing yourself! (I did.)

Spinach Artichoke Dip

21 Friday Mar 2014

Posted by whatahipster in Uncategorized

≈ Leave a comment

Tags

artichoke dip, Casserole, healthy lifestyle, healthy snack, party, party dip, spinach artichoke dip, spinach dip, vegan, vegan party dip, vegan spinach artichoke dip, veganism, vegetarian, vegetarian party dip

I actually had never really experienced spinach artichoke dip until I dined at Brixx Wood Fired Pizza. Sure, I tasted it at Super Bowl parties and family reunions but it was never really something that I saw as an exquisite dish or appetizer. Spinach Artichoke dip at Brixx is the most savory, warm, salty dip served with either pita bread or blue corn chips for the gluten-free. It completely opened my eyes to how amazing this dip can be. Since turning vegan, I have tried many imitations of cheese, cream, dairy, and meat. Other than when I made Vegan New England Clam Chowder, I feel like this recipe replicates the creamy, cheesy, gooeyness of non-vegan food the best! 


Ingredients:

  • 3 slices whole grain bread                      ($0.16)
  • 3 tbsp. vegan butter                                ($0.24)
  • 1 medium onion, diced                           ($0.24)
  • 1 tbsp. olive oil                                        ($0.02)
  • 2 cans white beans, drained, rinsed      ($1.10)
  • 6 tbsp. nutritional yeast                          ($1.60)
  • ½ cup vegetable broth                           ($0.35)
  • 2 tsp. sea salt                                         ($0.02)
  • ¼ tsp. dried basil                                    ($0.04)
  • 2 tsp. red pepper flakes                         ($0.06)
  • 6 cloves of garlic, minced                      ($0.99)
  • 8 cups of spinach, chopped                  ($1.60)
  • 2 cans artichoke hearts, drained           ($0.99)
  • 1 cup vegan mozzarella cheese            ($2.35)
  • 1 can french fried onions                       ($0.99)

Preparation:


Preheat the oven to 400°F. Place the bread and butter in a blender or food processor and blend to create a dough like consistency. Set aside. Insert the white beans, nutritional yeast, vegetable broth, salt, basil, and red pepper flakes in the same food processor and blend until smooth. Set aside. Sauté the onions in the olive oil on medium heat until translucent. Toss the garlic in and cook for 2 minutes. Add the artichoke hearts and stir until warmed. Slowly throw some of the spinach in a few handfuls at a time. Wilt the spinach and then add some more. This will take some time but will yield a healthy, hearty dip! Turn the heat off and add the white bean mixture and half of the mozzarella cheese. Stir until warmed through. Place in a casserole pan and spread the dough mixture over the top of the dip. Add the rest of the cheese on top and place a layer of aluminum foil over the dish. Bake for 20 minutes; remove the foil and add the french fried onions. Bake for an additional 15 minutes; you should have an irresistibly savory spinach and artichoke dip! 

Bread and Butter
Gooey butter dough
Bean Batter
Blended bean batter
Just onions… 
DELICIOUS GARLIC ONIONS
ALL THE SPINACH
Starting to look like artichoke dip
REMEMBER THE BATCHES
ADDING ALL THE SPINACH AT ONCE WILL MAKE A MESS
Wet, wilted, wonderful spinach
Even more gooey than you ever thought possible
Dollops of dough
This is Daiya brand mozzarella but Trader Joe’s has a nice version
Are you excited yet??
You do not have to add the whole jar
I LOVE FRIED ONIONS
The cheese is also optional but who does not love CHEESE??
Crunchy, creamy spinach dip
Layers of luscious dip
Another amazing artichoke entrée
Look at that oozing artichoke casserole!
Soooo….we ate the entire casserole in one sitting
It is seriously that DELICIOUS
Devilishly delicious dough makes a great addition to this dip
Look at my new kitchen! It is so much bigger than I am used to
I have room to take display food photos!
I still have a lot to learn so if you guys have any advice on
cooking OR photography, please let me know!

Alright, alright… this casserole dip concoction is a tiny bit more expansive than the recipes I usually post; if you do not eat it in one night it will save very well and actually evens out in price versus quantity of food. BUT WE ARE COWS AND VEGANS NEED MORE FOOD. Anyway, I just thought I would send a shout out to One Green Planet for providing the base for this amazing resskippee (how my boyfriend pronounces recipe, isn’t he cute?!) and another should out to my coworkers for being the guinea pigs for this recipe. Except that would involve animal testing. And I am vegan. And I am against animal testing. So never mind about the guinea pigs; I just want to thank them for being so supportive and eating the delicious food that I make. That is all.

Beet Hummus! from Healing Tomato

26 Wednesday Feb 2014

Posted by whatahipster in Uncategorized

≈ Leave a comment

Tags

beet hummus, beet recipe, beet root, healthy lifestyle, healthy living, hummus, vegan, vegan beet recipe, vegan snack, vegetarian

It is high time for a guest recipe! I have been following the Healing Tomato blog for a couple months now and have been fascinated by all of her recipes. It is a vegetarian blog but it would be very easy to turn her recipes vegan either by omission or vegan substitutions. When she posted this recipe for beet hummus, I just knew we were meant to be friends. I LOVE BEETS! I grew up on beets. My mom fed me beets like candy and I developed a taste for healthy vegetables. She used to put beets on cottage cheese and it was one of the best meals in the whole world. I have been meaning to look up some vegan cottage cheese to bring this memory back to me in vegan form. Anyway, back to the Healing Tomato. I do not even know her name but she is fabulous and the blog is a great read! Check her blog for the recipe for beet hummus! She is on Google+ as well. I will be making this as soon as I get a free moment. Working two jobs and being a full time student is very difficult, especially when trying to move across town during the middle of mid-term week! All this work will pay off in the long run. Who knows? Maybe this blog will transform from the Impoverished Vegan to the Almost-Above-Poverty-Line Vegan! Just one step closer to being the Rich Bitch Vegan that I have been dreaming of becoming.
 

Try it on apple slices, carrot sticks, pita bread, or triscuits!
The options are endless.

Spaghetti? How about Spaghetti aglio, olio e peperoncino

12 Wednesday Feb 2014

Posted by whatahipster in Uncategorized

≈ Leave a comment

Tags

light meal, light snack, light spaghetti, pasta, spaghetti, traditional spaghetti, vegan, vegan spaghetti, veganism, vegetarian, vegetarianism

I get a lot of my love for cooking from my mother. She was always creating tasty and exciting ways to get me to eat vegetables; she would sneak shredded zucchini and squash into spaghetti sauce. Almost every Friday she would cook up here spaghetti in a huge batch and it would last the whole week! It was usually served with carrot sticks with ranch dip and garlic toast. We would eat it for breakfast, lunch, and dinner! Her spaghetti is one of my absolute favorite meals even to this day! I had always associated tomato sauce with spaghetti and spaghetti with tomato sauce. That is how it was. That was spaghetti. I recently was referred to a recipe that claimed to be the traditional way spaghetti was prepared, except it did not use a tomato base for the sauce! Furthermore, there was not even really a sauce on it! It turned out to be extremely satisfying and light! If you need to avoid tomatoes or have frequent heart burn, try this type of spaghetti! 

Ingredients:

  • 1 serving pasta                    ($0.45)
  • 1 tbsp. minced garlic          ($0.15)
  • 2 tbsp. olive oil                     ($0.15)
  • 2 tbsp. chopped parsley     ($0.07)
  • ½ tbsp. red pepper flakes   ($0.09)
  • 1 tbsp. fresh lemon juice    ($0.04)

Preparation:


Cook the pasta according to the directions on the box. Drain and set aside. Heat the oil on medium heat and throw in the garlic once it has warmed. Sauté for one minute and throw in the pasta. Keep sautéing, stirring constantly and add the chopped parsley, red pepper flakes, and lemon juice. After 2 minutes remove from heat. You are done. That is it. Simple, savory spaghetti in less than 15 minutes! I cooked some mushrooms and asparagus in some garlic and oil for a side dish. For the salad, I used spinach, black olives, red onions, and balsamic vinaigrette. Any pasta dish can be cheezed up with Go Veggie! vegan grated parmesan cheese! Enjoy! 


Shu Mai done VEGAN! Happy Chinese New Year!

01 Saturday Feb 2014

Posted by whatahipster in Uncategorized

≈ Leave a comment

Tags

chicken and prawn dumplings, chinese new year, dumplings, shu mai, siu mai, vegan chicken and prawn dumplings, vegan chinese new year, vegan dumplings, vegan new year, veganism, vegetarian, vegetarianism

FAIR WARNING! This recipe is not necessarily for the Impoverished Vegan, as it is relatively expensive. As of late, and in an attempt to recreate the traditional meals of a specific culture, I hereby submit a recipe that would not normally be vegan. This is a blog post attempting to recreate a meat-filled dish without the meat. It will be 100% vegan. As a traditional Chinese dumpling, I had never consumed Shu Mai or Siu Mai, even as an omnivore. These pork, chicken, or seafood dumplings are served for the Chinese New Year on January 31. Yes, I have had Crab Rangoon or Crab Wontons, as has every civilised human in the modern world. When I joined the exclusive community known as foodies+ on Google+, I had NO idea they were definitely a force to be reckoned with. They are a super active community that supports and encourages new recipes and ideas! JUST MY NICHE! Be sure to check out the page and plus one them! I fit in very well there and am very proud to announce my first commissioned piece as a member of foodies+! Introducing, VEGAN ShuMai Chicken and Prawn Dumplings! 

Ingredients:

  • 2 cups chicken (meatless grill strips)      ($3.99)
  • 1 cup shiitake mushrooms                         ($1.99)
  • 2 tbsp. shrimp seasoning                          ($0.21)
  • 2 cups no-chicken broth                             ($0.35)
  • 2 tbsp. woodear mushrooms                   ($1.00)
  • ½ tbsp. fresh shredded ginger                 ($0.17)
  • 1 tbsp. scallion root (white part)              ($0.12)
  • 1 carrot, finely peeled                               ($0.10)
  • ⅛ tbsp. sesame oil                                    ($0.01)
  • 3 dashes white pepper                             ($0.01)
  • ½ tbsp. corn starch                                   ($0.02)
  • 2 dashes salt                                             ($0.01)
  • peas for garnish                                        ($0.05)
  • vegan wonton wrappers                         ($3.50)
  • hoisin garlic sauce                                  ($1.50)

Preparation:

At first, I tried to make my own wonton wrap because it was difficult to find a vegan version without egg. It failed. It was exceedingly dry and fell apart extremely easily. I eventually stumbled upon a wrap that just so happen to not contain egg! It was slightly smaller than a wonton wrap but that was fine with me. 

For the shrimp, I used shiitake mushrooms marinated in no-chicken broth and shrimp seasoning; the chewiness of the mushrooms imitates actual shrimp. For the mushrooms, I had to rehydrate dried woodear mushrooms by soaking them in no-chicken broth and I added some shrimp seasoning to these mushrooms as well. Simple Truth makes a wonderful frozen chicken breast imitation. Strain the mushrooms after about an hour. Thaw the frozen chicken breast strips. Place them in a food processor with the mushrooms, ¼ cup no-chicken broth, ginger, scallion root, carrots, sesame oil, white pepper, corn starch, and salt. Puree until finely chopped or desired consistency. Heat the leftover marinate from the mushrooms in a pan on medium until it starts to bubble. Place 1 tablespoon of the mixture in the center of a wonton wrapper and wrap up tightly. Make a few and place them in the pot a few at a time. Steam for at least 5 minutes. Garnish with the peas, a few sliced carrots, and hoisin garlic sauce! 

As healthy as I try to eat, I still love fried food! I had an urge to throw these dumplings in some hot oil and fry them up! It was a success! I turned the traditional dumpling into an Americanized treat! Eastern tradition meets Western gluttony with these fried Shu Mai. I actually went a step further and topped them with my vegan cheese sauce too. Enjoy! 

See? They even somewhat look like prawns… haha

This broth has a wonderful, deep flavor, without the meat!
The woodear mushrooms have a captivating suble taste.

Soak for about one hour and they will absorb the liquid and rehydrate

Soak these for one hour as well and they absorb that shrimpy sea flavor

My ginger was a little old so the skin was tough to peel off but
there is nothing like fresh ginger to kick start any recipe
 
Beautiful, natural vegetables

Pulse, pulse, scrape down the sides, pulse, pulse

Looks like chicken, tastes like chicken, does not contain chicken!

Be careful not to overfill the dumplings or they will fall apart

Soft dumplings
FRIED DUMPLINGS! 

WITH VEGAN CHEESE!
Happy Year of the Horse! May it be filled with good fortune and good eats. Cruelty free eats that will reduce your cholesterol to zero, I may add. Even if you still consume meat and dairy, try this recipe out and you will fall in love with vegan food!

Stuffed Mac & Cheese Casserole!

27 Monday Jan 2014

Posted by whatahipster in Uncategorized

≈ Leave a comment

Tags

Casserole, mac and cheese, mac and cheese casserole, stuffing, stuffing casserole, vegan, vegan casserole, vegan cheese, vegan mac and cheese, veganism, vegetarian, vegetarian casserole, vegetarianism

I was waiting to write this recipe until I had posted the Mac & Cheeze blog because it uses the same cheese sauce. This is seriously one of the best casseroles I have ever consumed! And I made up the crazy recipe on accident! After Thanksgiving, I had a bunch of stuffing leftover and did not want it to spoil. I also happen to have leftover Mac & Cheeze. It was a divine intervention! I thought, “Why not combine two of my most favorite things into a casserole!” And perfection was born. I do not want to know how many calories are in it; being vegan, it does not really matter! Make this cheesy casserole the next time you need to warm up! 

Ingredients:


1 unit Mac & Cheeze – recipe here      ($4.03)
1 box vegan stuffing                            ($0.99)
1 jar french fried onions                       ($0.75)

Preparation:


Make the Mac & Cheeze according to the recipe. Prepare the stuffing according to the directions on the package. Place a layer of the stuffing on the bottom of a casserole dish. Put a layer of Mac & Cheeze on the stuffing. Add another layer of stuffing and the last of the Mac & Cheeze. Top with the fried onions and bake for 20 minutes on 350°F. Crunch and munch and then relish the deliciousness of cheesy stuffing casserole! 

For the stuffing, I melted vegan butter in some water

Once boiling, I removed it from heat and covered for 5 minutes

The stuffing is made!

Herbes de Provence makes for a delightfully tasty stuffing

Cheesy goodness! The excess sauce drips down
and saturates the stuffing in cheeeeeeese!

For added texture, add a layer of fried onions in between
each layer of stuffing and cheese

ALL THE CARBS but it is so delicious and so vegan
that you do not have to feel any guilt at all!


Roasted Red Pepper Mac & Cheese

20 Monday Jan 2014

Posted by whatahipster in Uncategorized

≈ Leave a comment

Tags

cashew cream, cheese, healthy lifestyle, healthy living, mac and cheese, vegan, vegan cheese, vegan mac and cheese, veganism, vegetarian, vegetarianism

Mmm*Mac & Cheese! Everybody loves it. It seems everyone I talk to says, “Yeah, I could not be a vegan because I would miss cheese too much!” Let me be the first to say I thought the same thing! I loved eating cheese. I had cheese with every meal. Cheese was a meal. Mac & Cheese was my favorite meal to eat when it was cold outside. My mother would always make me homemade cheese sauce over spaghetti noodles. I would request it every morning and it was my absolute favorite breakfast. Vegan cheese recipes can be super simple simulations of ooey-gooey cheese. 

Ingredients:

  • 3/4 cup raw cashews (soaked)              ($0.95)
  • 2 tsp. olive oil                                           ($0.01)
  • 1 onion, diced                                          ($0.18)
  • 2 cloves garlic, minced                           ($0.38)
  • 2 cups vegetable broth                           ($0.65)
  • 1 1/2 tbsp. corn starch                            ($0.05)
  • 1 1/2 tbsp. nutritional yeast                    ($0.18)
  • 1 roasted red pepper                              ($0.45)
  • 1 tbsp. tomato paste                              ($0.12)
  • 1 tsp. salt                                                 ($0.01)
  • 1 tsp. ground mustard                            ($0.03)
  • 1/2 tsp. turmeric                                      ($0.03)
  • 1 box of pasta                                         ($0.99)

Preparation:

Cook the pasta according to the directions on the package. Sauté the onions in olive oil until they become translucent. It should not take more than 5 minutes. Add the garlic and sauté 30 seconds. You do not want to overcook the garlic and lose the flavor. Add this mixture to a blender or food processor. Add the drained cashews, vegetable broth, corn starch, nutritional yeast, red pepper, tomato paste, salt, ground mustard, and turmeric. Blend until smooth. Smoothness is important. If you have read my previous blogs involving cashews, you will understand that it is very important to have a smooth sauce. The texture is gritty, rough, and crunchy. Transfer the sauce to the pan used to sauté the onions. Heat on medium-low for 10 minutes or until it starts to thicken. Once thick, add the pasta until the whole mixture is warmed through. SERVE and MUNCH! 

Sautéing the garlic for only 30 seconds will keep the flavor
of the garlic at the optimal level 

At first it was weird to add hot onions and garlic to a blender
but the flavors of these are key to creating a cheesy flavor!

The sauce will slowly thicken. KEEP STIRRING!
The first time I made this, I slightly burned the bottom
of the cheese sauce; it burns very easily so keep stirring

I used Lumaconi pasta instead of shell pasta or macaroni
because they look way cooler and they were
significantly less expensive at Aldi

There you have it. Delicious mac and cheese! 
Since it has been so long since I have had actual dairy cheese, the vegan mind will almost forget what actual cheese tastes like and this faux cheese will totally satisfy all of your cheese cravings! I will challenge any cheese-eater to try this cheese sauce and tell me that it does not imitate mac and cheese extremely closely. I am still working on a few more cheese blogs so get hype! I hope to publish them very soon! For now, enjoy this delightful take on the American staple using cashews instead of dairy! 

This is a modification of Isa Chandra’s Pizza Mac & Cheese recipe from Post Punk Kitchen. I love her work and she is the most exceptional vegan chef! Check out her blog at the Post Punk Kitchen! 
← Older posts

Impoverished Vegan

Impoverished Vegan

Create a website or blog at WordPress.com

Privacy & Cookies: This site uses cookies. By continuing to use this website, you agree to their use.
To find out more, including how to control cookies, see here: Cookie Policy
  • Subscribe Subscribed
    • Impoverished Vegan
    • Already have a WordPress.com account? Log in now.
    • Impoverished Vegan
    • Subscribe Subscribed
    • Sign up
    • Log in
    • Report this content
    • View site in Reader
    • Manage subscriptions
    • Collapse this bar
 

Loading Comments...