• About

Impoverished Vegan

Impoverished Vegan

Tag Archives: vegan

New England "Clam" Chowder

29 Sunday Dec 2013

Posted by whatahipster in Uncategorized

≈ Leave a comment

Tags

Atlantic Ocean, Clam, Clam chowder, cooking, New England, new england clam chowder, post punk kitchen, vegan, vegan clam chowder, vegan cooking, veganism, vegetarian, vegetarian clam chowder, vegetarianism

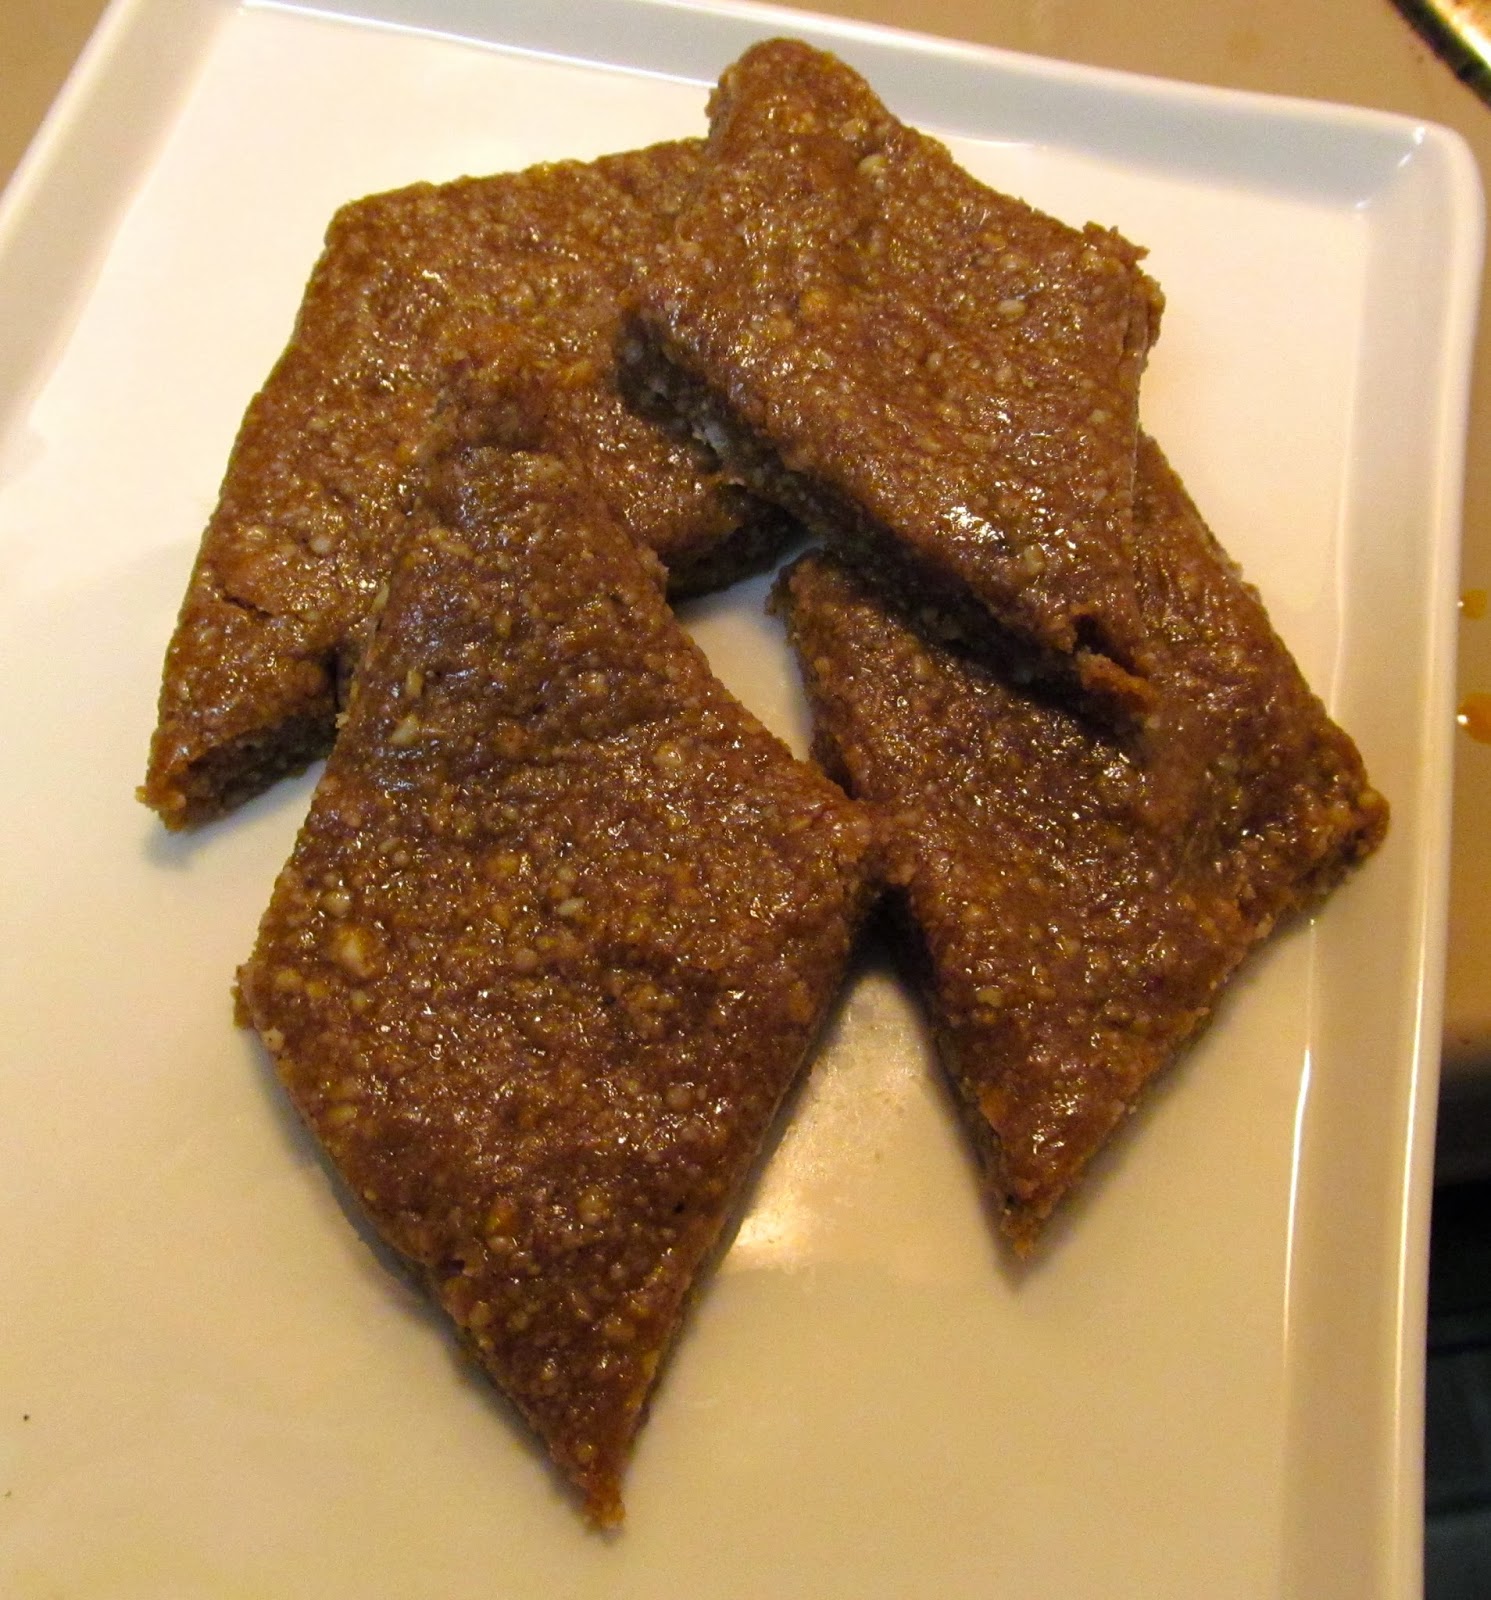
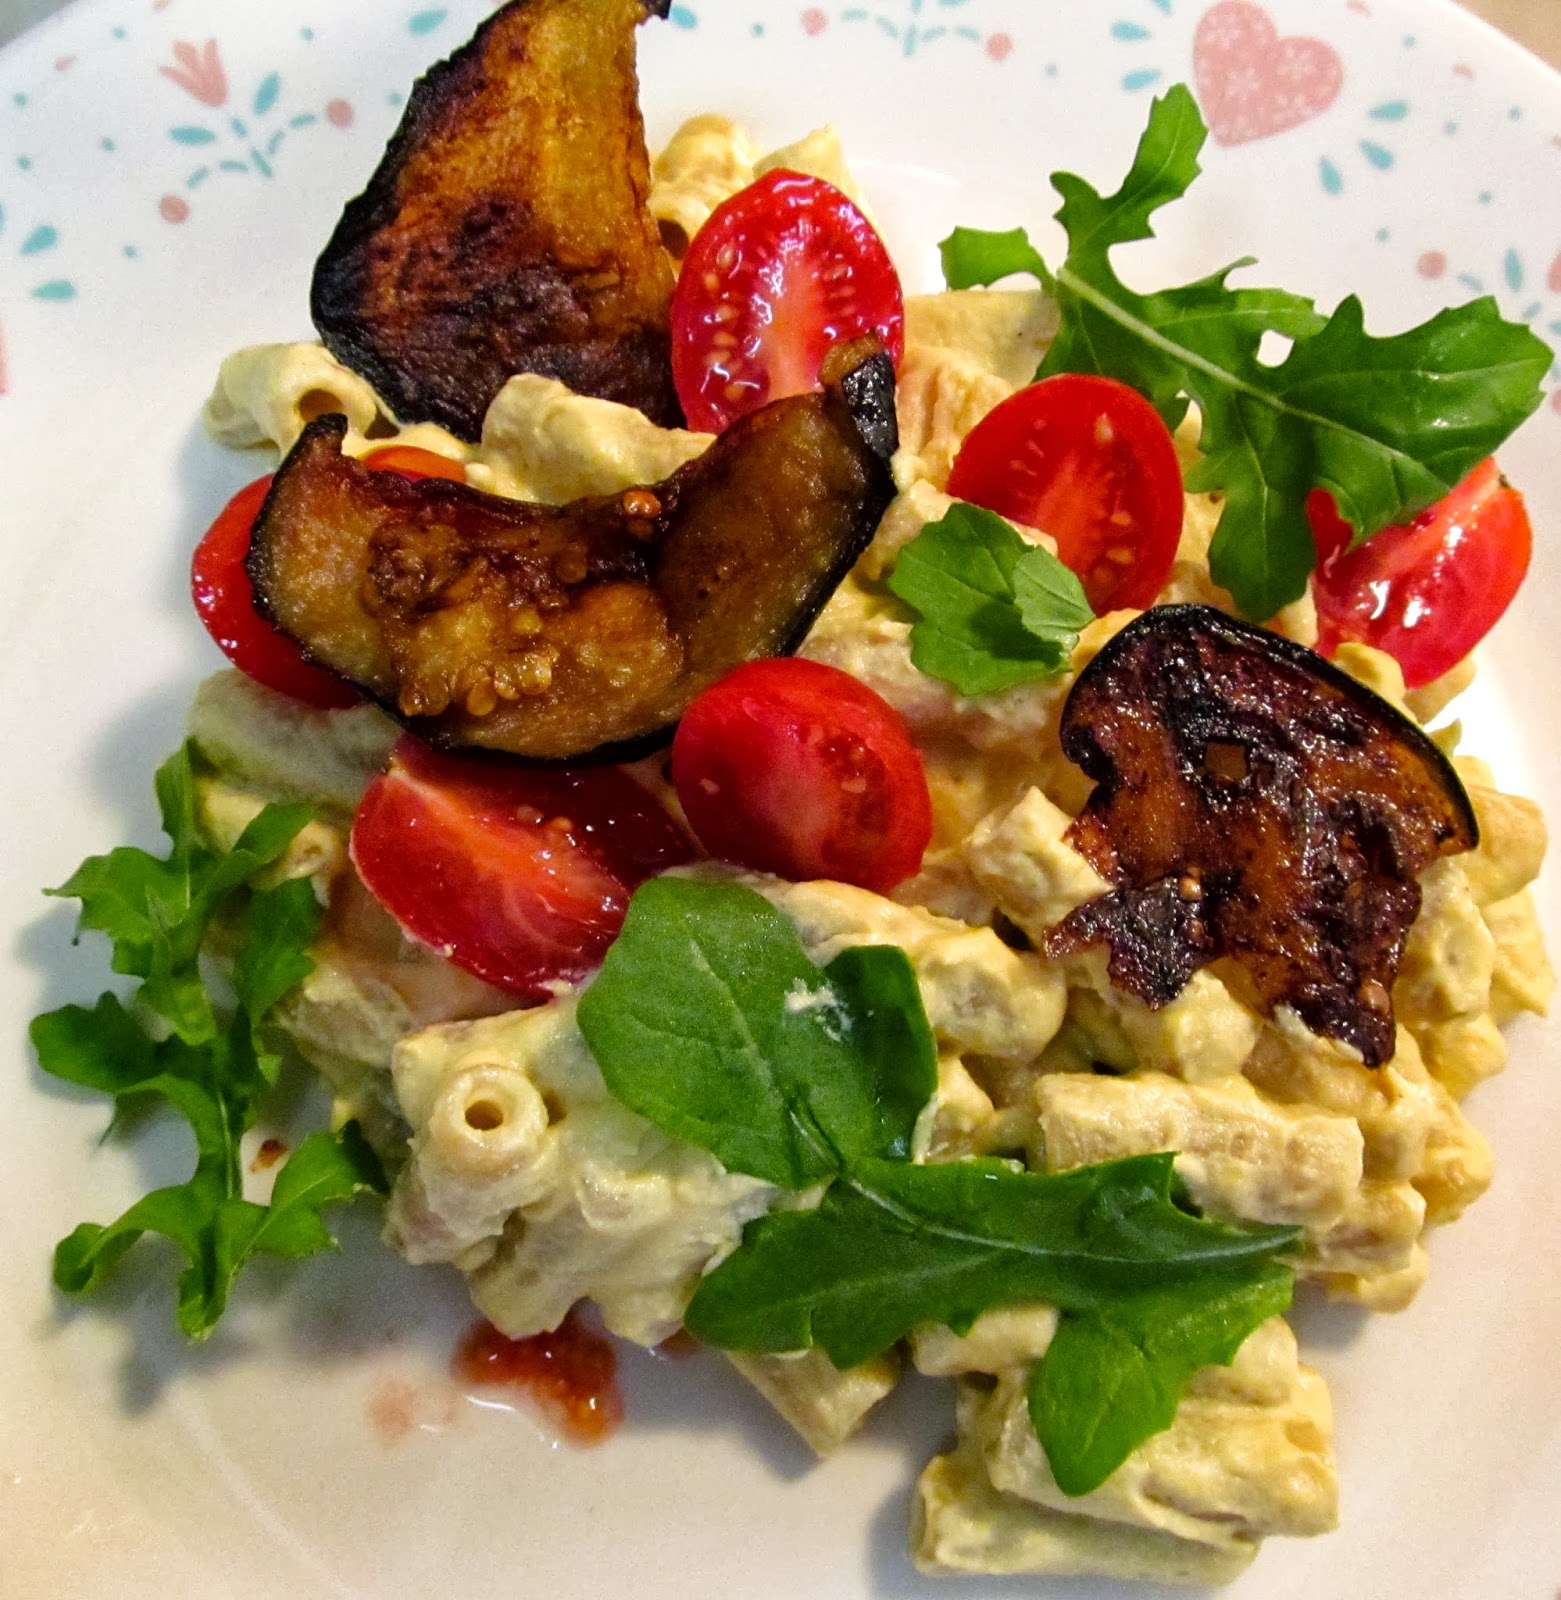
This blog post has been a long time coming. I made this for the first time back in October and am just now posting it. Why? Procrastination. It’s a bitch. Anyway, I am here to present to you…Vegan Clam Chowder! Another incredible recipe from the Post Punk Kitchen, Isa nails it! She calls hers the New England Glam Chowder, which is super fitting for her post punk theme. The first time I made it, I let it simmer for too long and it turned out super thick but still delicious. The second time, it was the proper consistency and tasted EXACTLY like clam chowder. Like, for real. The salt and brine of the Atlantic Ocean was in every spoonful. YET NO ANIMAL CRUELTY!!

Ingredients:

  • 1 cup cashews (soaked min. 2 hours)       $2.12
  • 2 cups vegetable broth                              $0.24
  • 4 tsp. corn starch                                      $0.05
  • 1 tbsp. olive oil                                             –
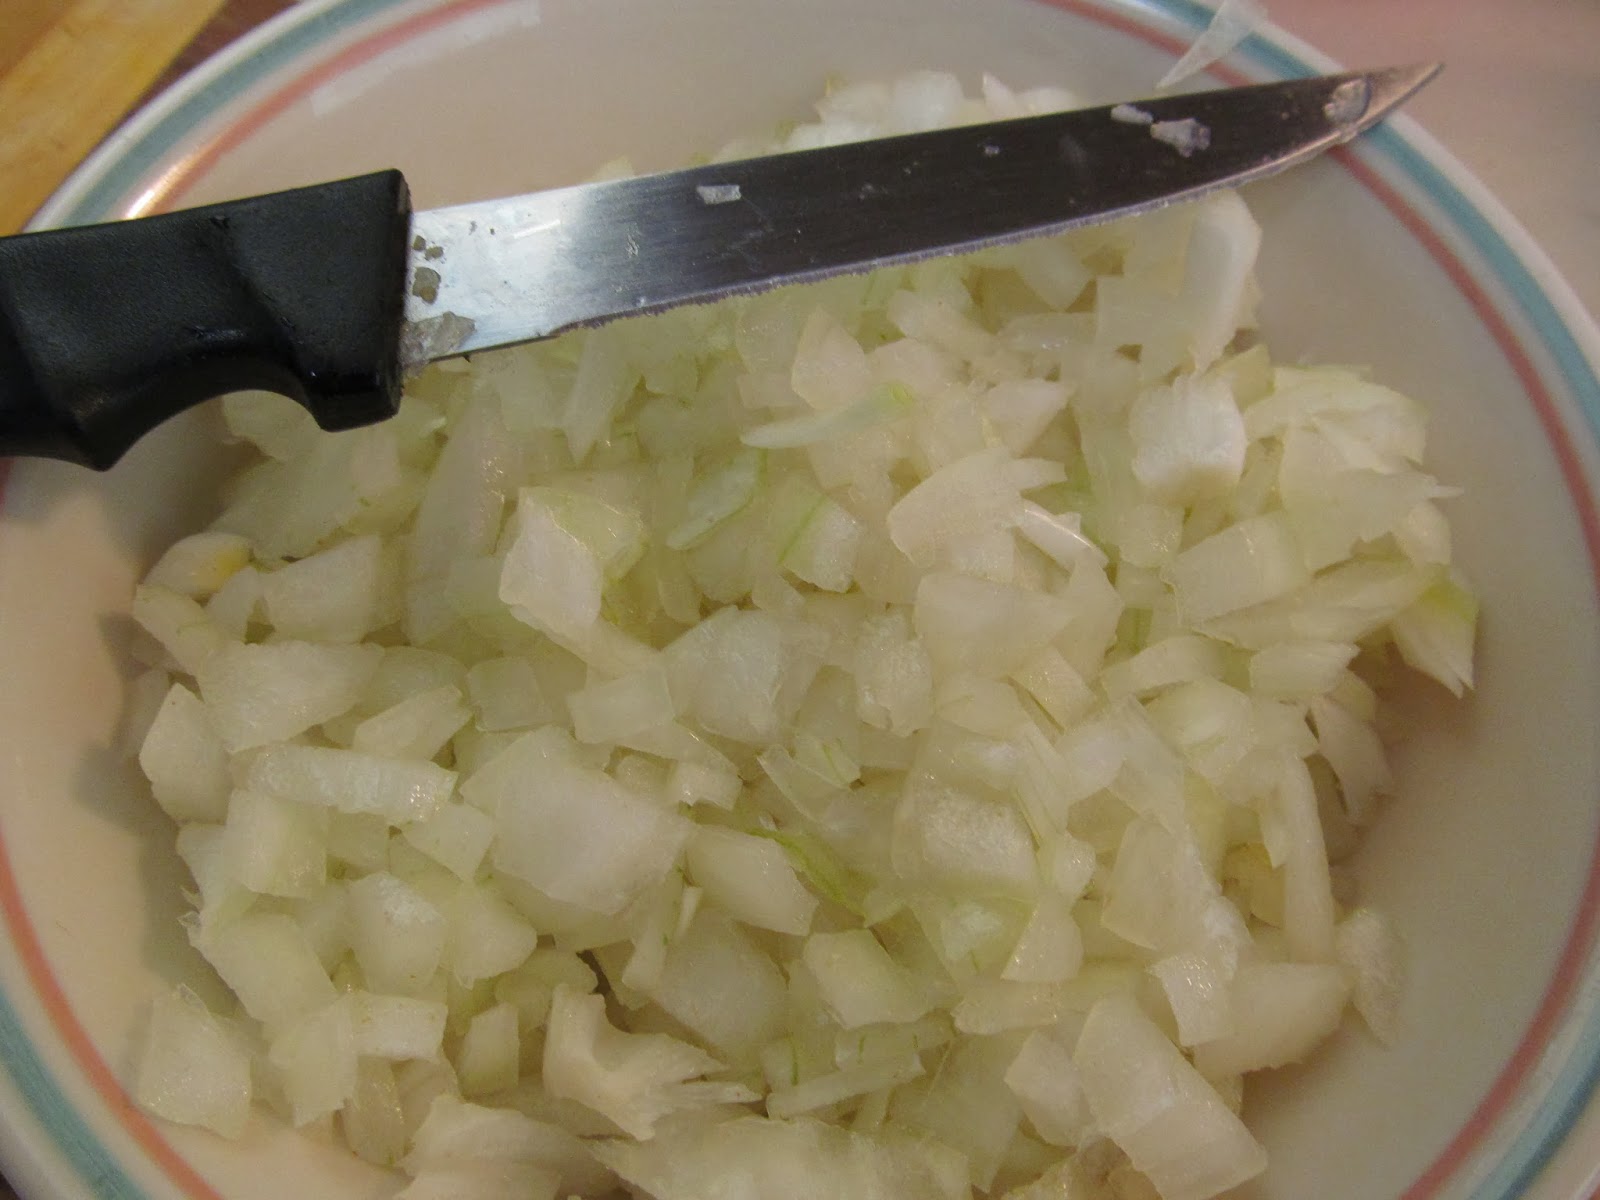
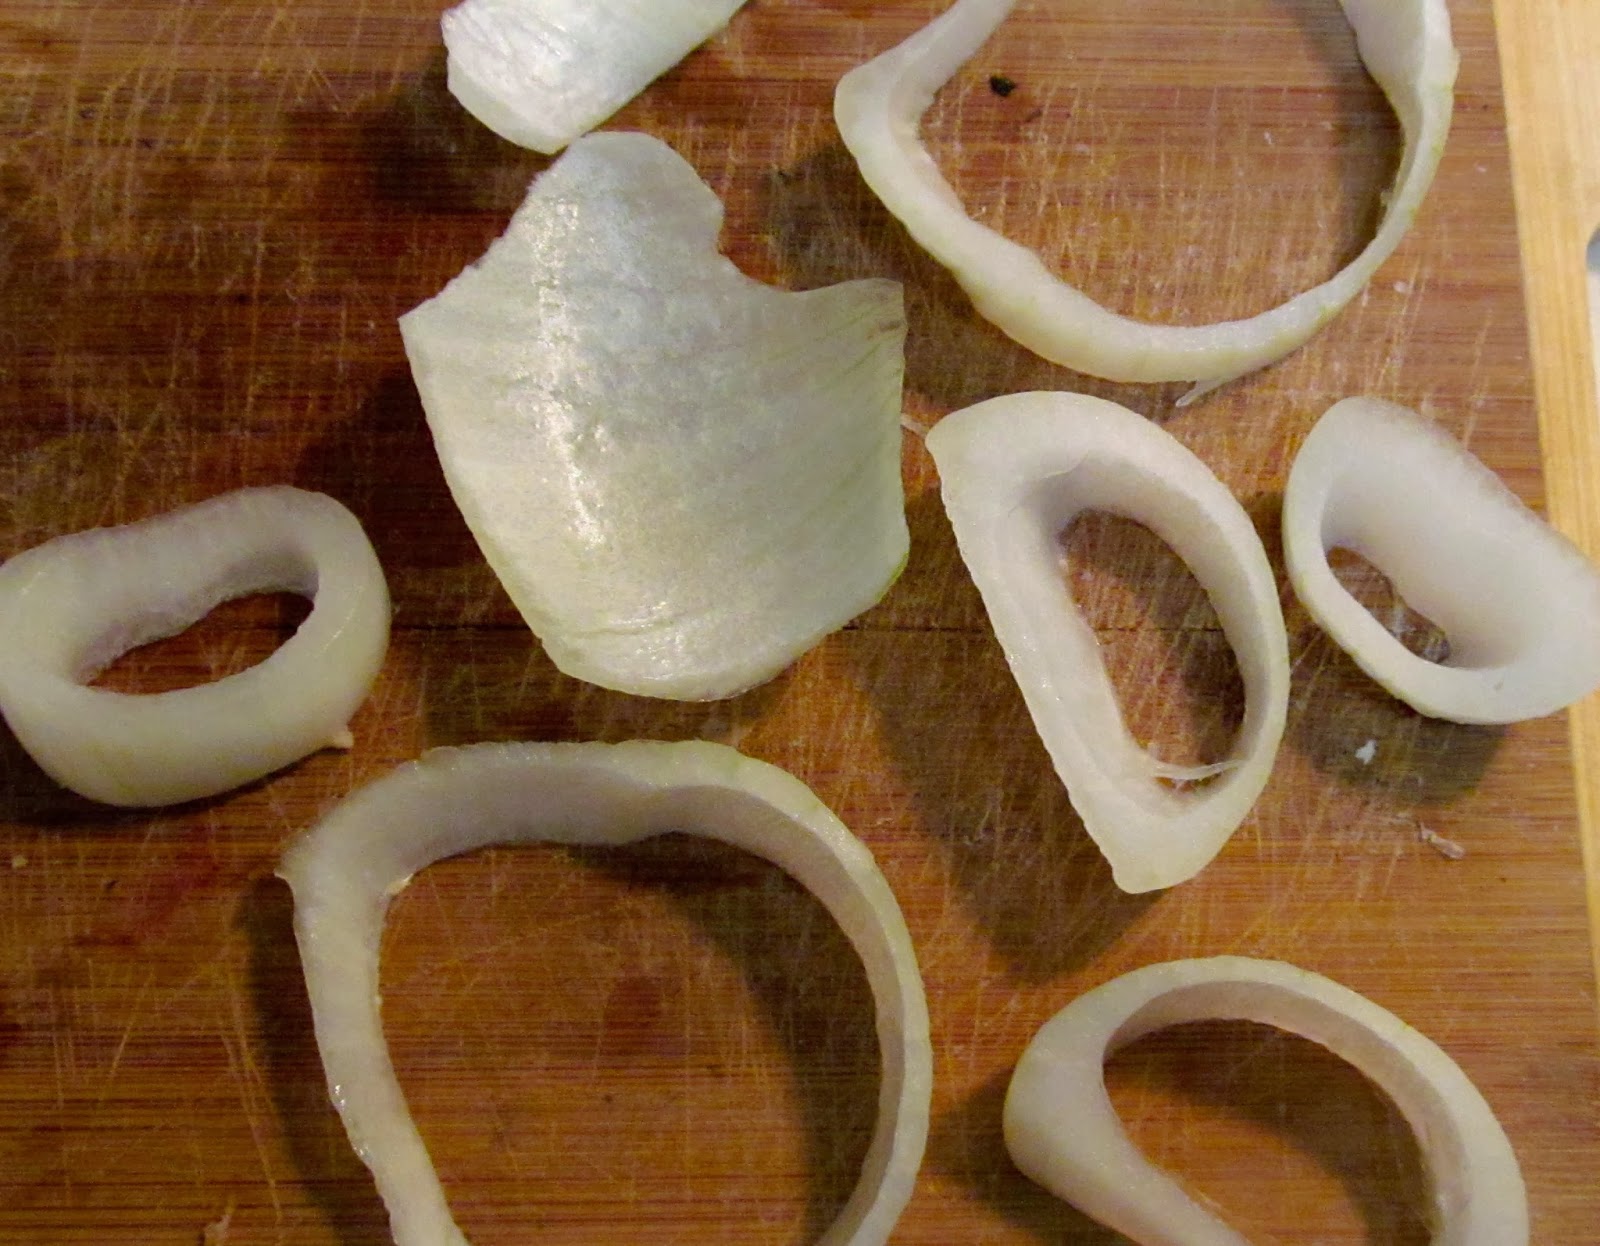
  • 1 large yellow onion, diced                        $0.19
  • 3 carrots, peeled and chopped                 $0.12
  • 3 stalks of celery, chopped                       $.012
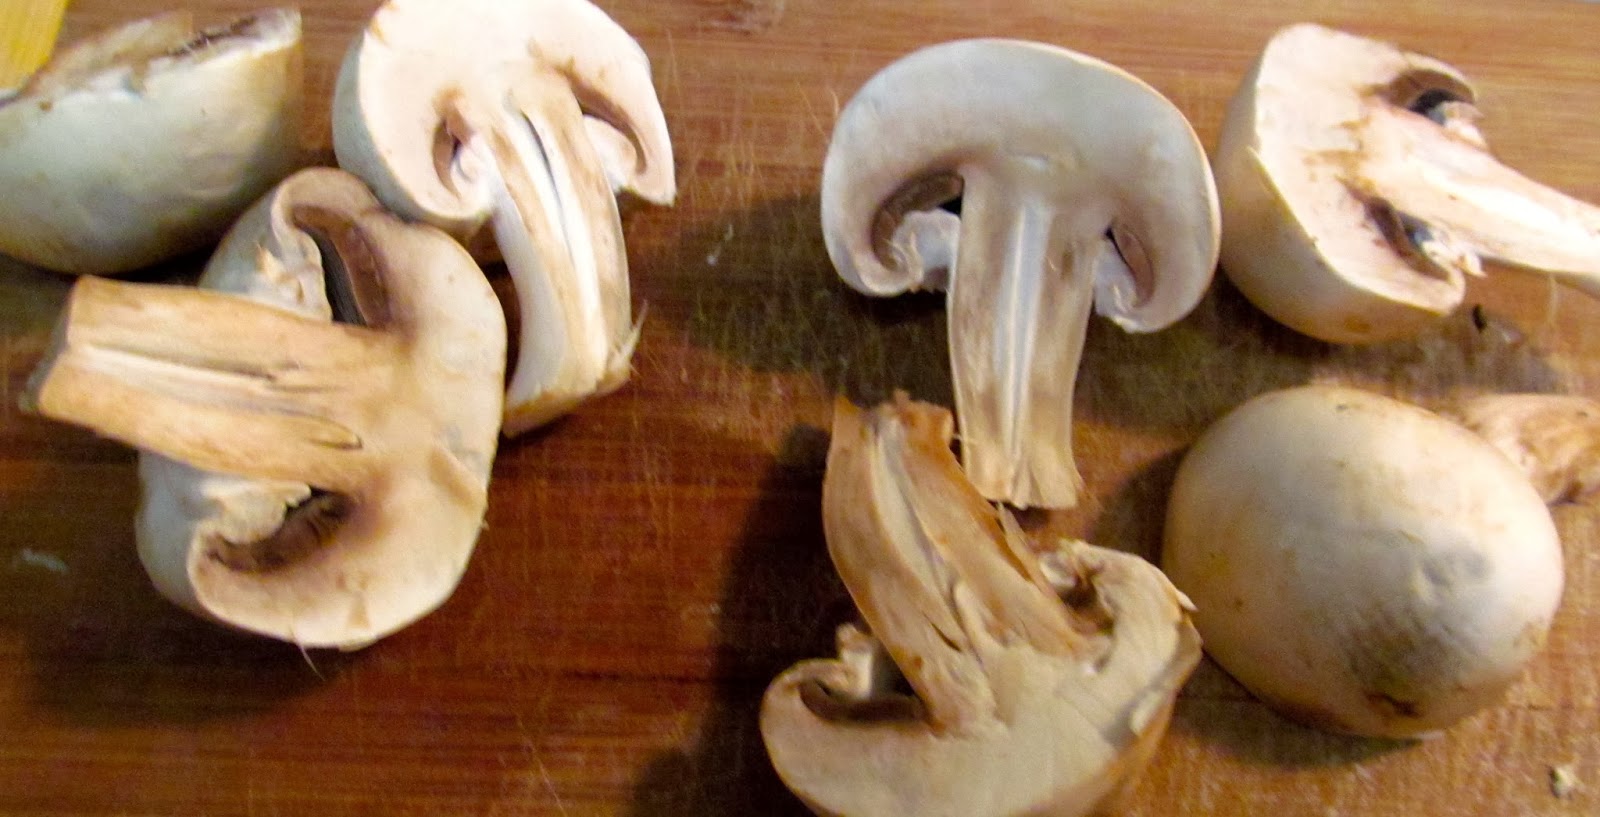
  • 4 oz. shiitake mushrooms, sliced              $0.99
  • 8 oz. button mushrooms, sliced                $0.99
  • 2 russet potatoes, peeled and chopped   $0.32
  • 1 tsp. salt                                                      –
  • 2 nori sheets, finely chopped                    $0.75
  • 3 cups vegetable broth                             $0.36
  • 2 tbsp. tomato paste                                $0.24
  • 2 tbsp. lemon juice                                   $0.12

Preparation:


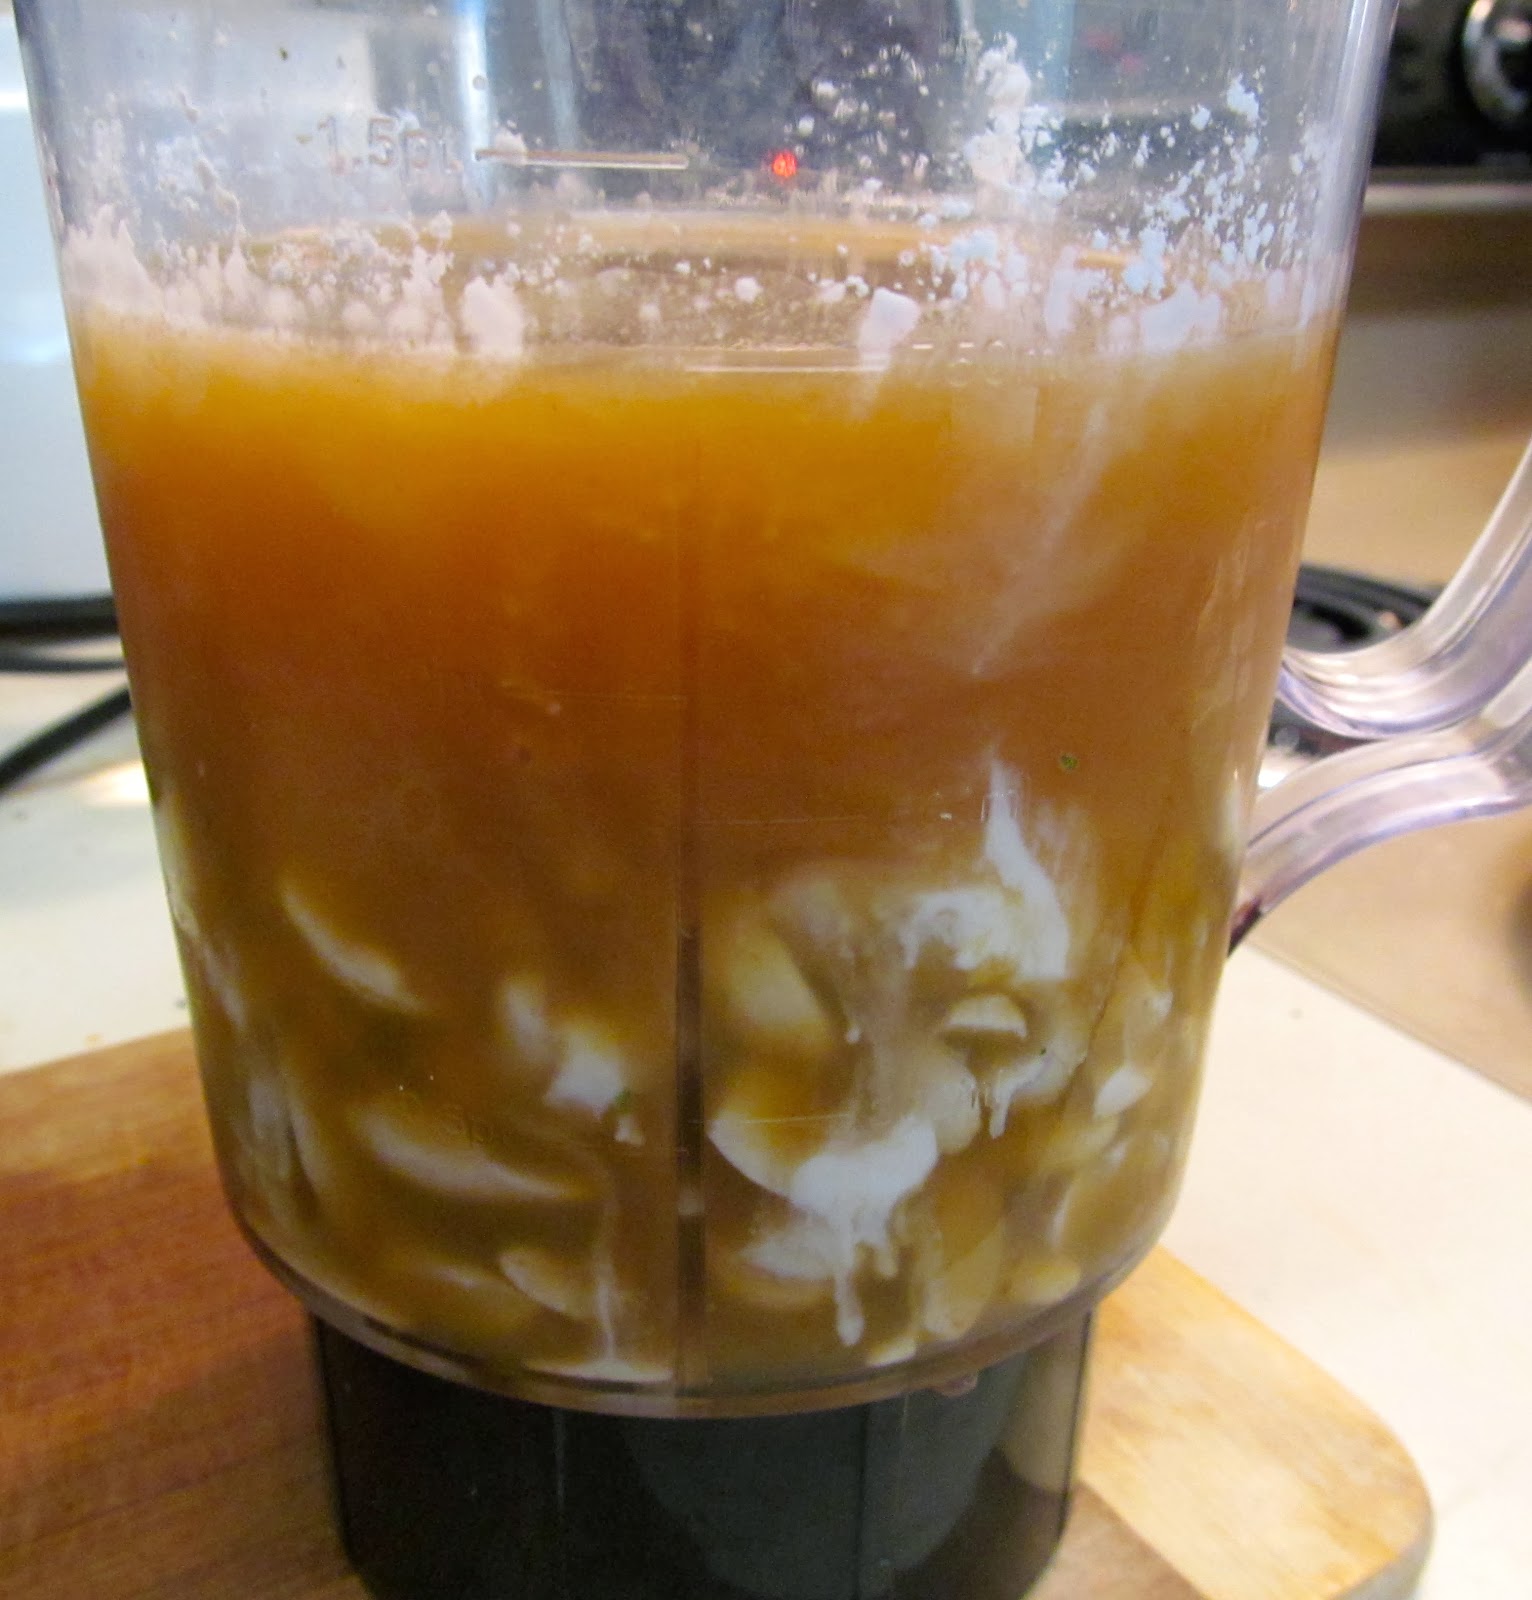
Saute the carrots and onions in a large soup pot in olive oil until tender. Add the mushrooms and celery. Cook until tender, but do not overcook; the mushrooms take the place of the clam parts so it is best if they are still a bit chewy. Add the potatoes, nori, salt, and 3 cups vegetable broth and cover. Bring to a boil and reduce heat to low. Cook for 10-15 minutes or until the potatoes are tender. Drain the cashews and add to a blender. Add 2 cups of vegetable broth and corn starch. Blend until smooth. This may take a little time; the sauce must be very smooth or the soup will have tiny little cashew pieces and taste gritty. Slowly add the cashew cream sauce and gently simmer for about 7 minutes; it should start to thicken. When it has reached desired consistency, add the tomato paste and lemon juice. It is now ready to swerve! I mean, serve. Garnish with crumbled saltine crackers for a nice little crunch!

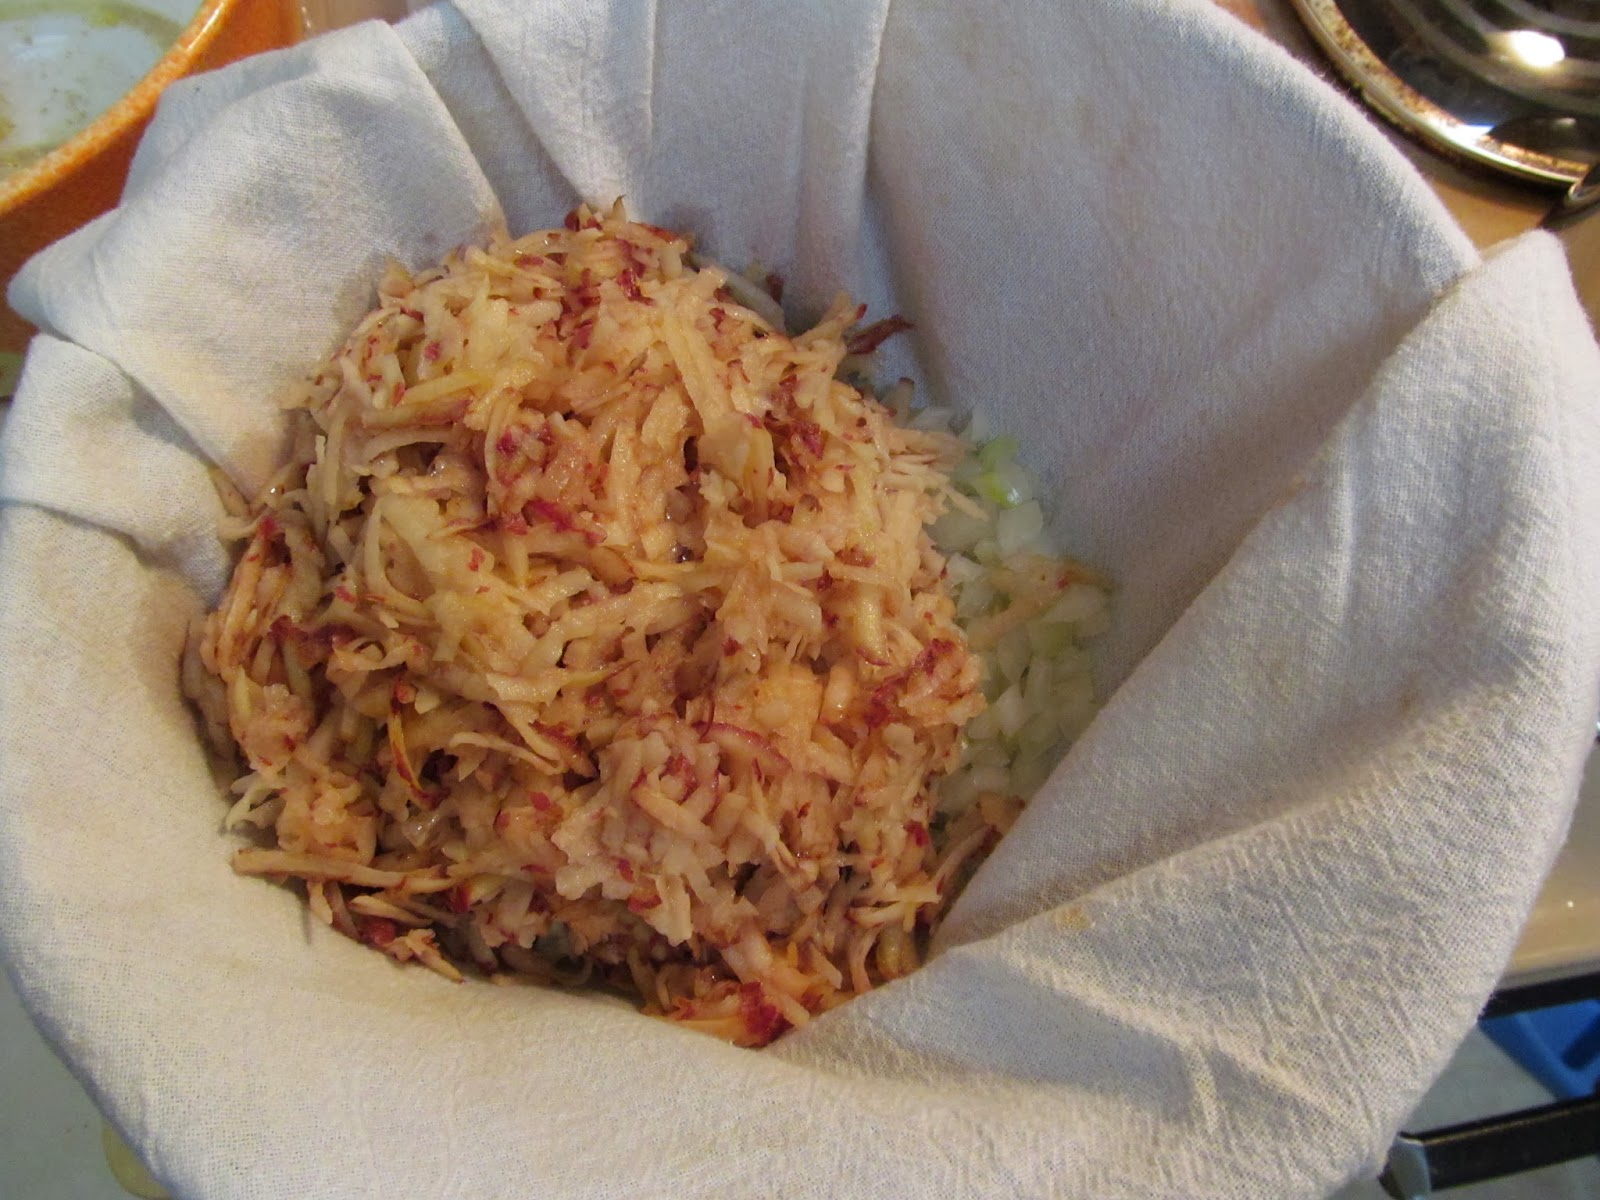
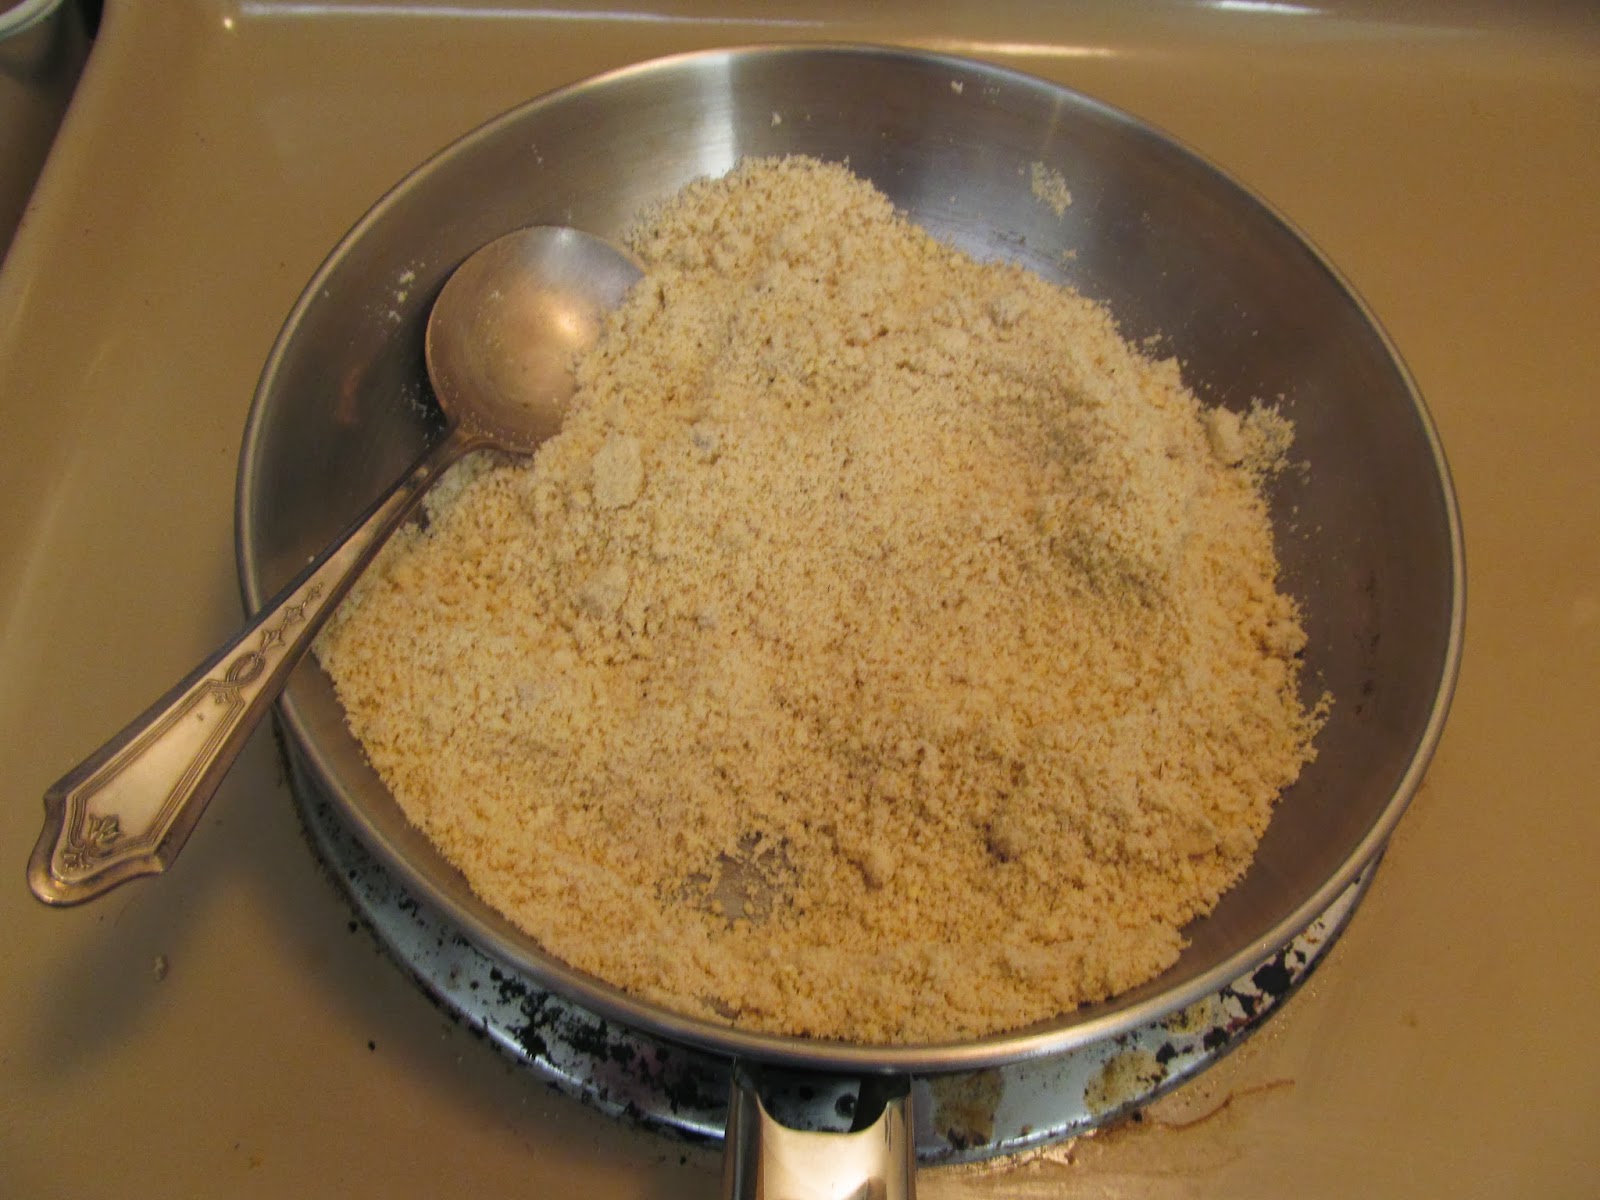
There is a lot of chopping going on in this recipe
A food processor will ease your wrist and the prep time

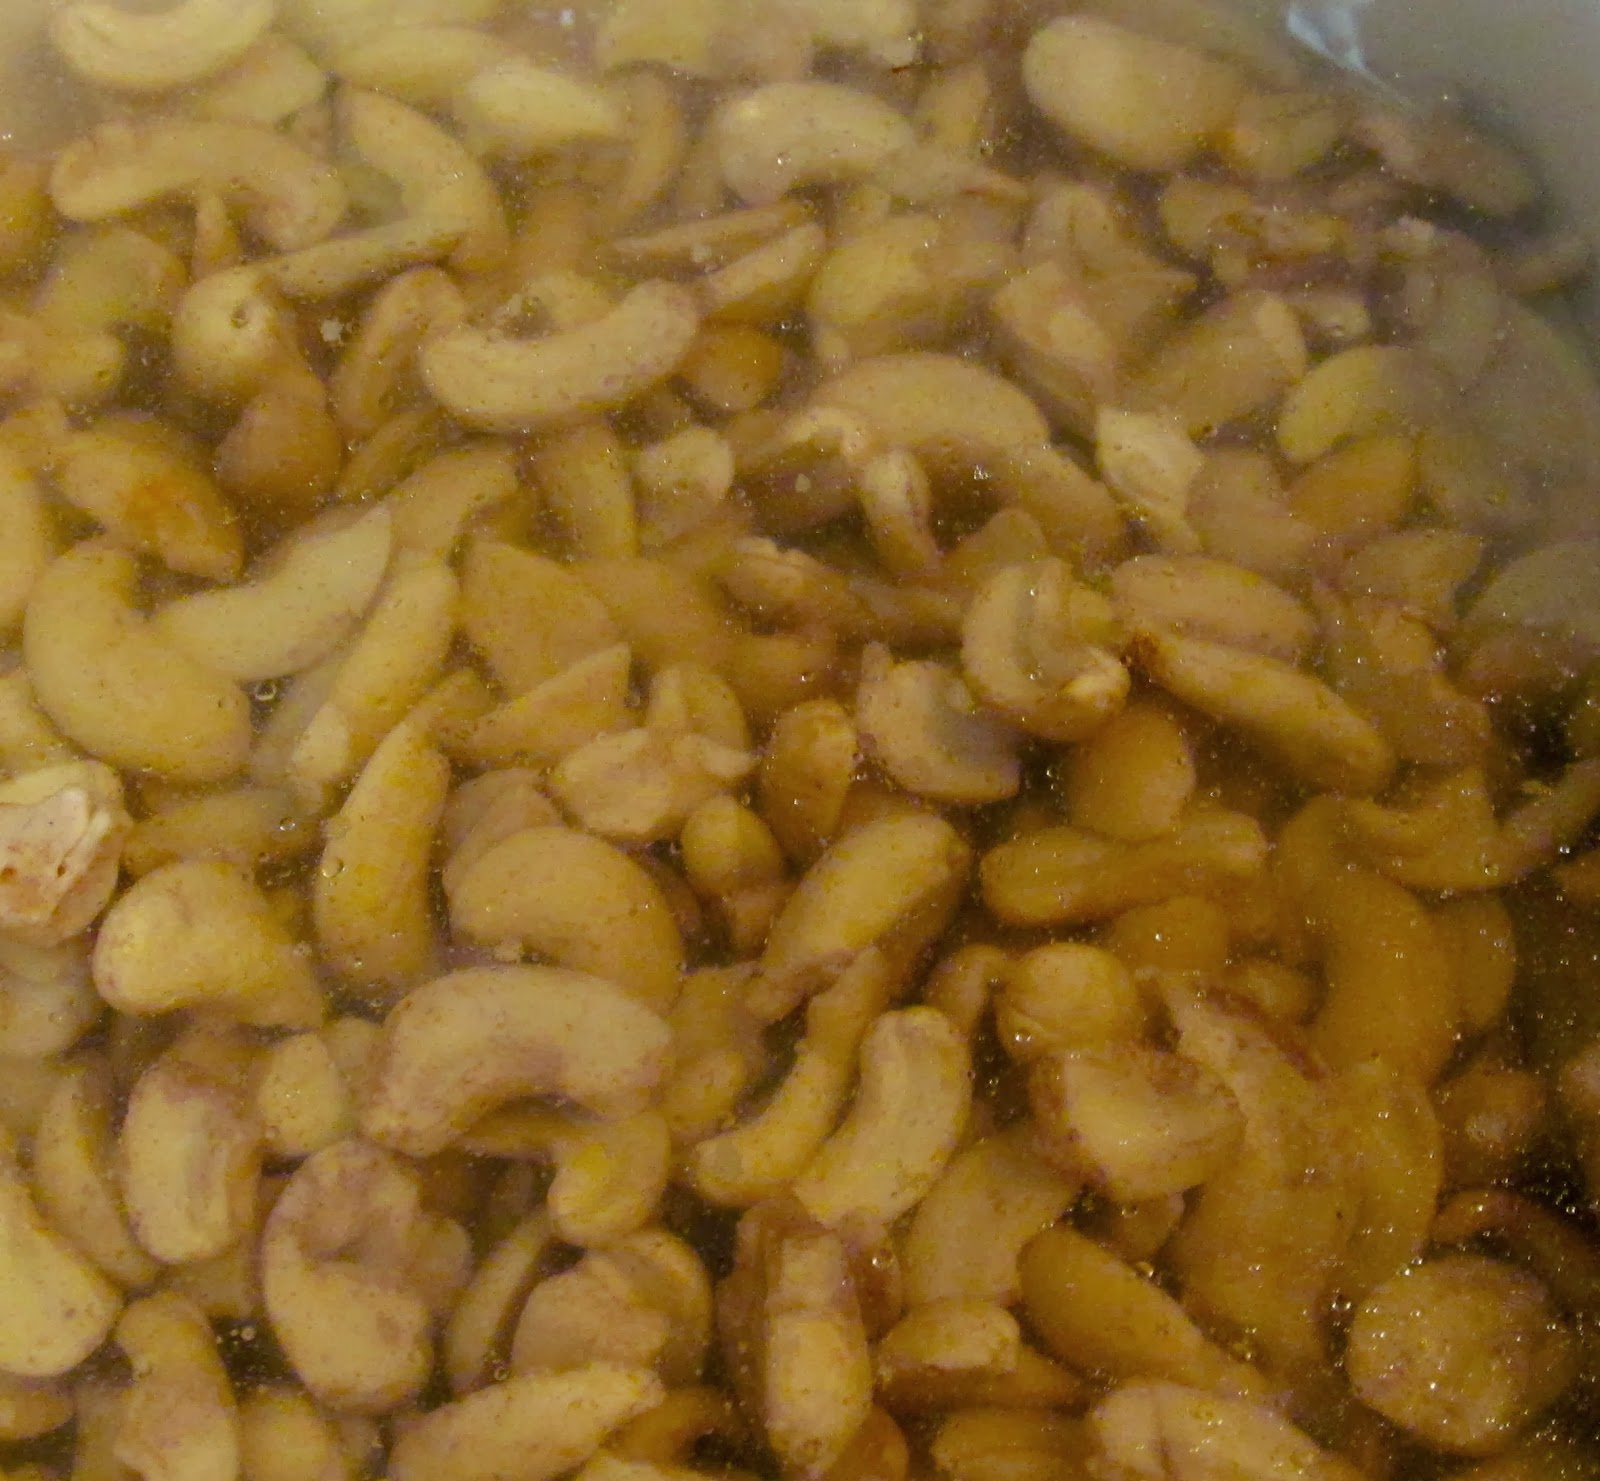
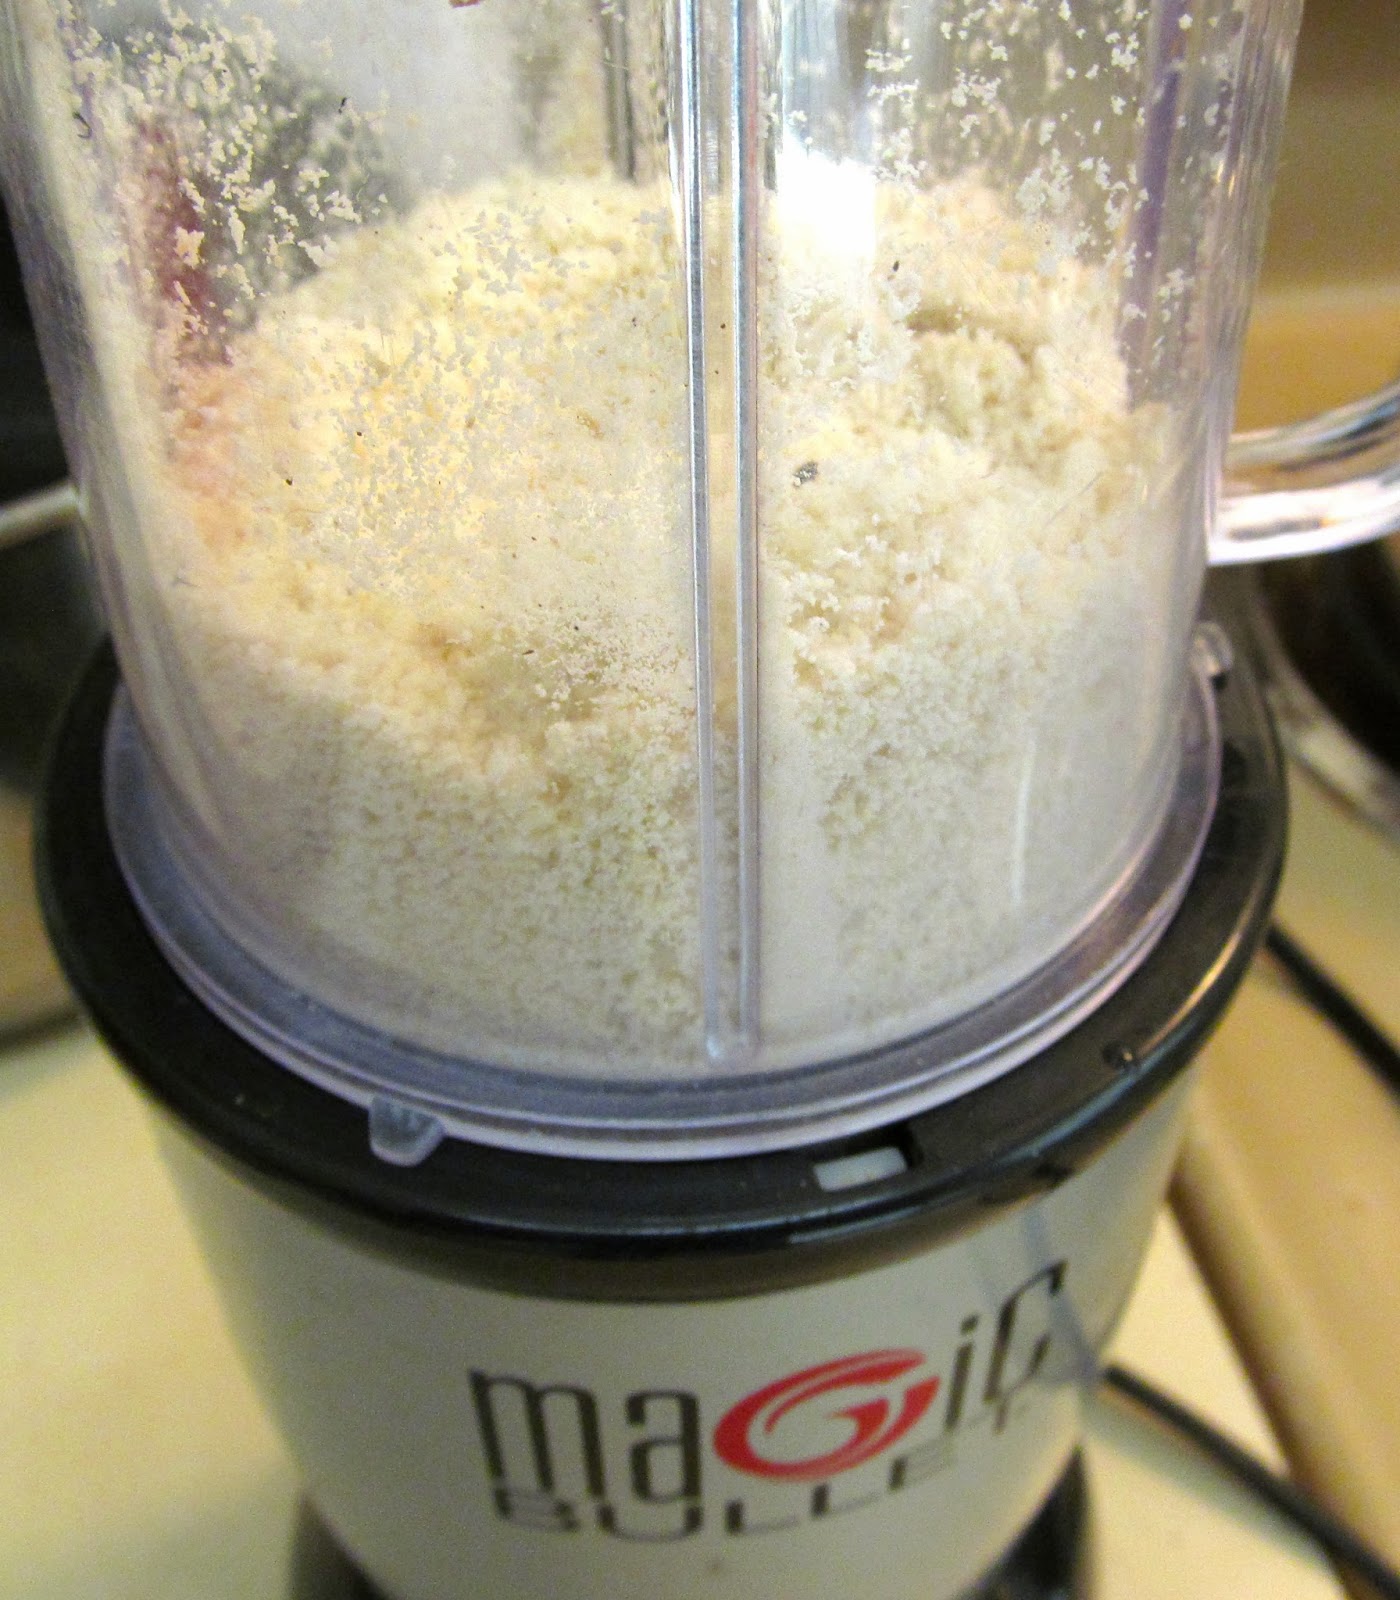
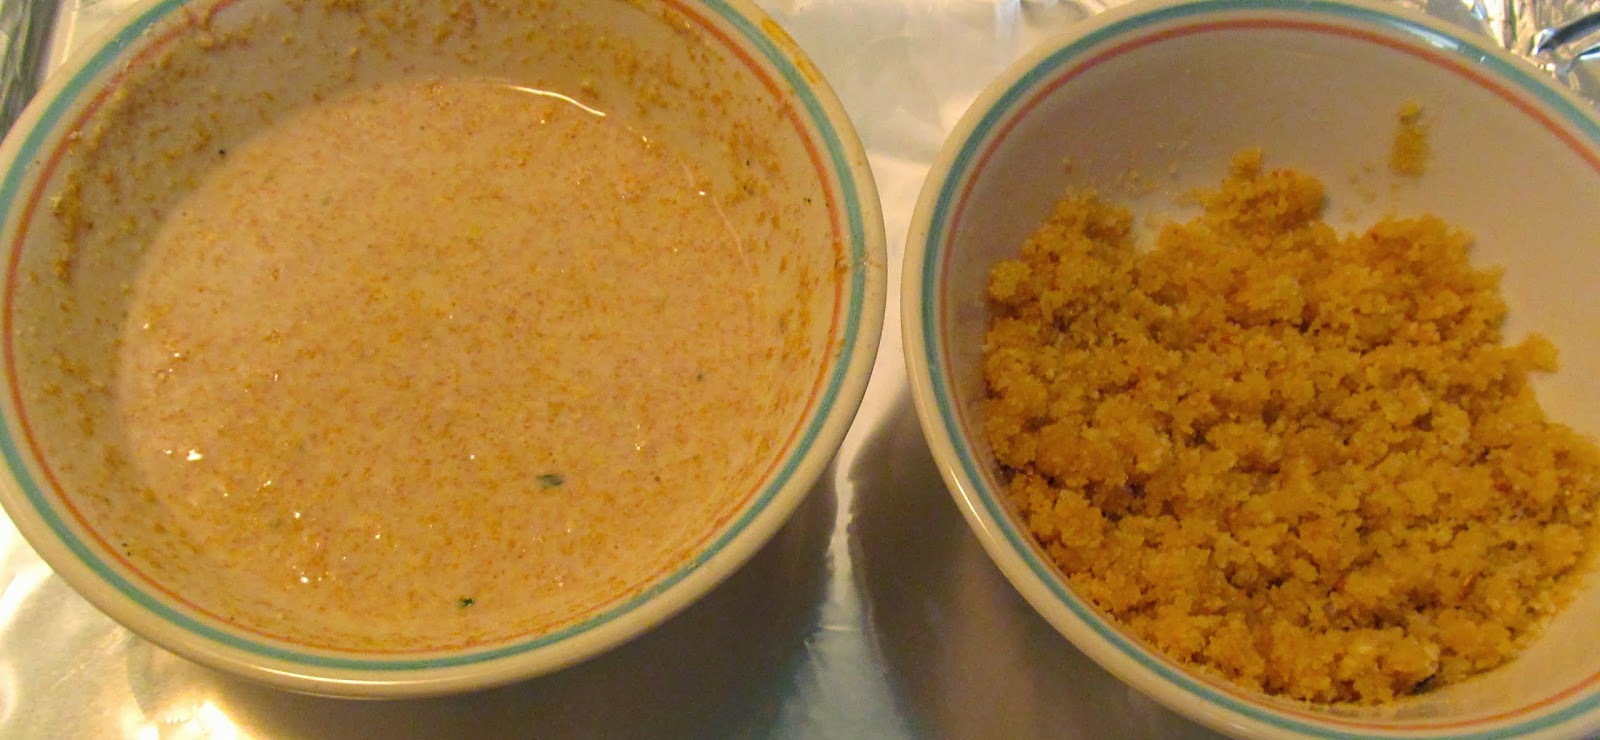
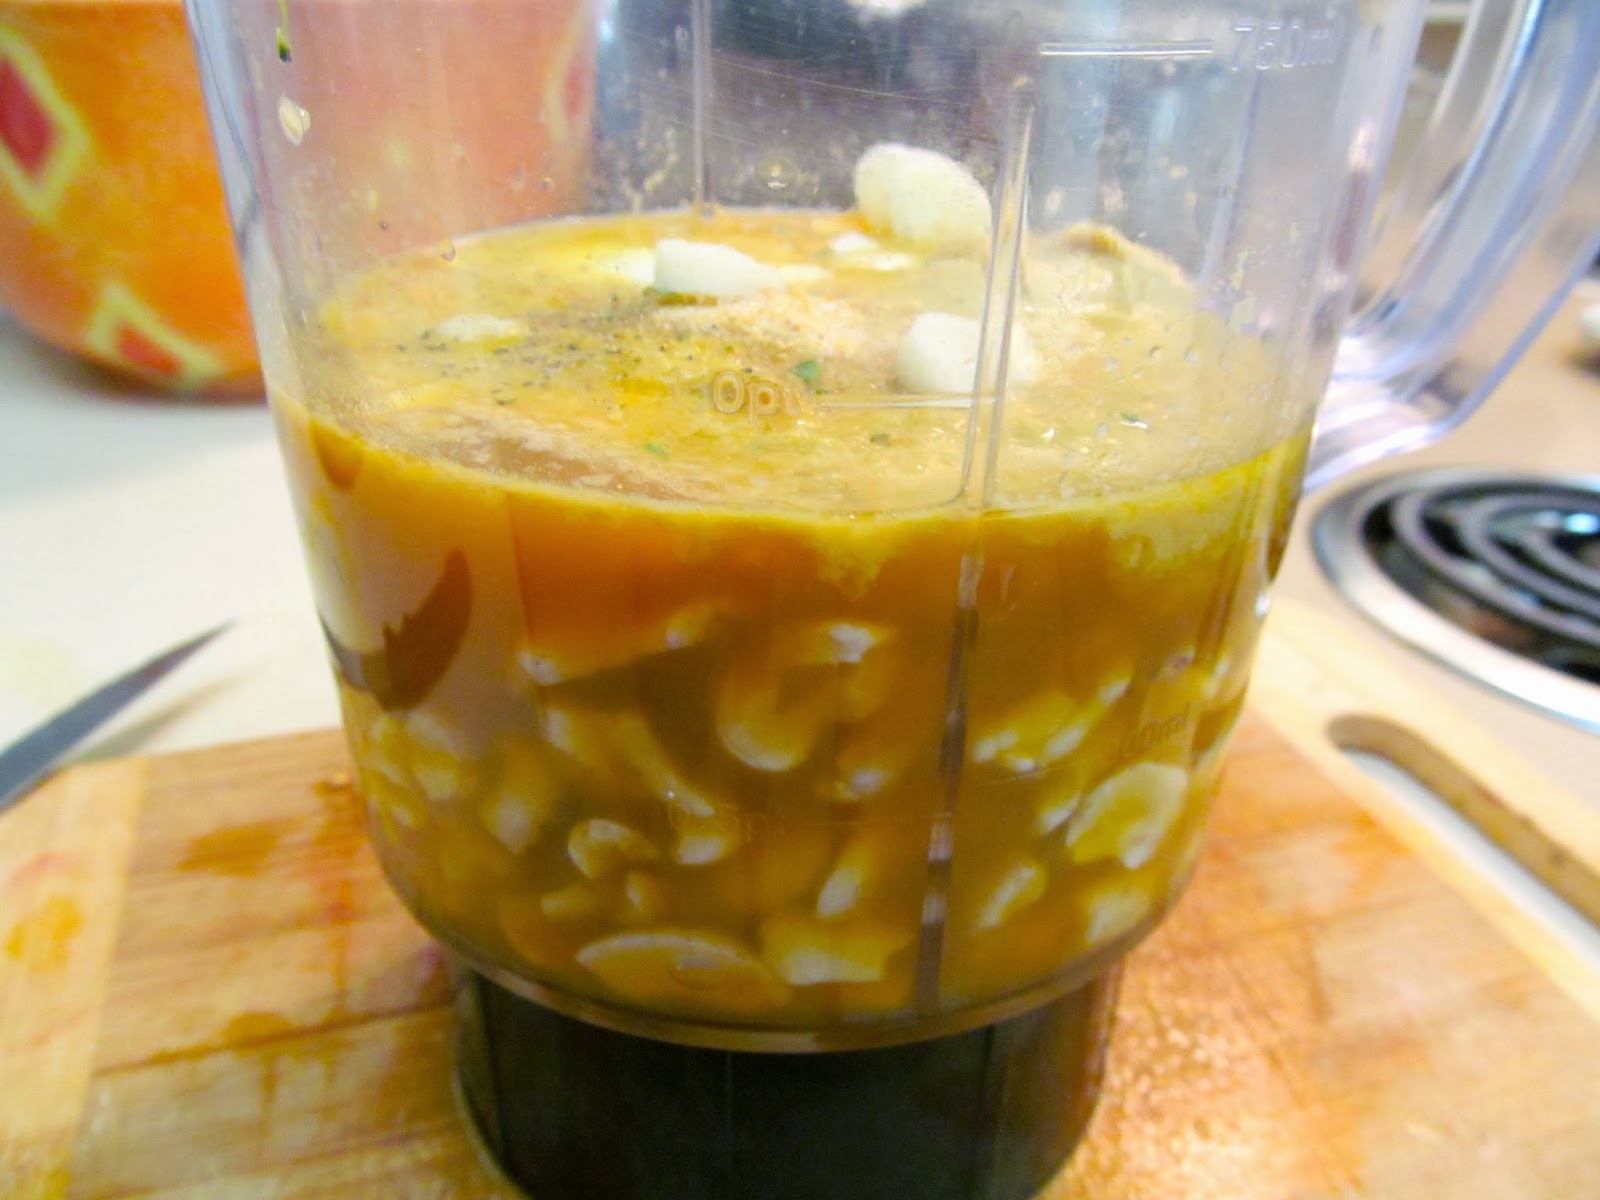
Soaked cashews are the secret ingredient
When soaked and blended, they add a creaminess to any recipe

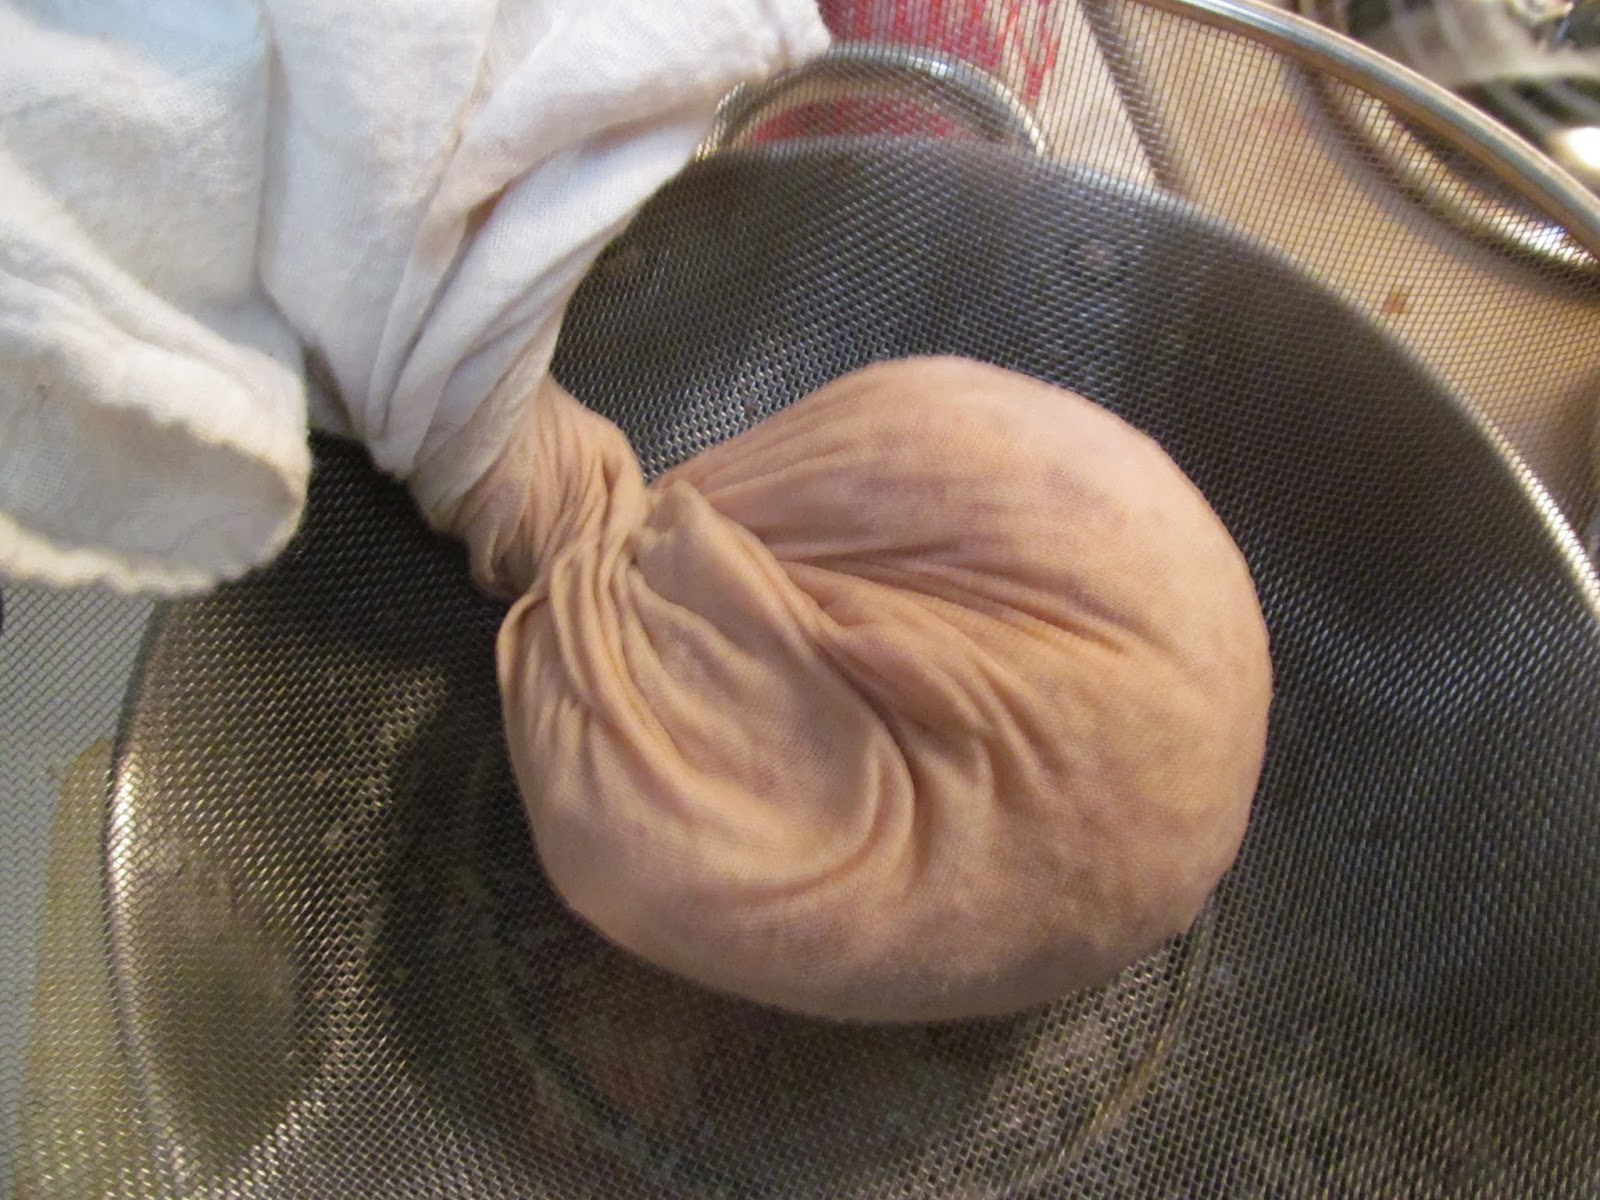
You can use this base recipe for cashew cream
in the place of dairy for soups, sauces, and more!

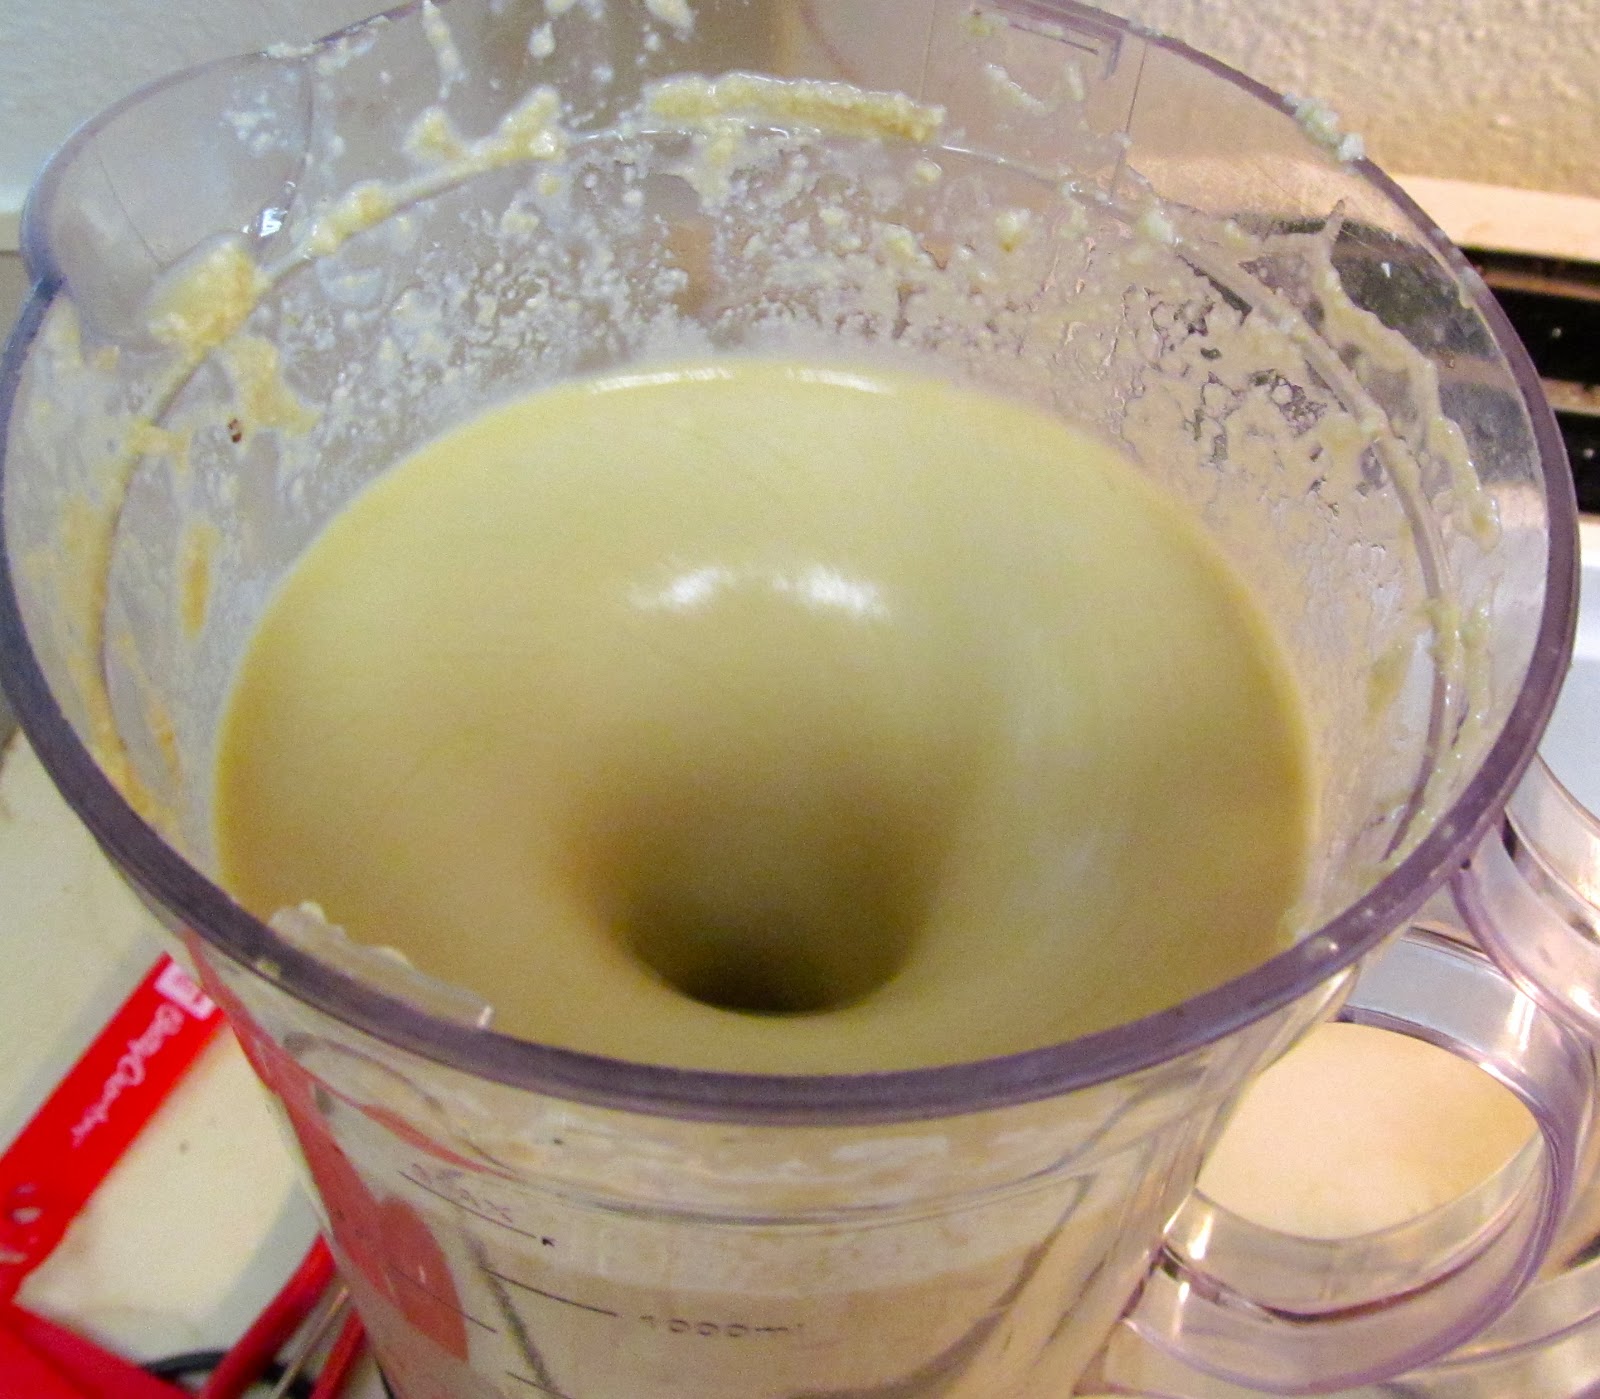
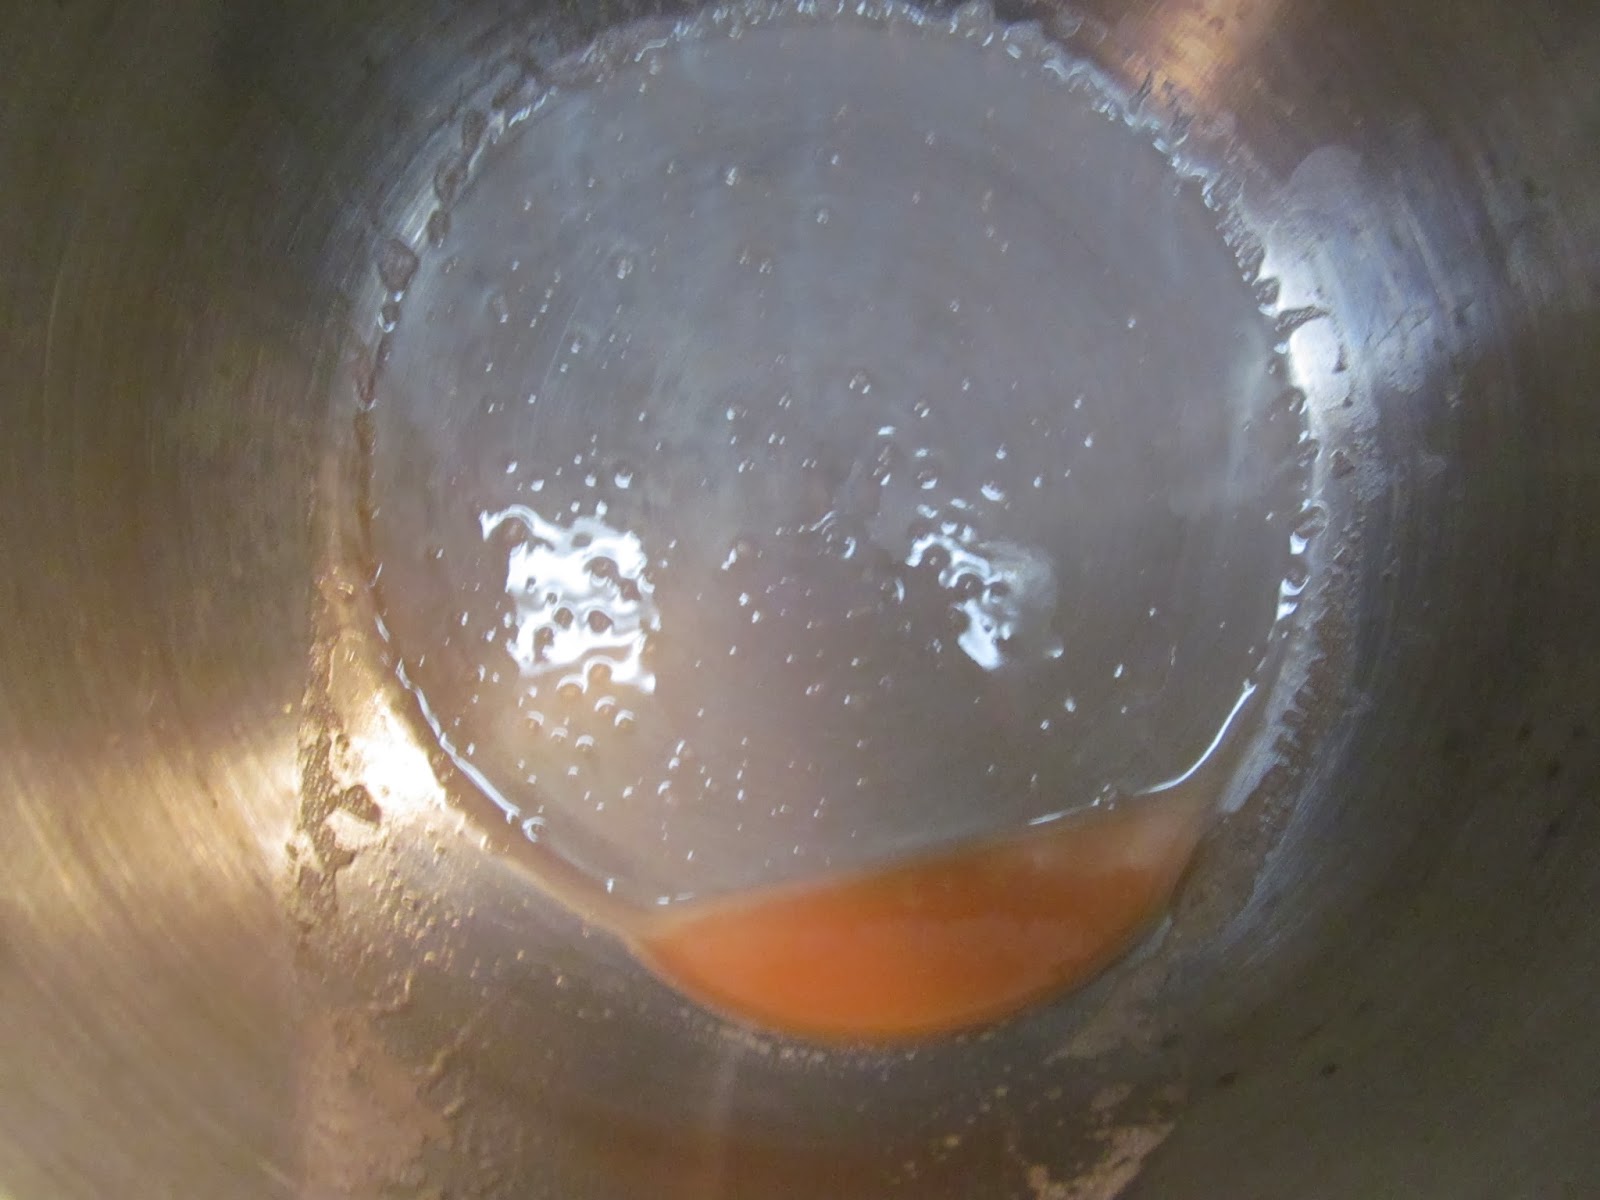
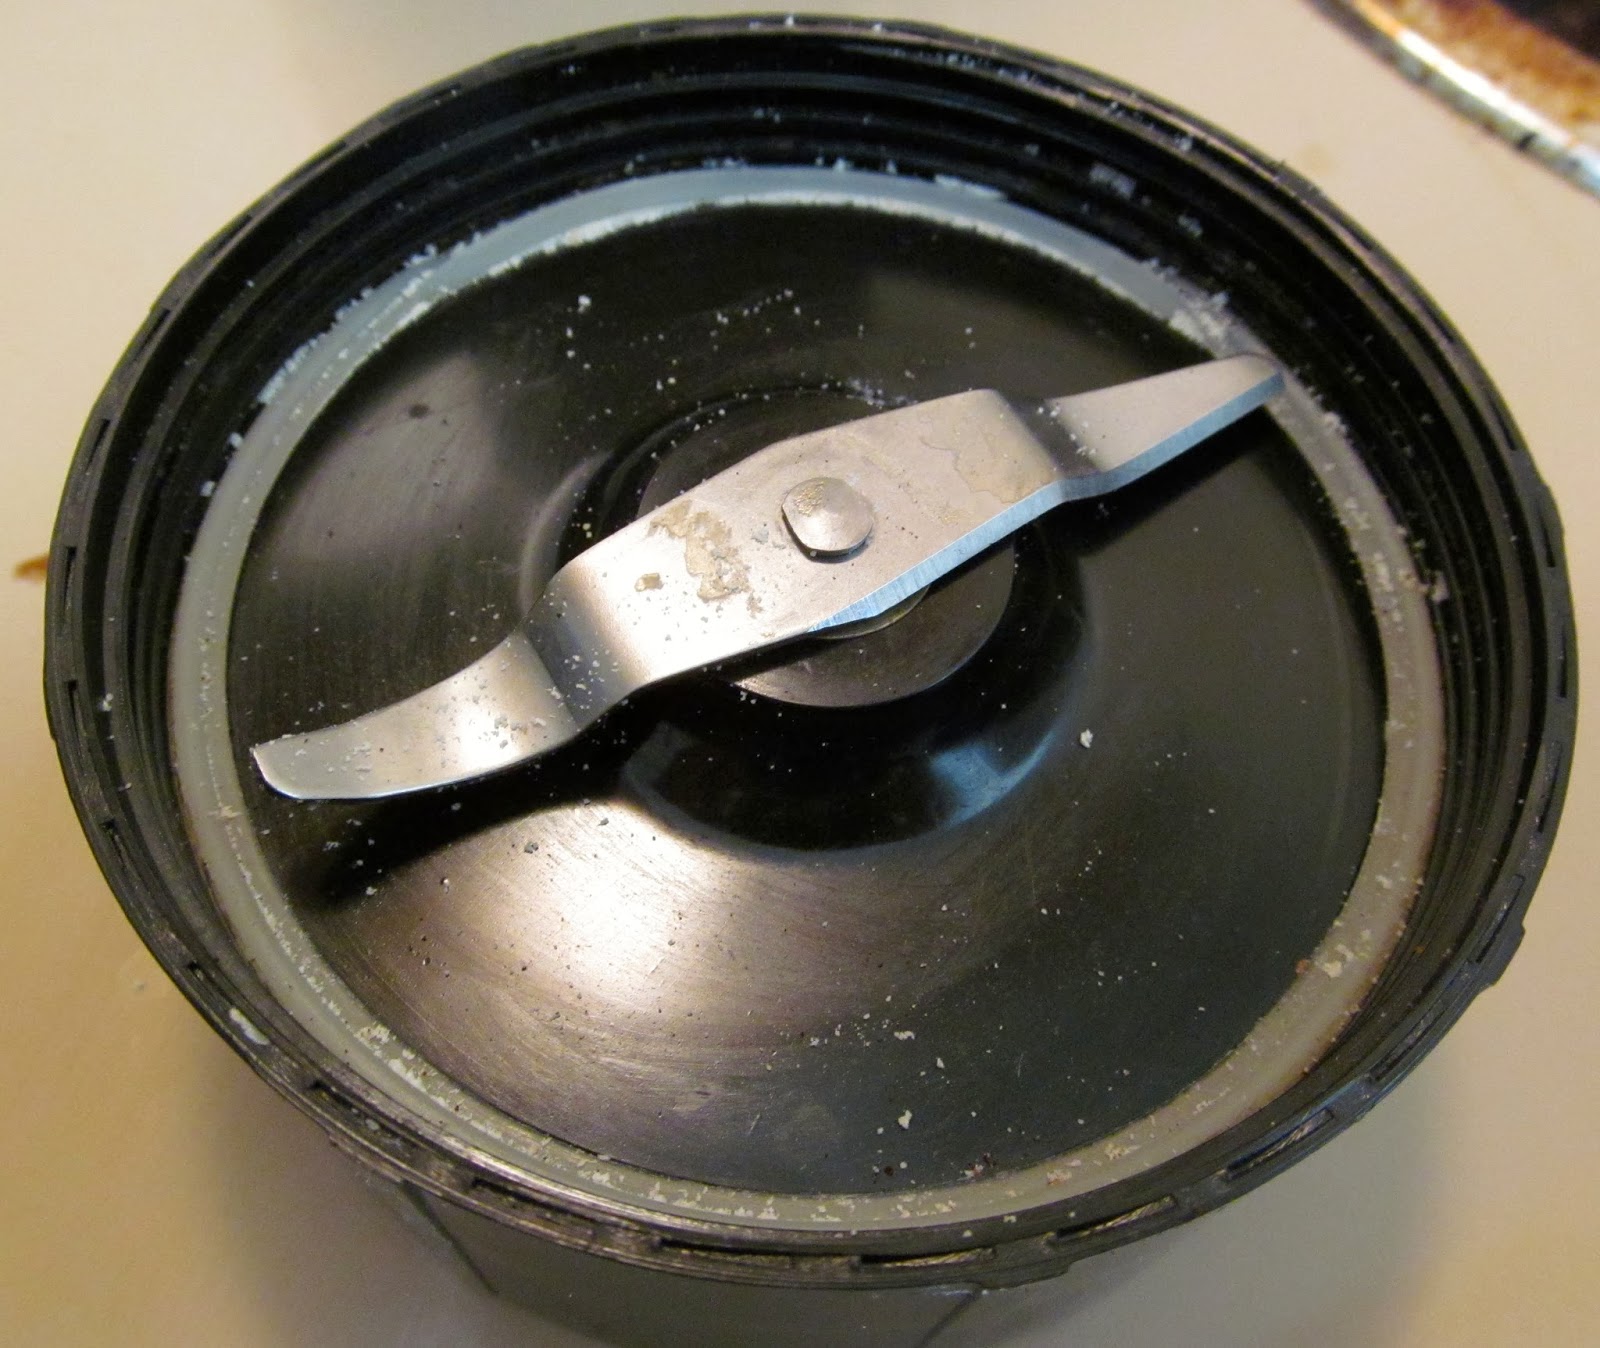
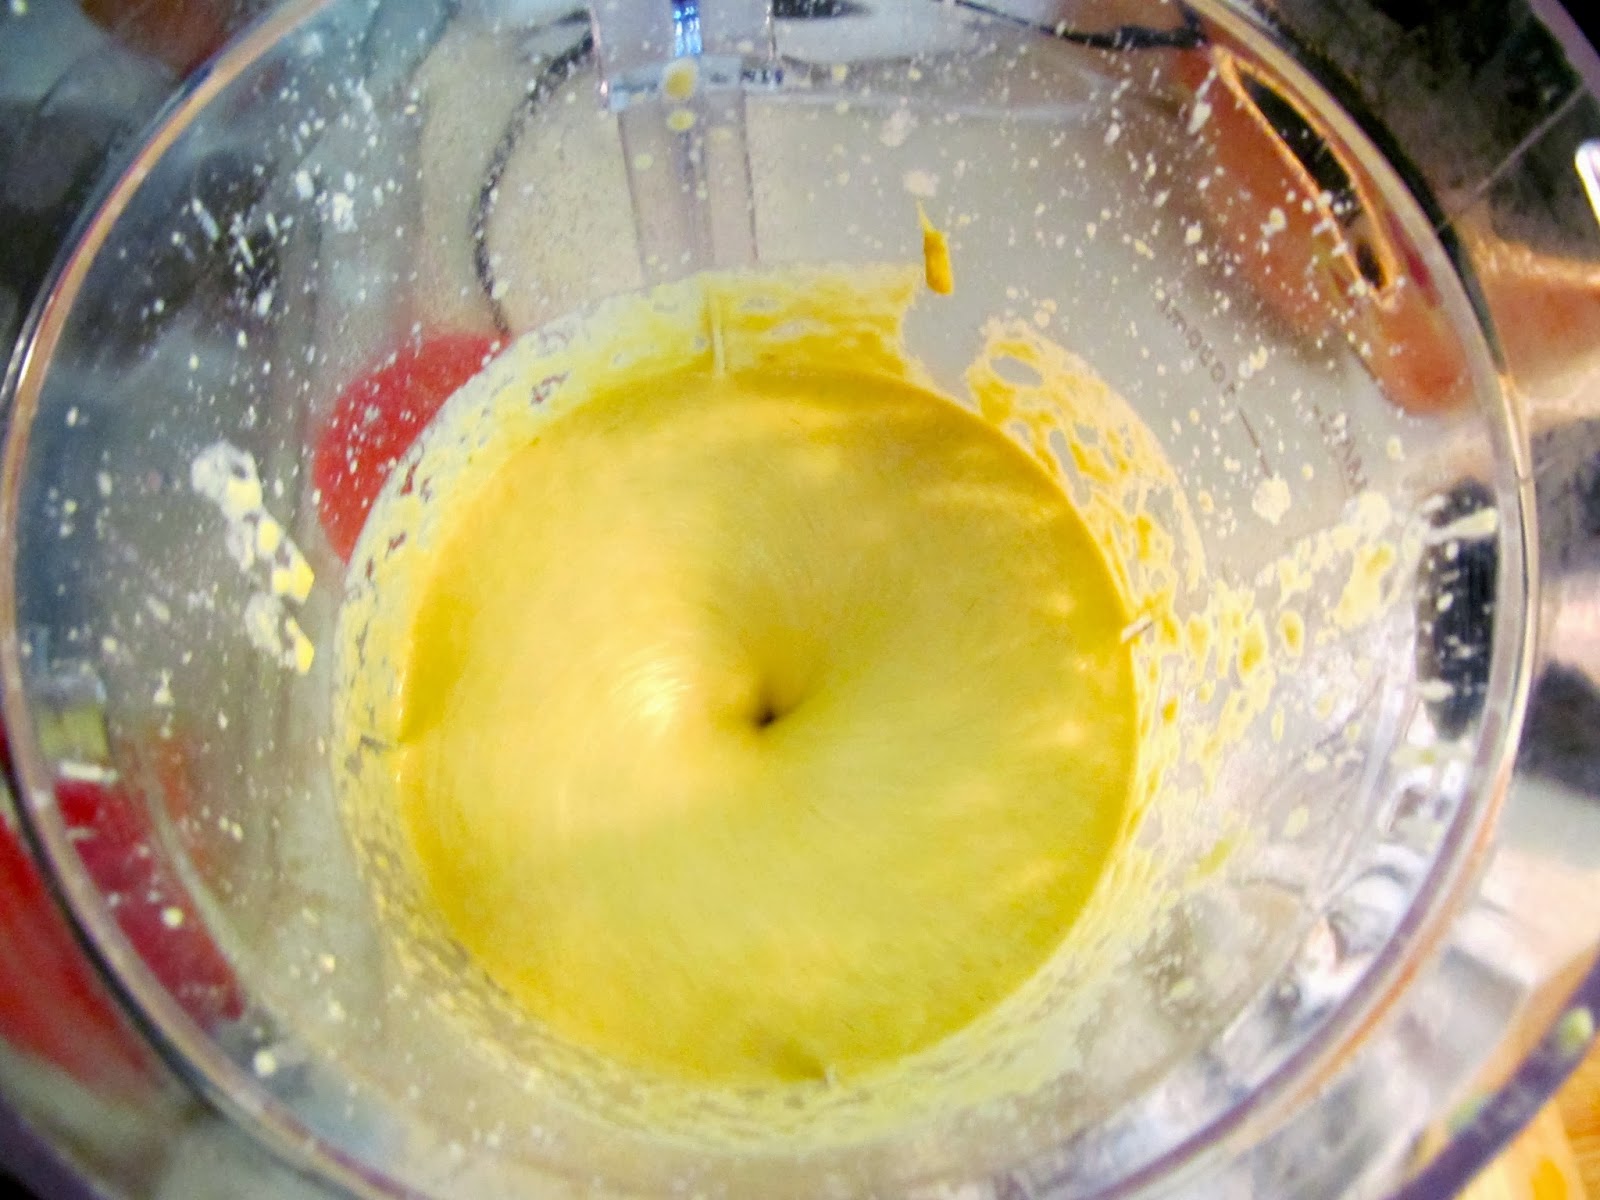
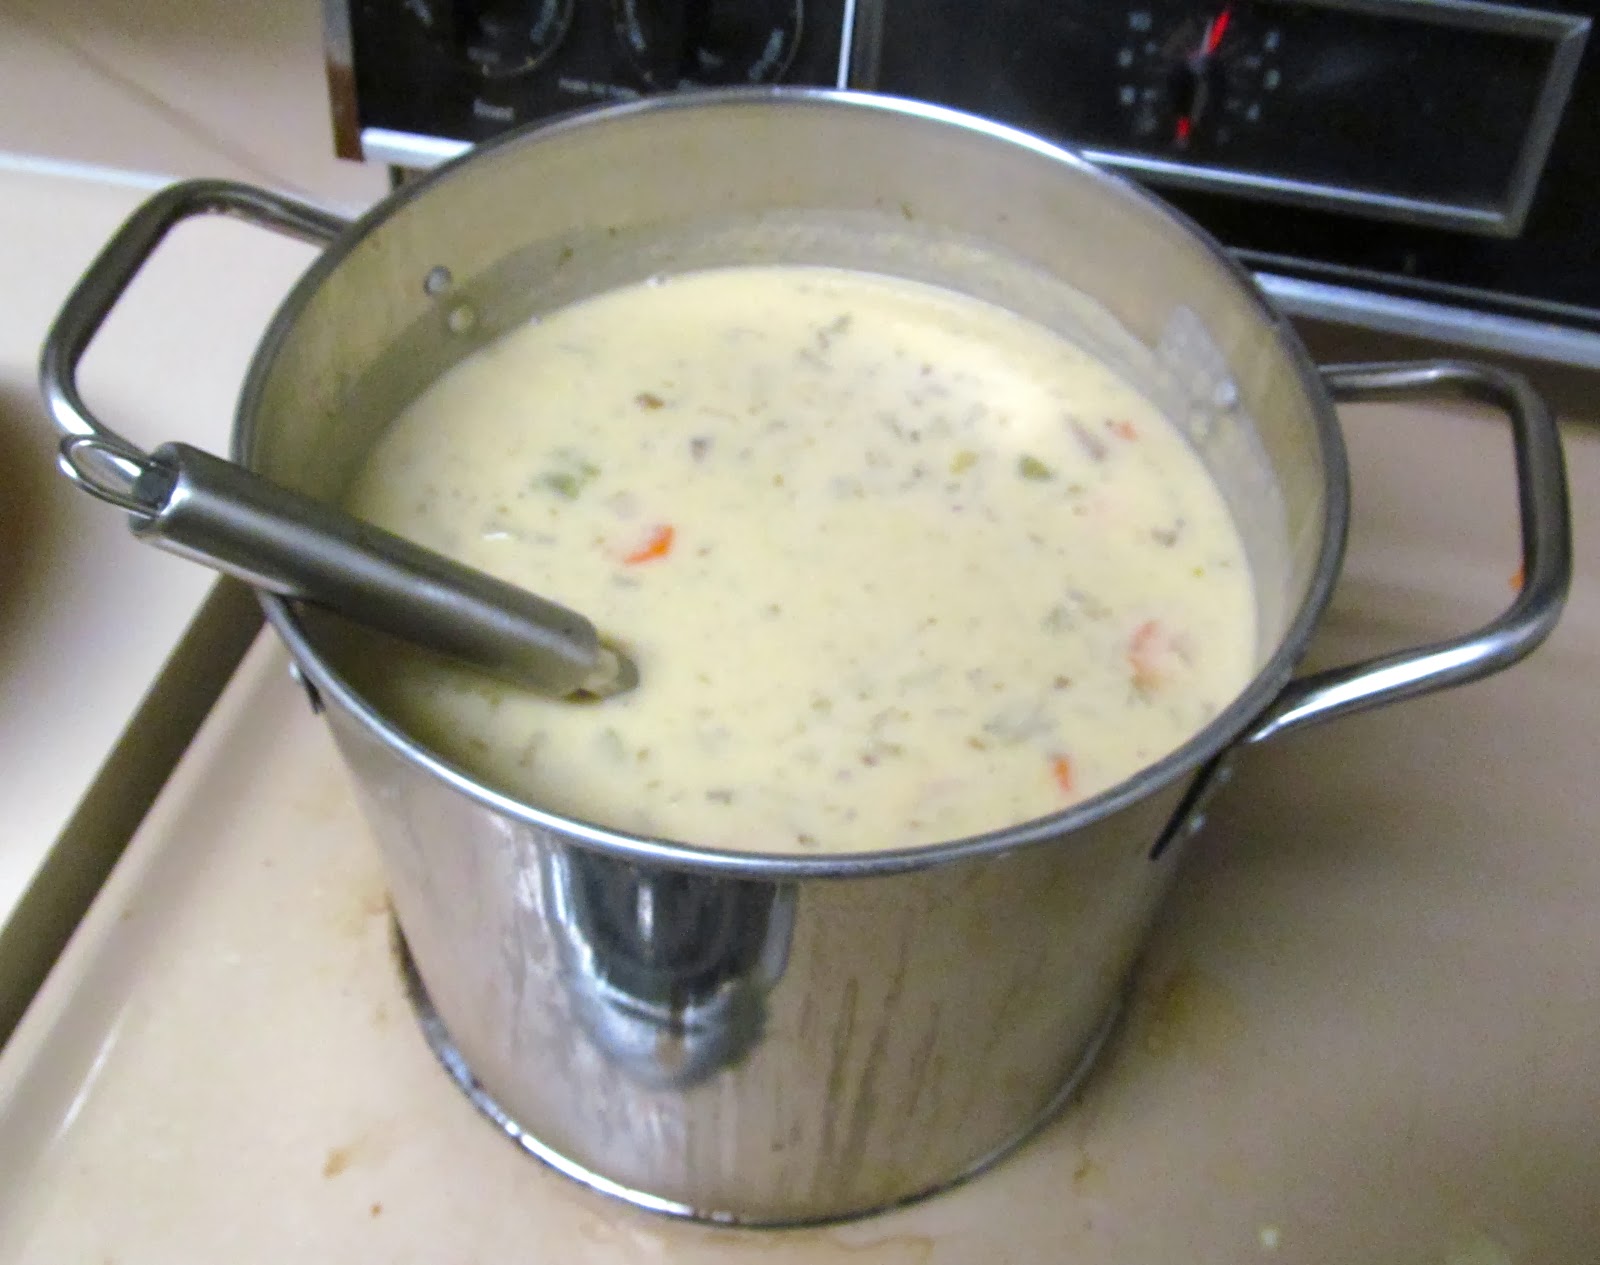
DO NOT TRY THIS AT HOME KIDS. I only took the lid off
and took a picture because I wanted to reiterate
how important it is for the cream to be SMOOTH
The extra time in the blender will yield a nice, creamy sauce
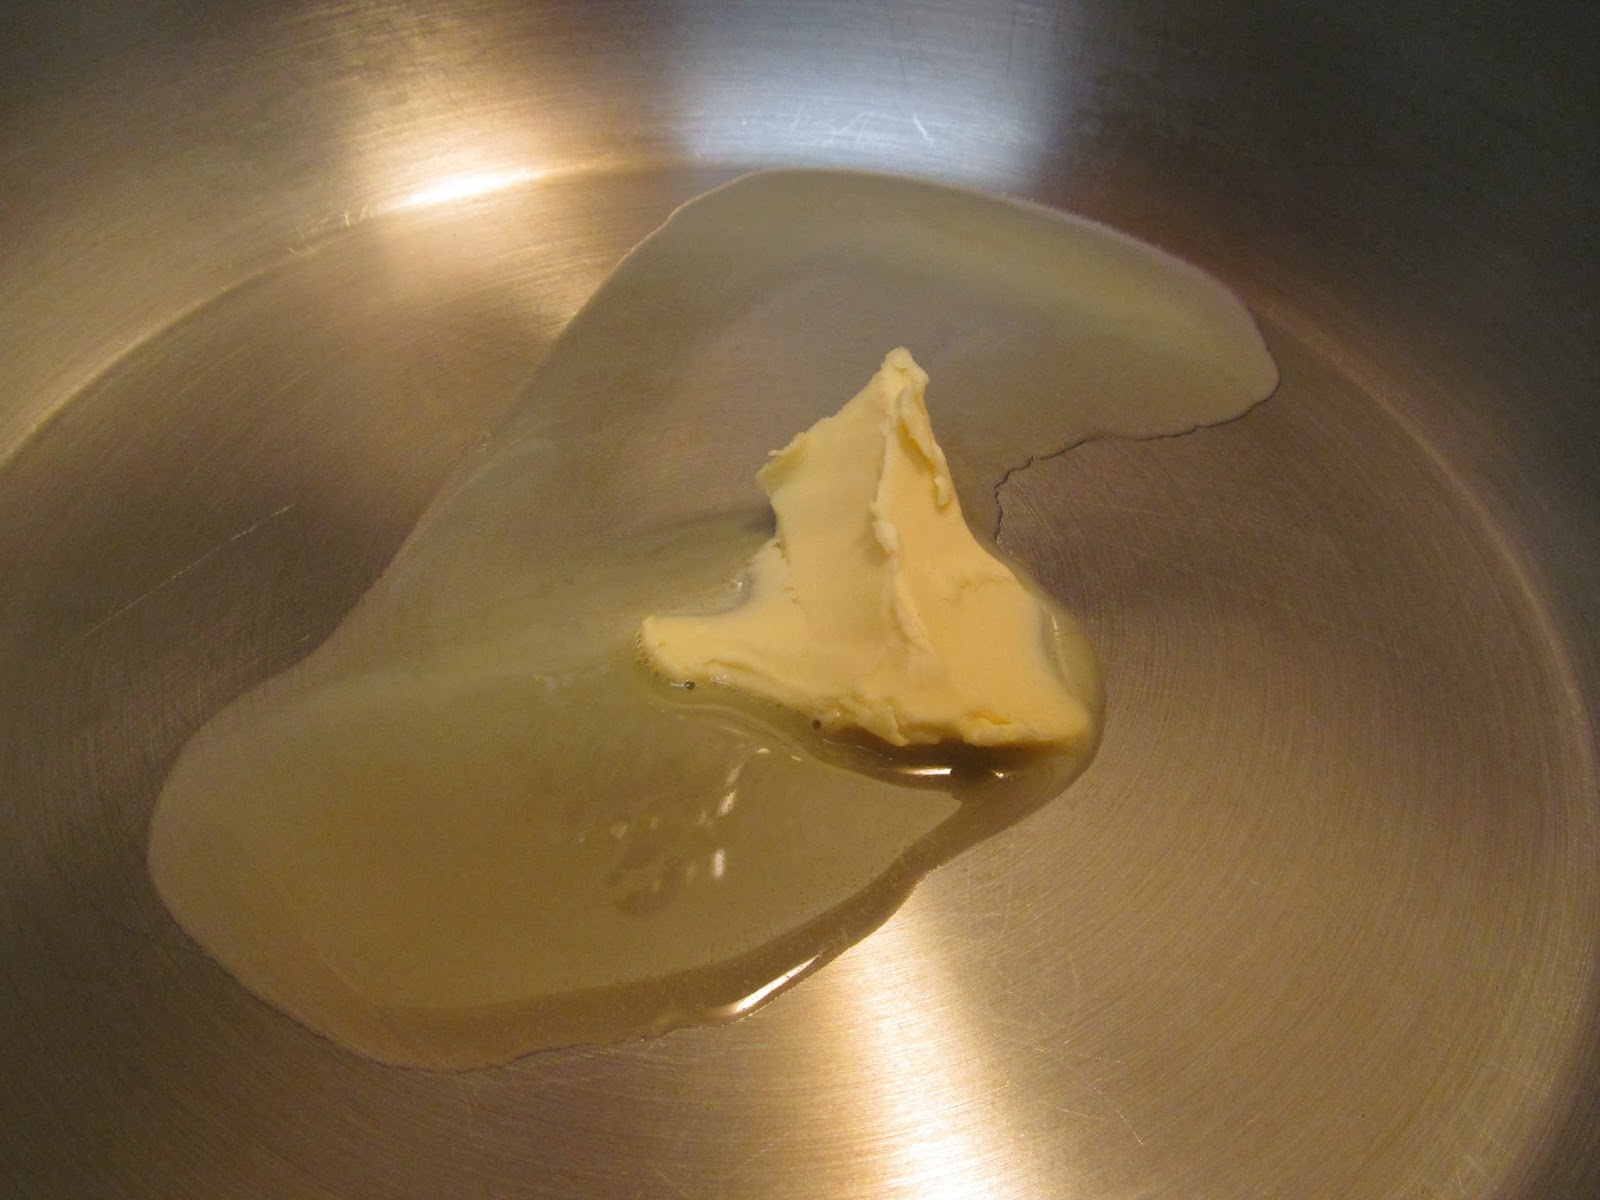
Using a large soup pot to sauté things will save you extra dishes to wash

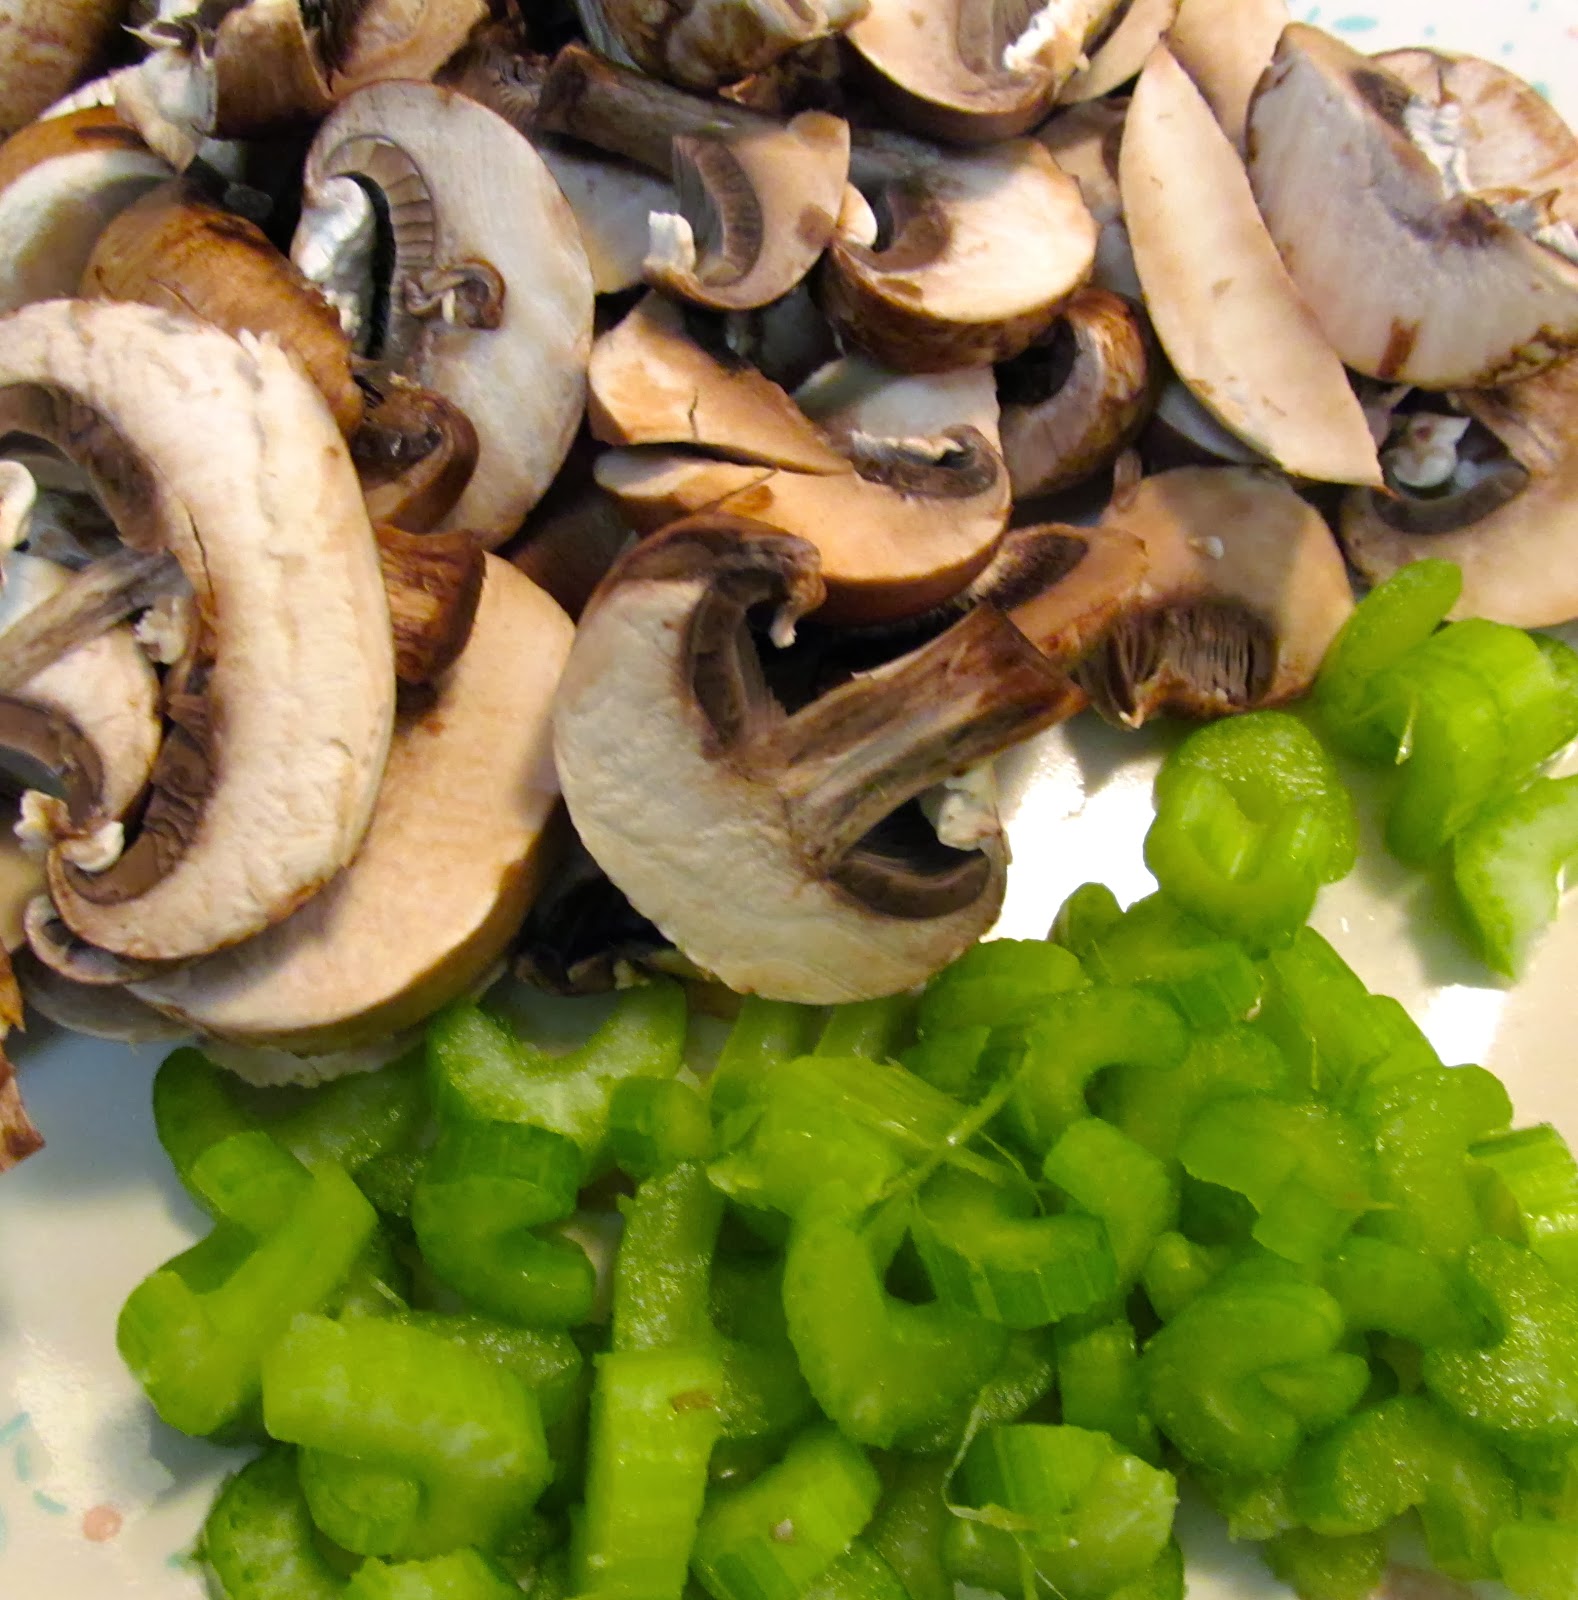
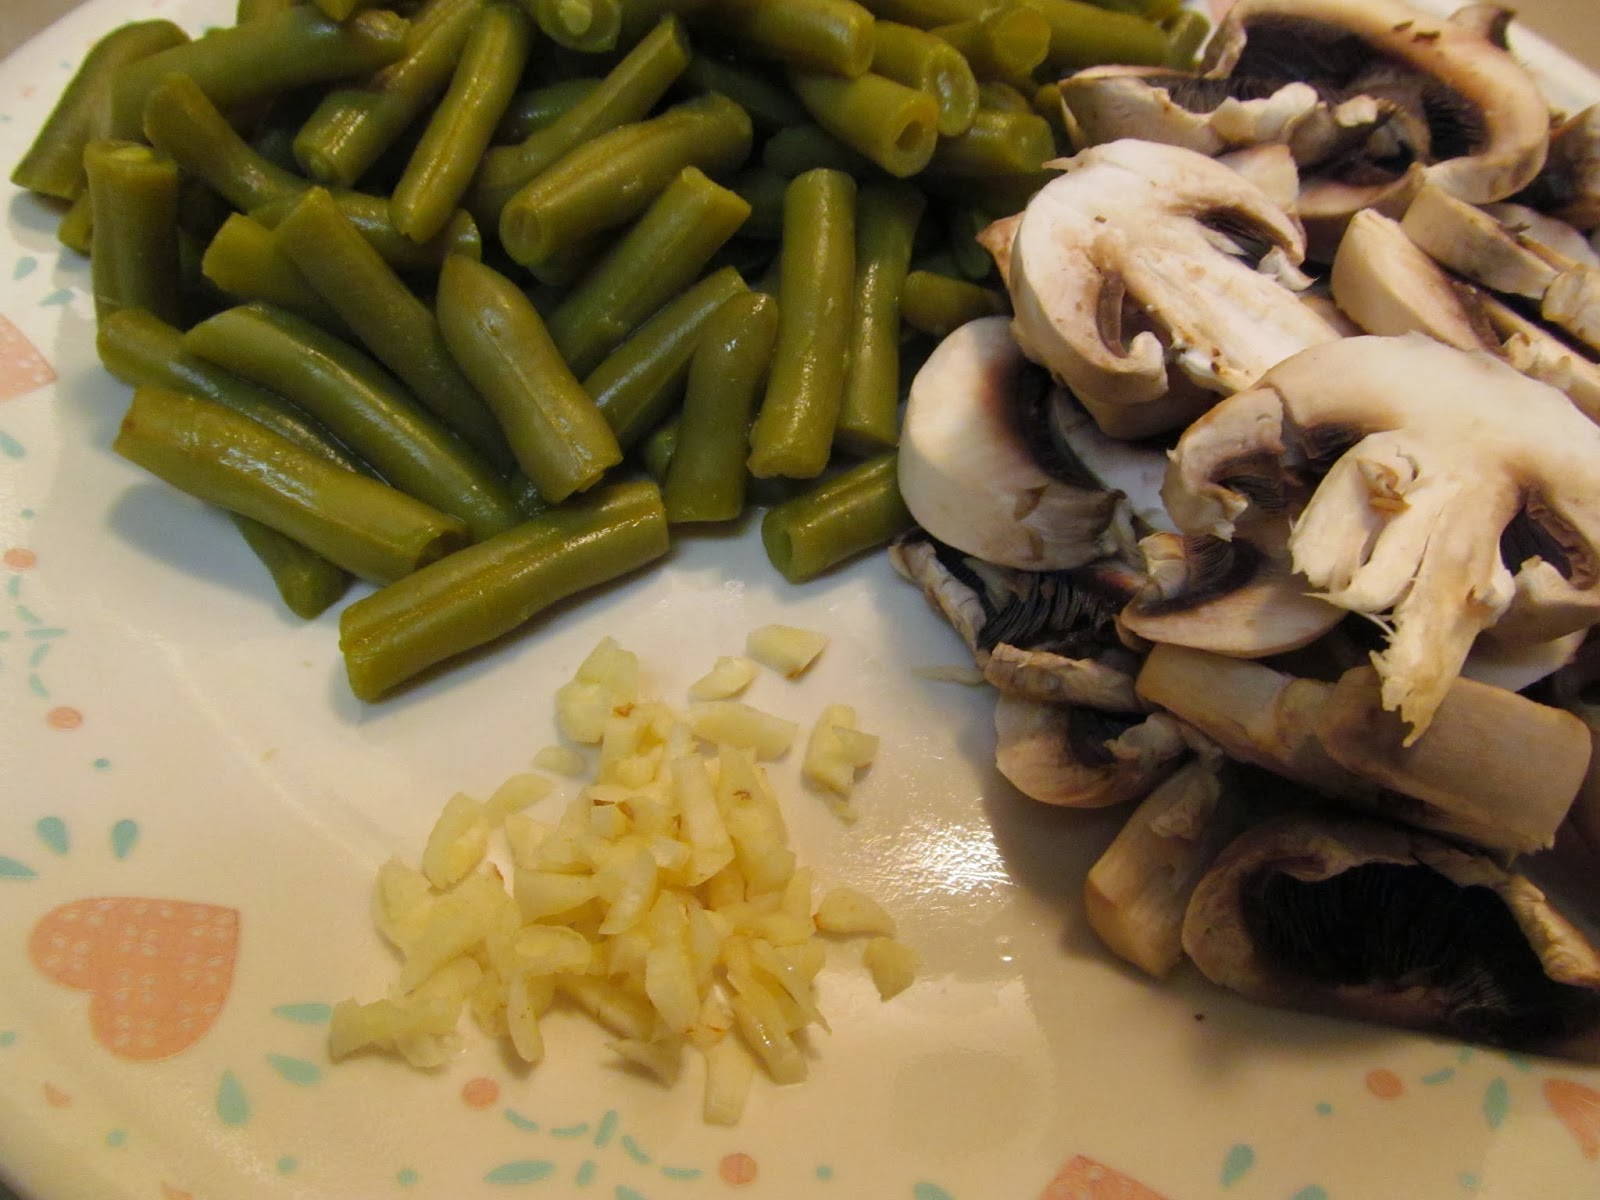
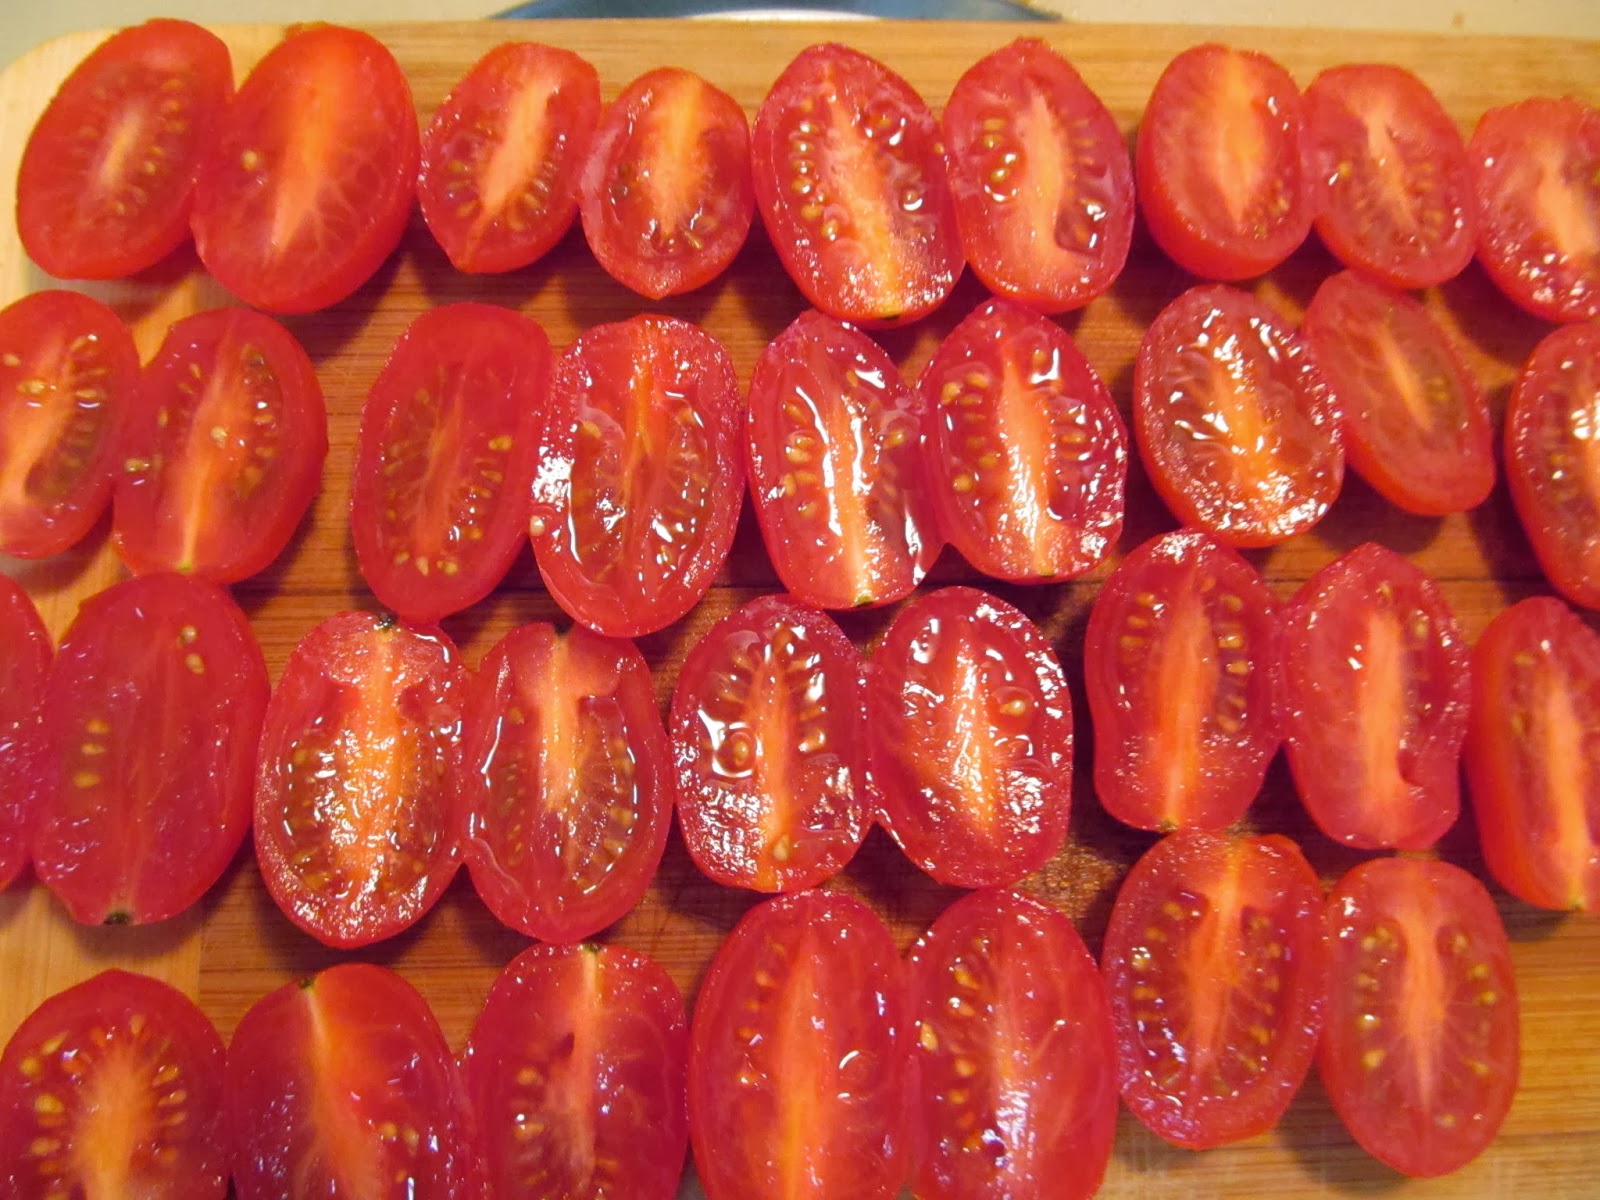
The celery adds a nice, earthy flavor to the chowder and the
mushrooms imitate the clamminess of actual clams

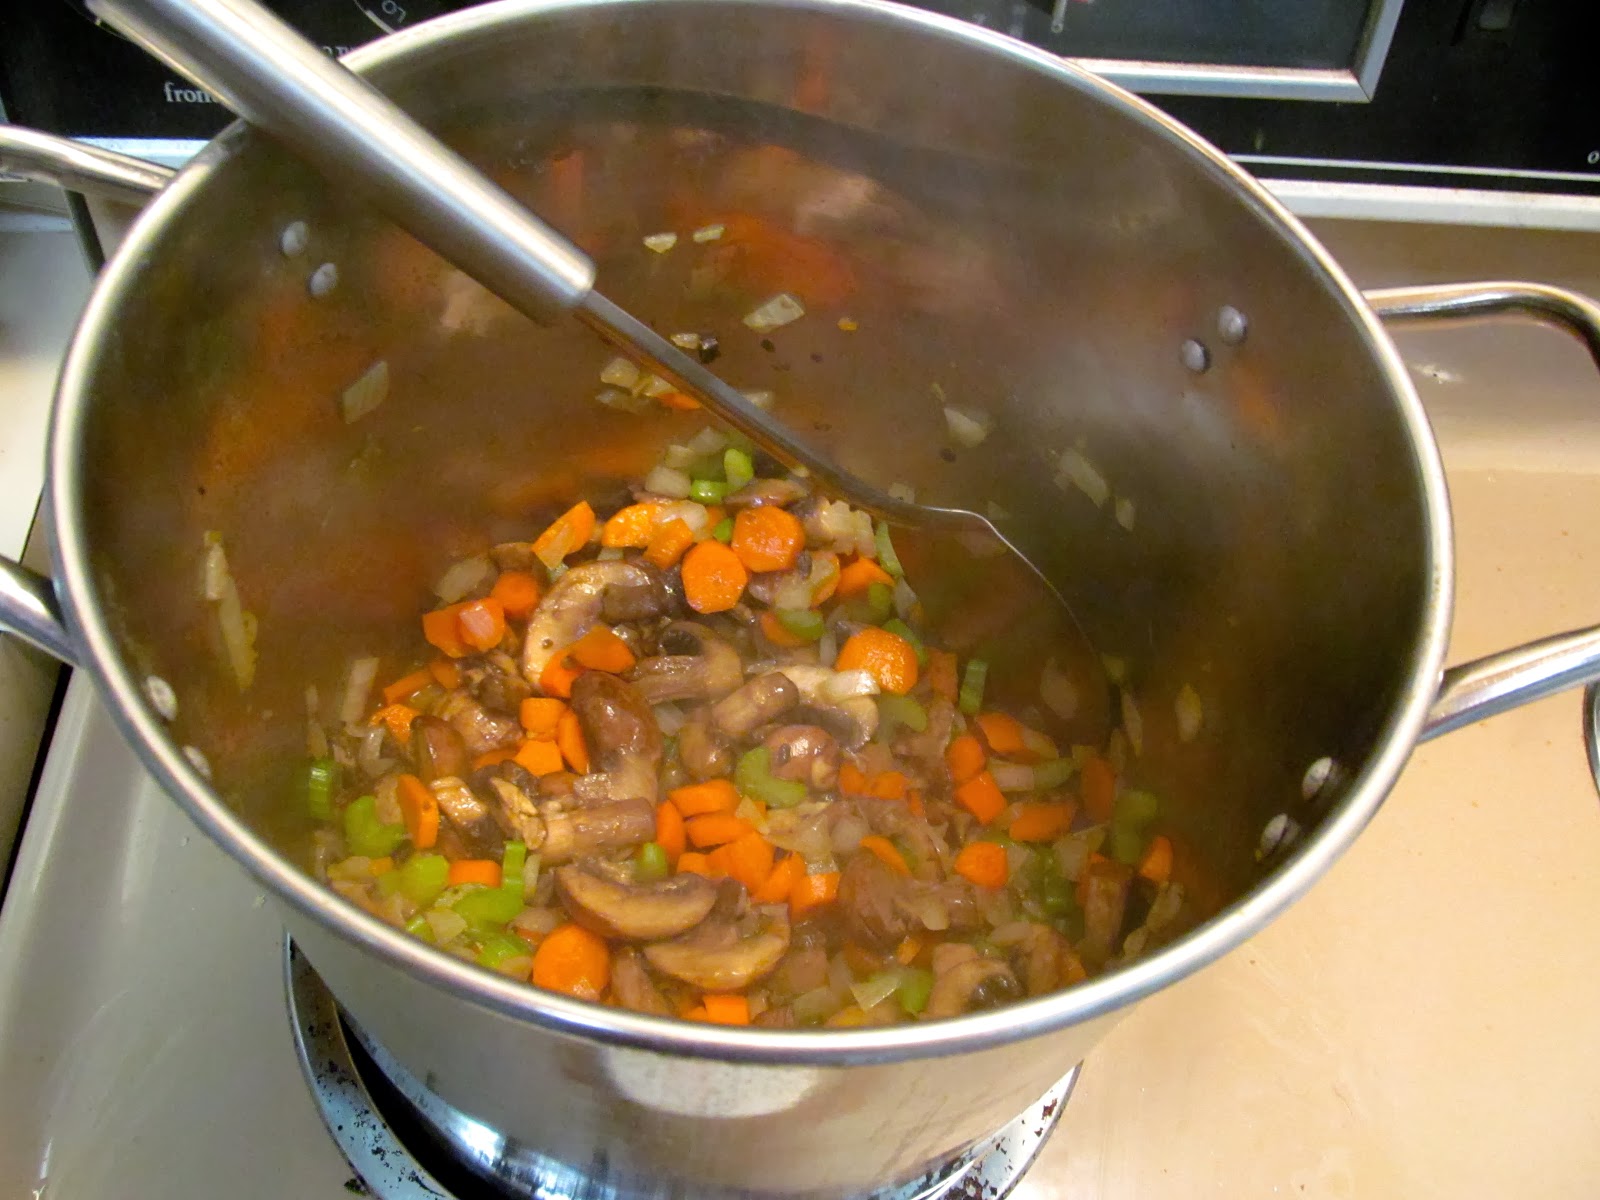
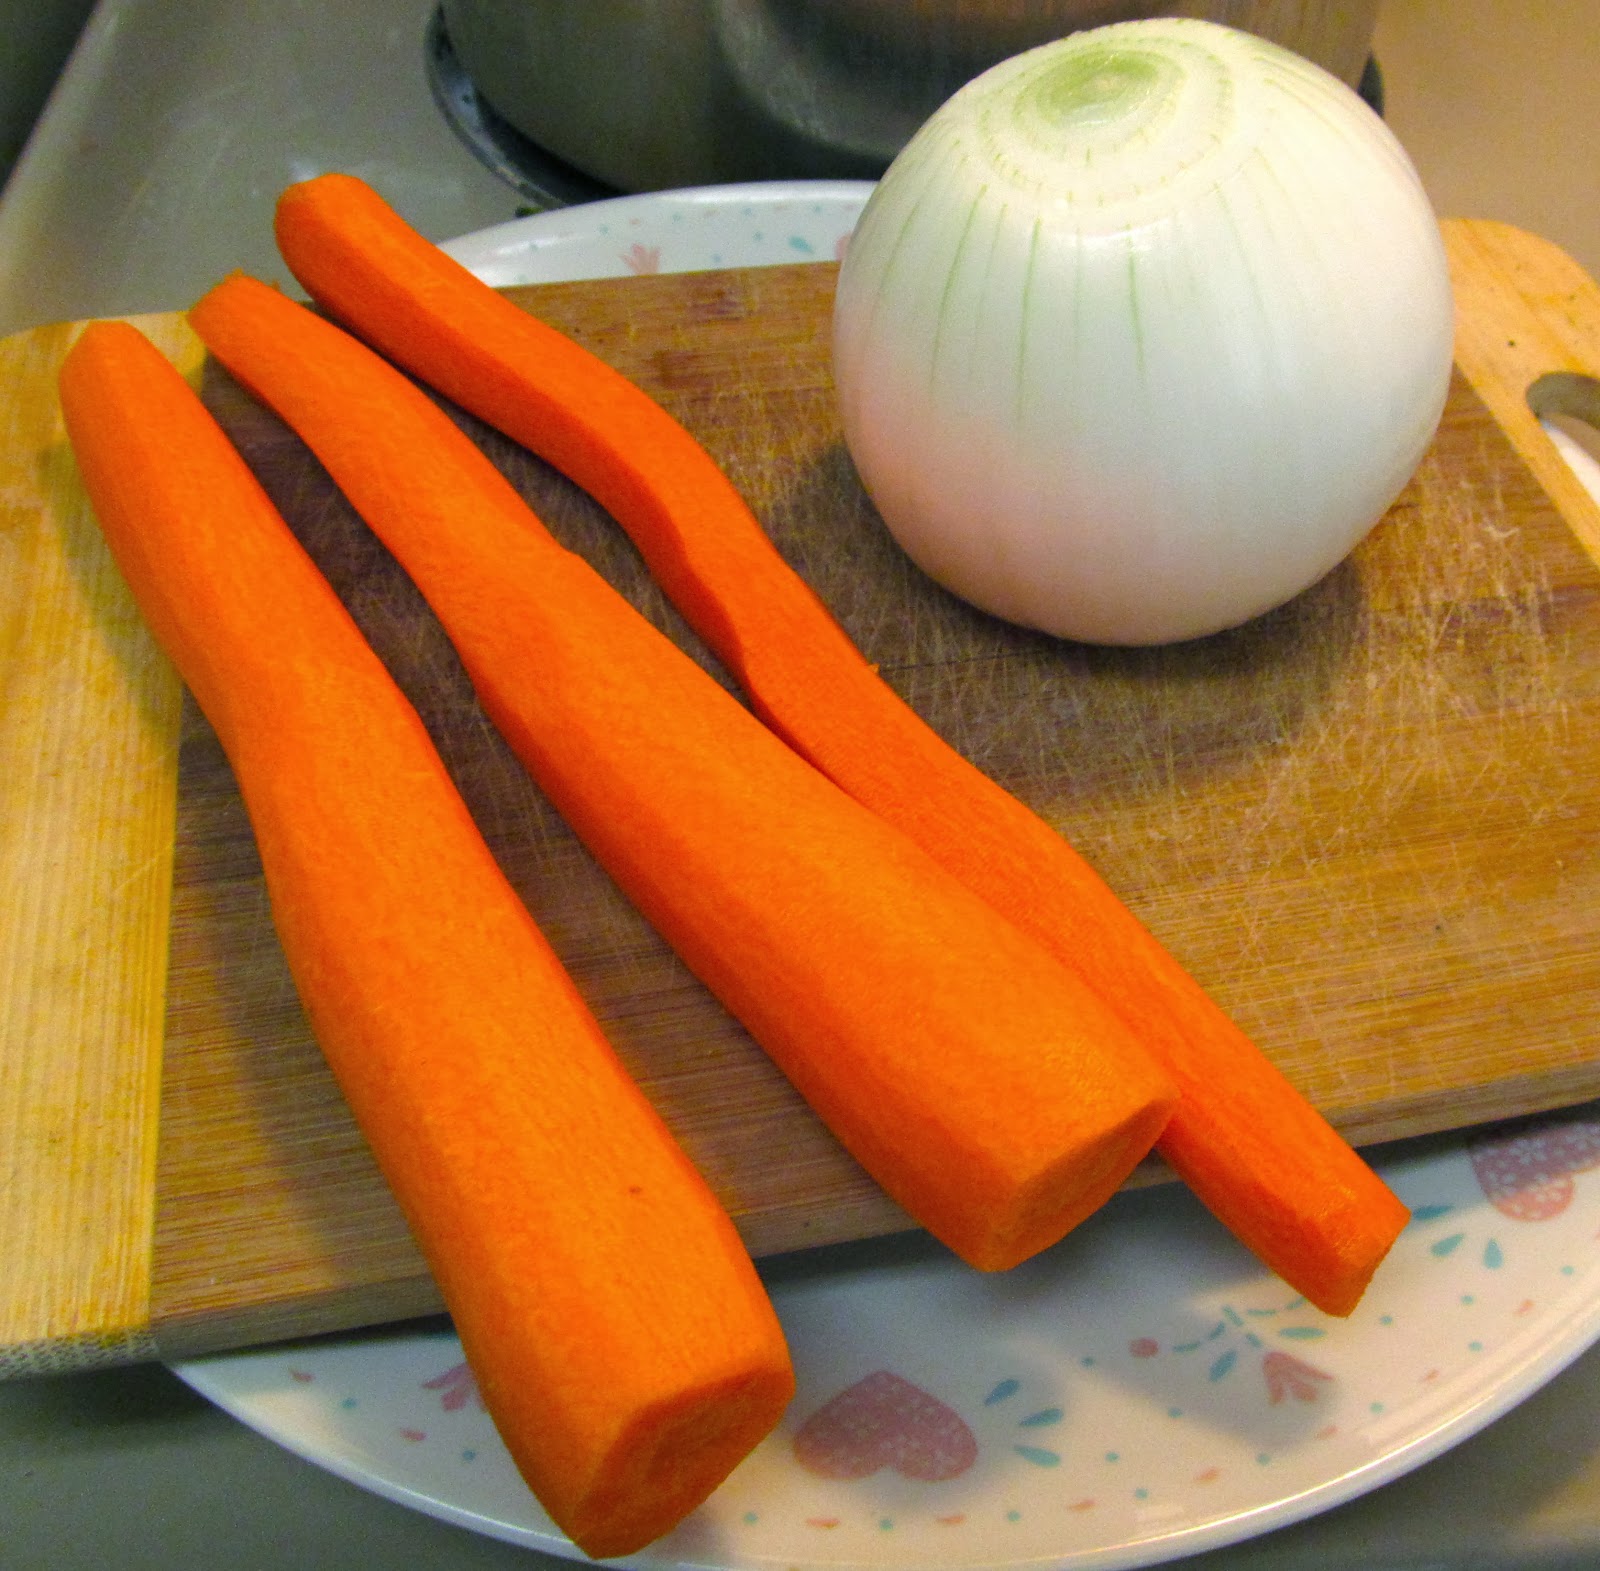
This blend of sautéed veggies will make your kitchen smell great
I like to add extra salt at this point so it soaks into the veggies

Chop the potatoes into ¼” cubes so they soften
easily without turning into mush
Too large and they will be crunchy; too small and mush

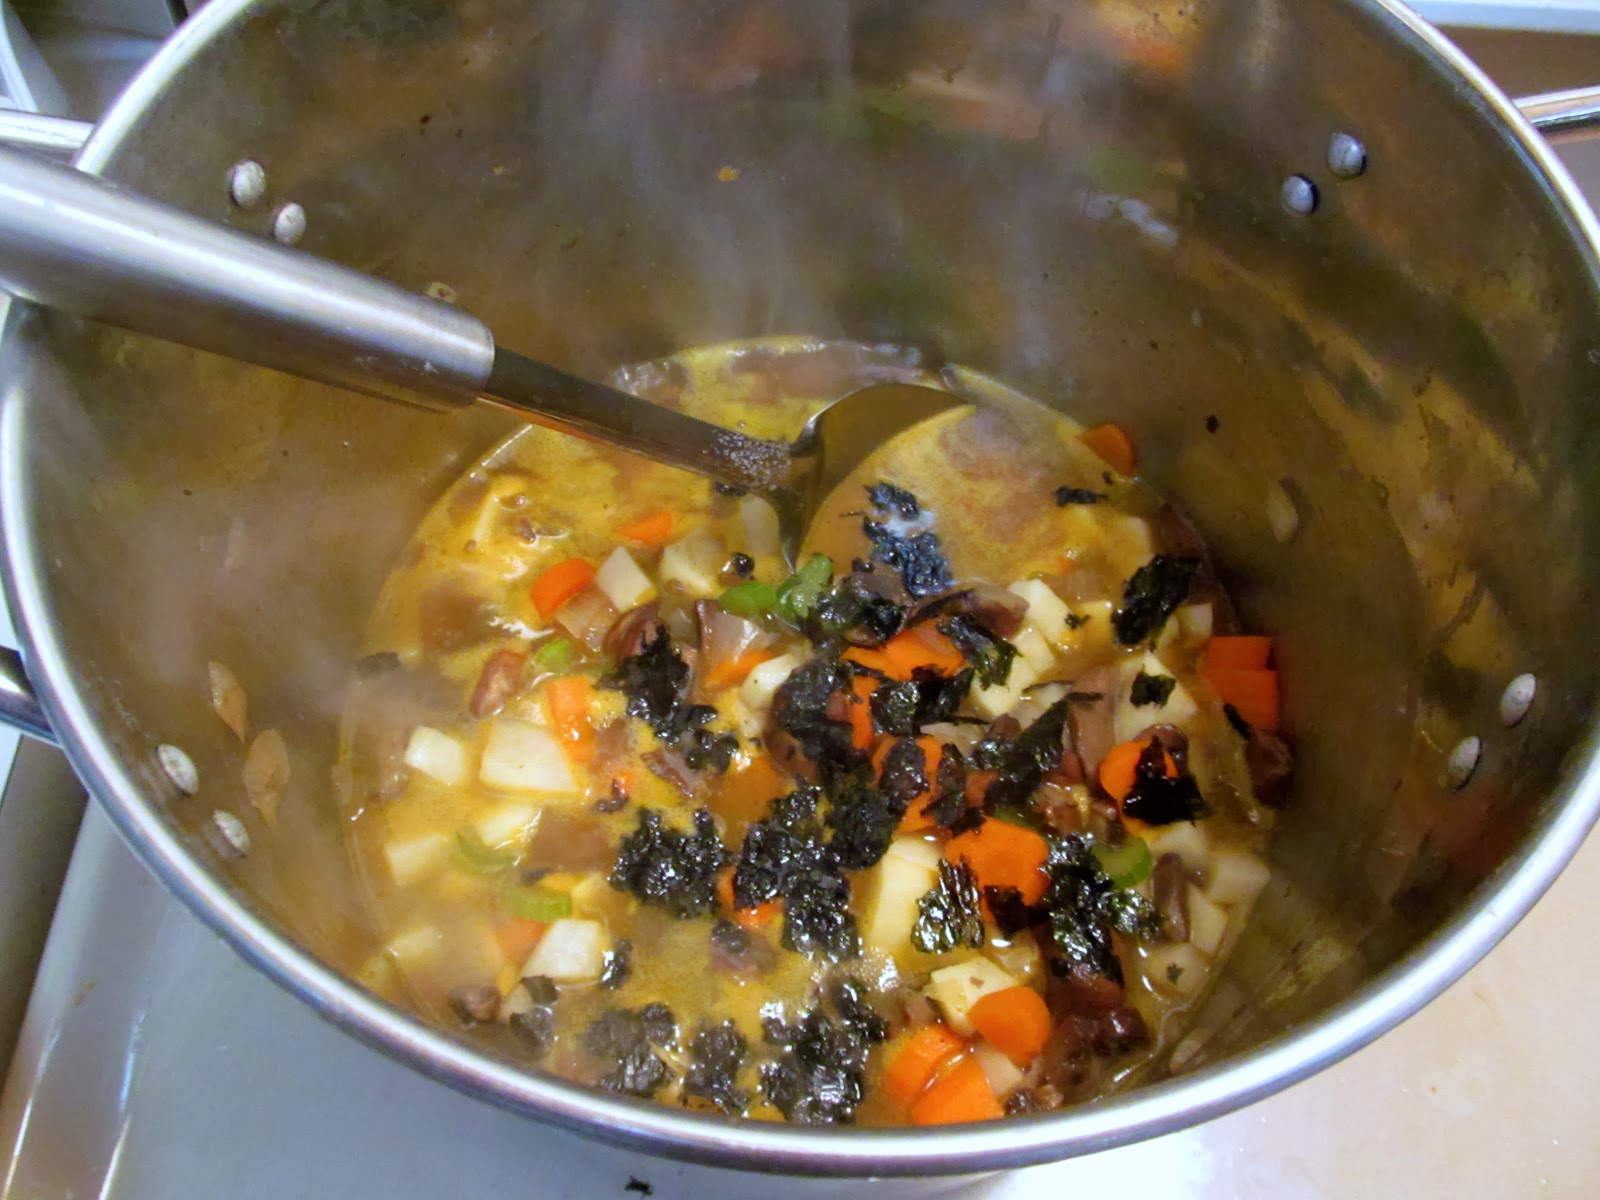
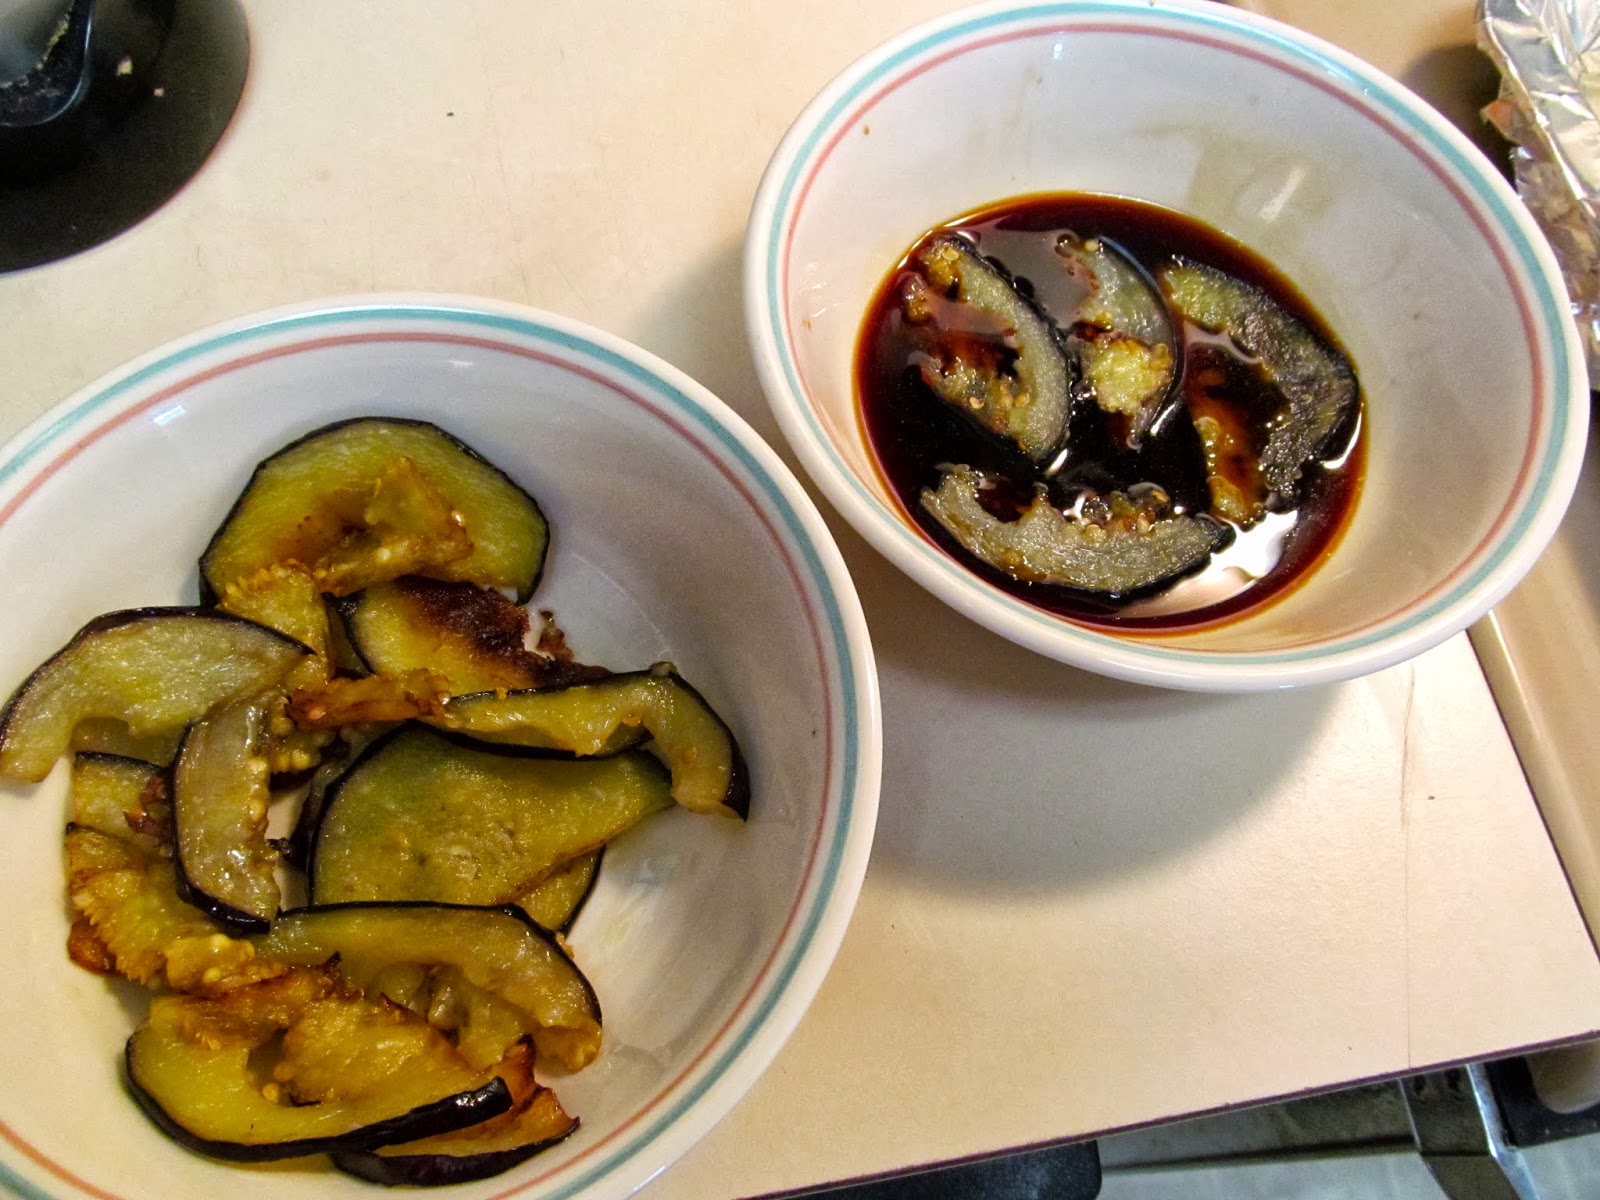
The nori will add the taste of the sea!
If you are prone to a more mild flavor, leave the nori out or
only add half of a sheet

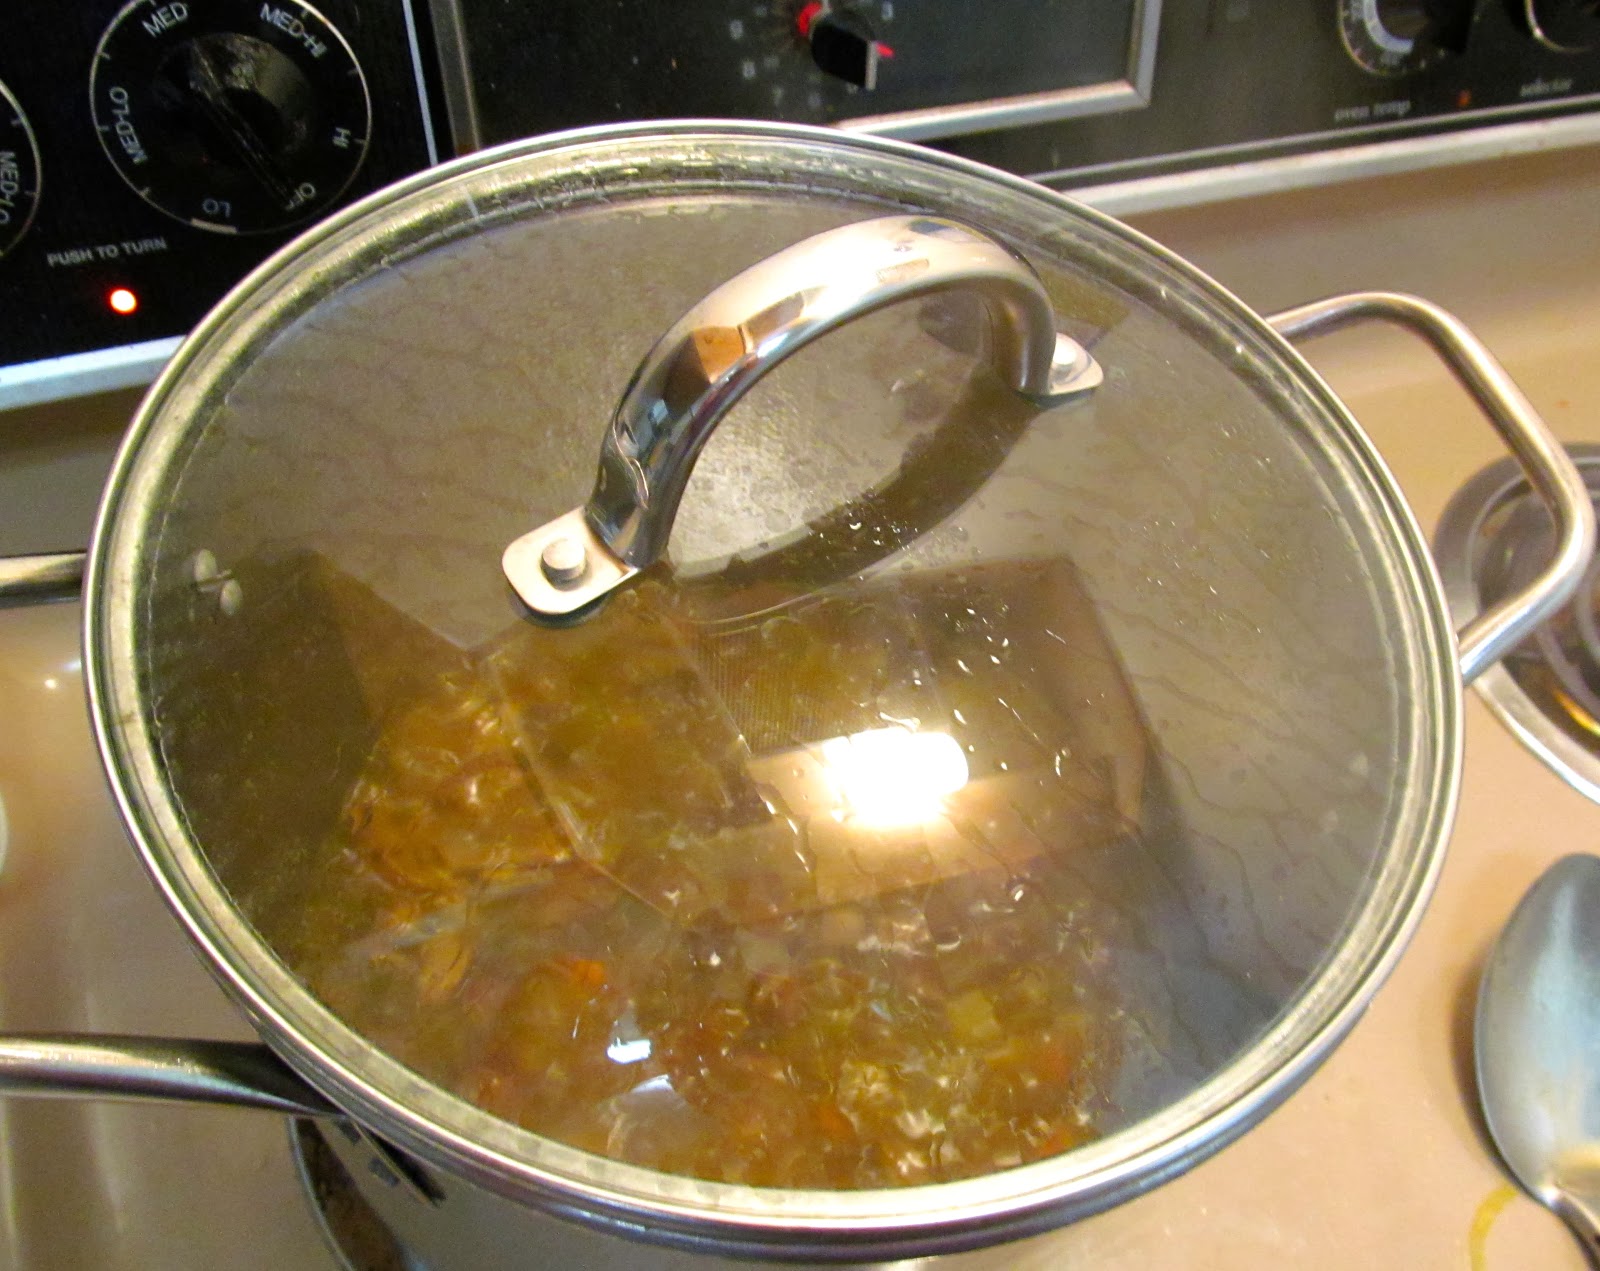
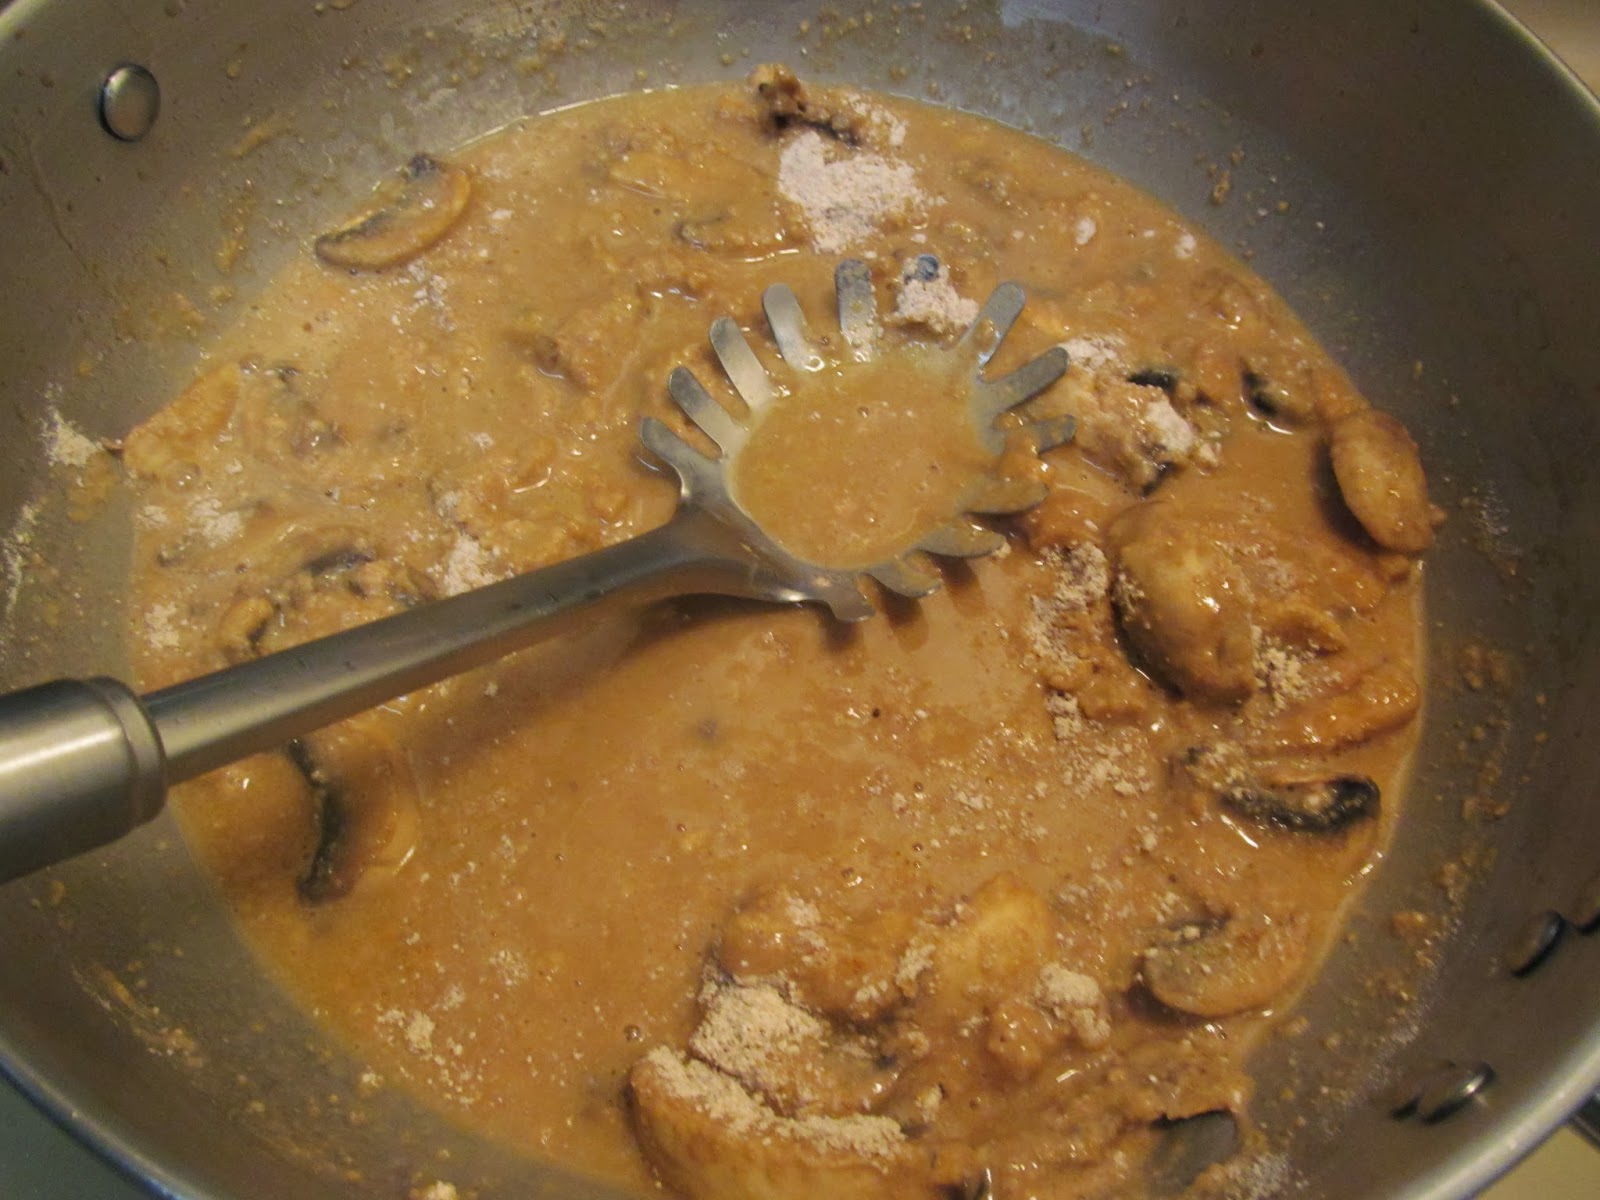
This is also a great vegetable soup recipe. Stop here and leave out
the cashew cream and this soup still tastes incredible!

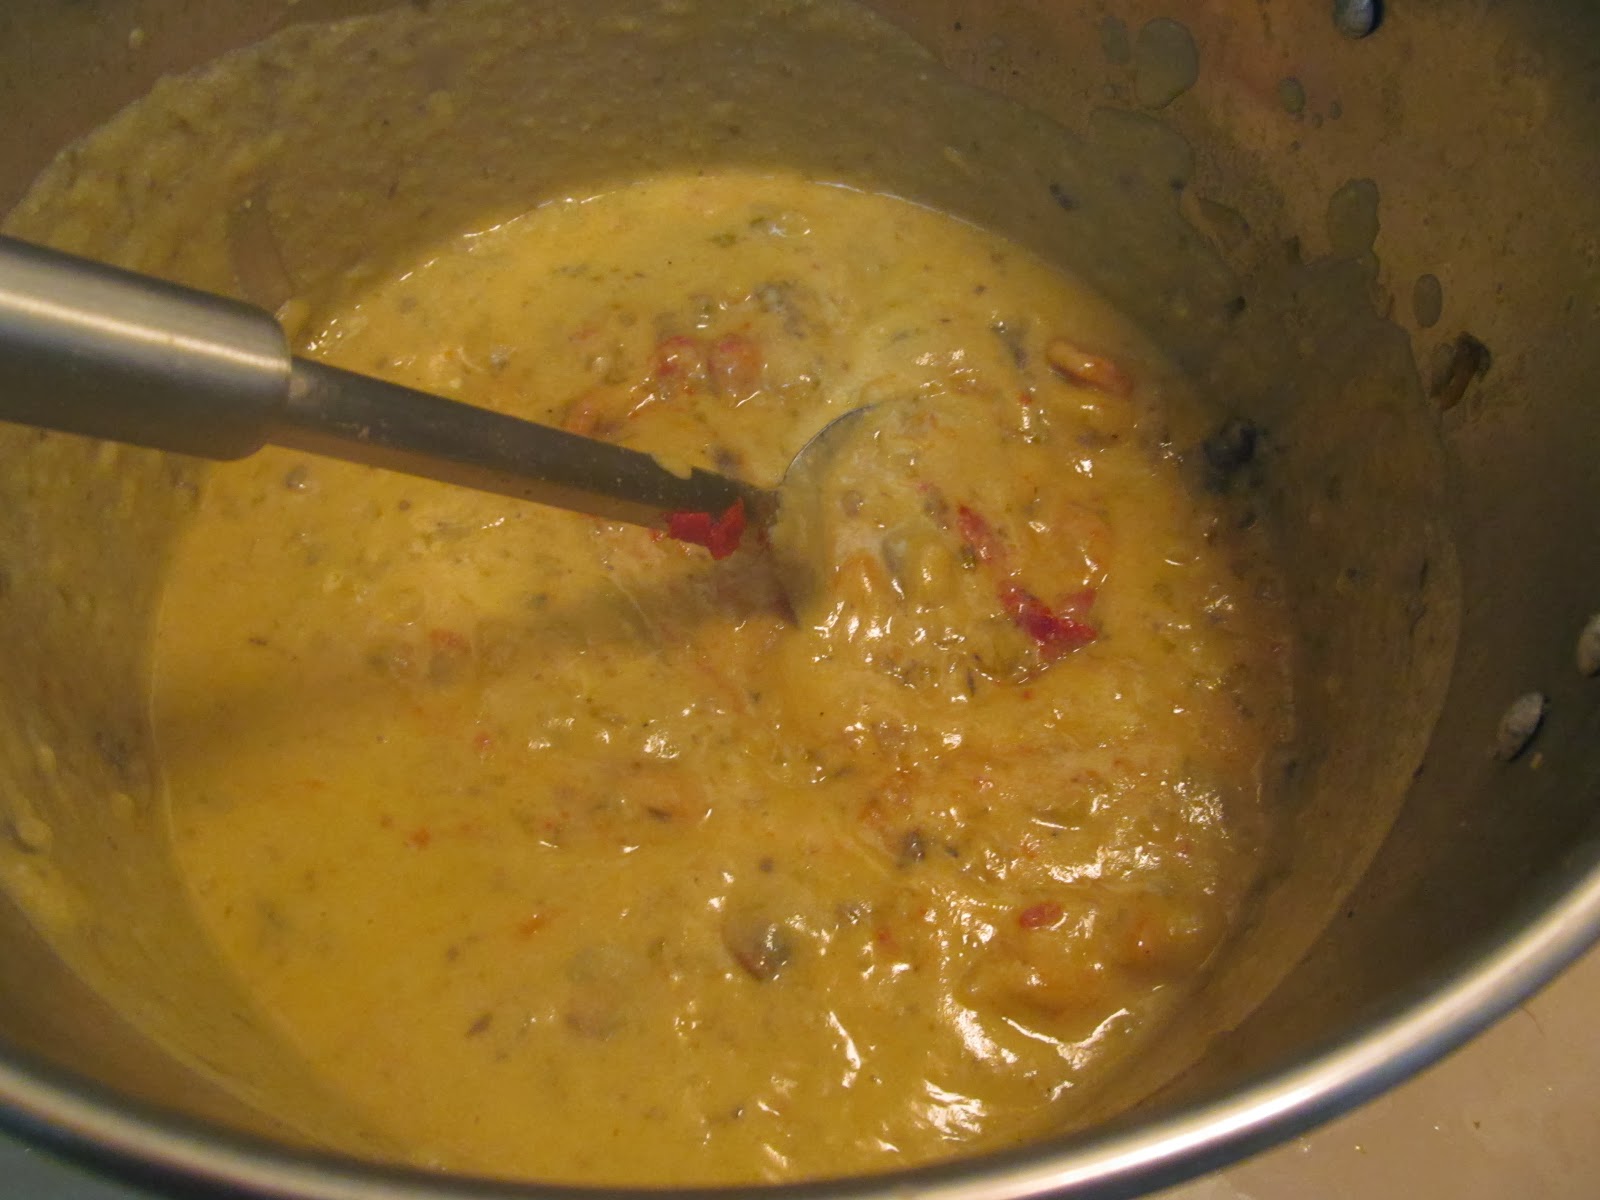
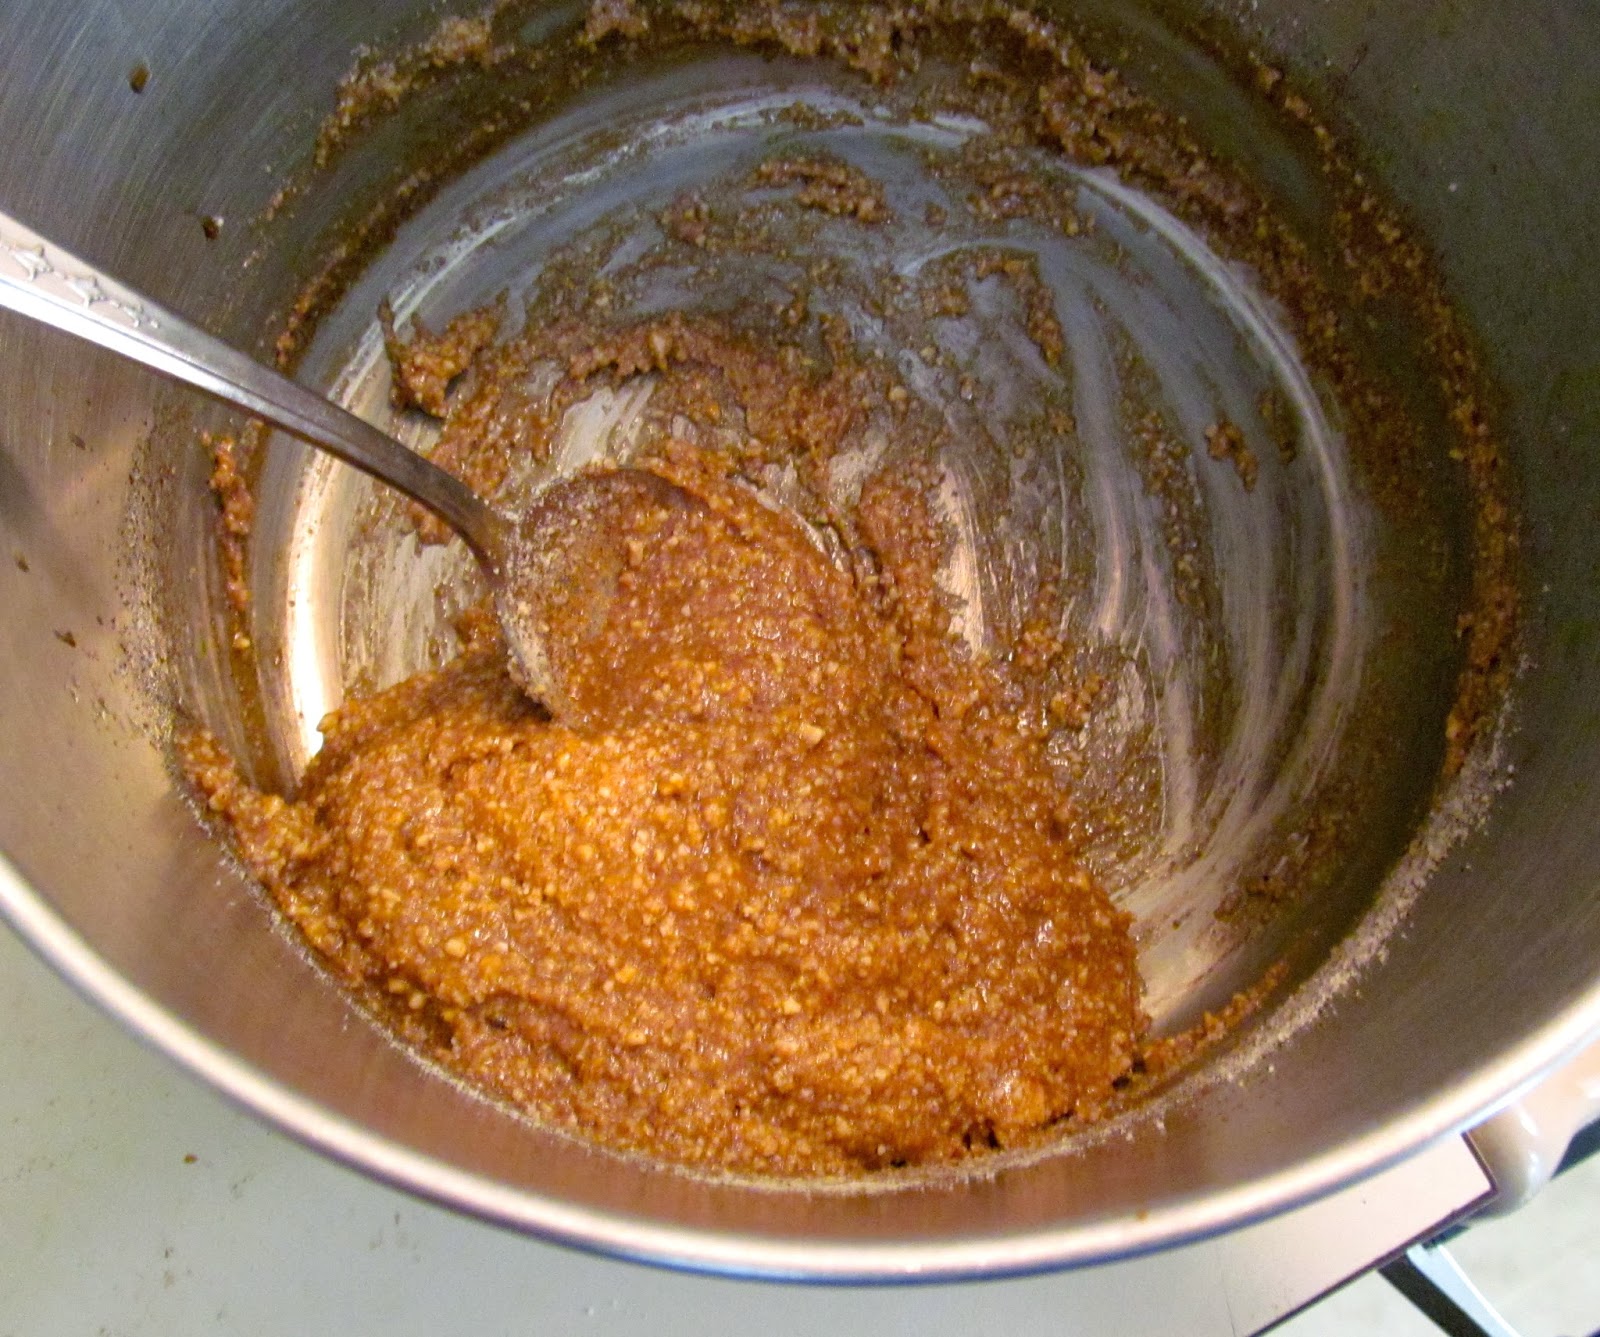
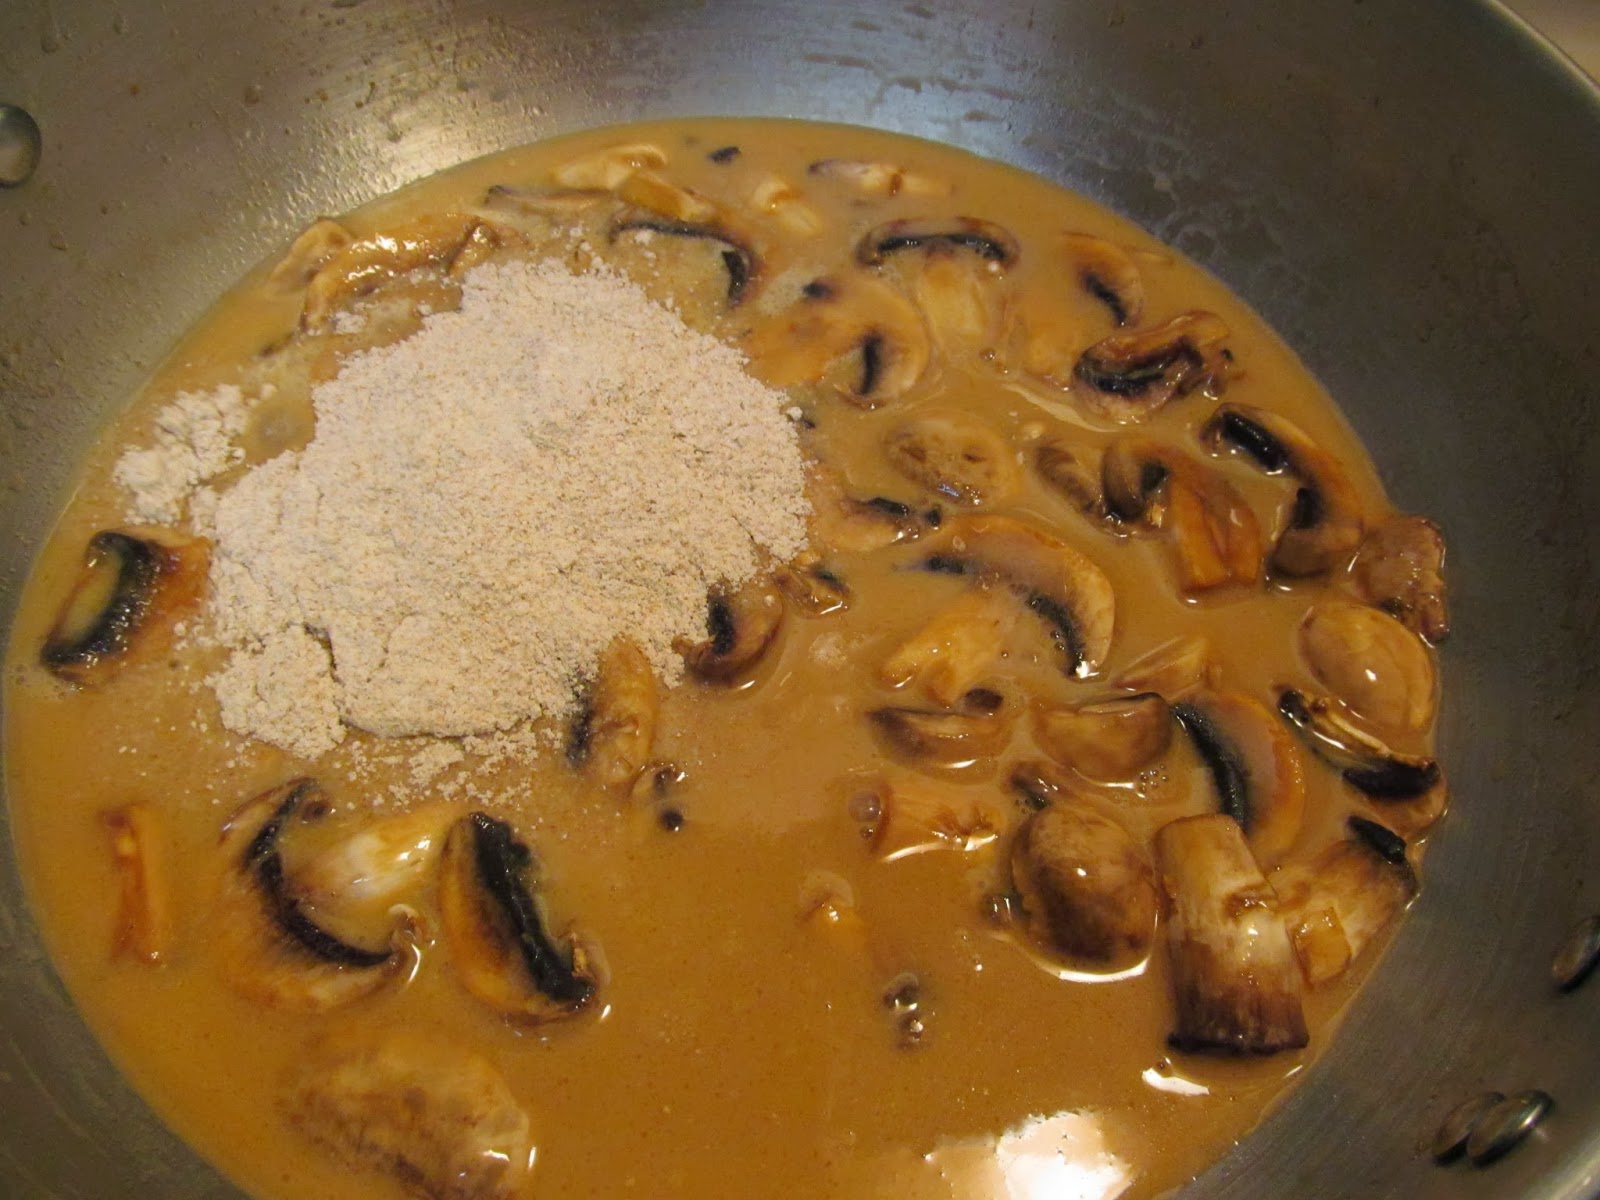
The tomato paste will bind all of the flavors together and
adds a deep, richness to the broth

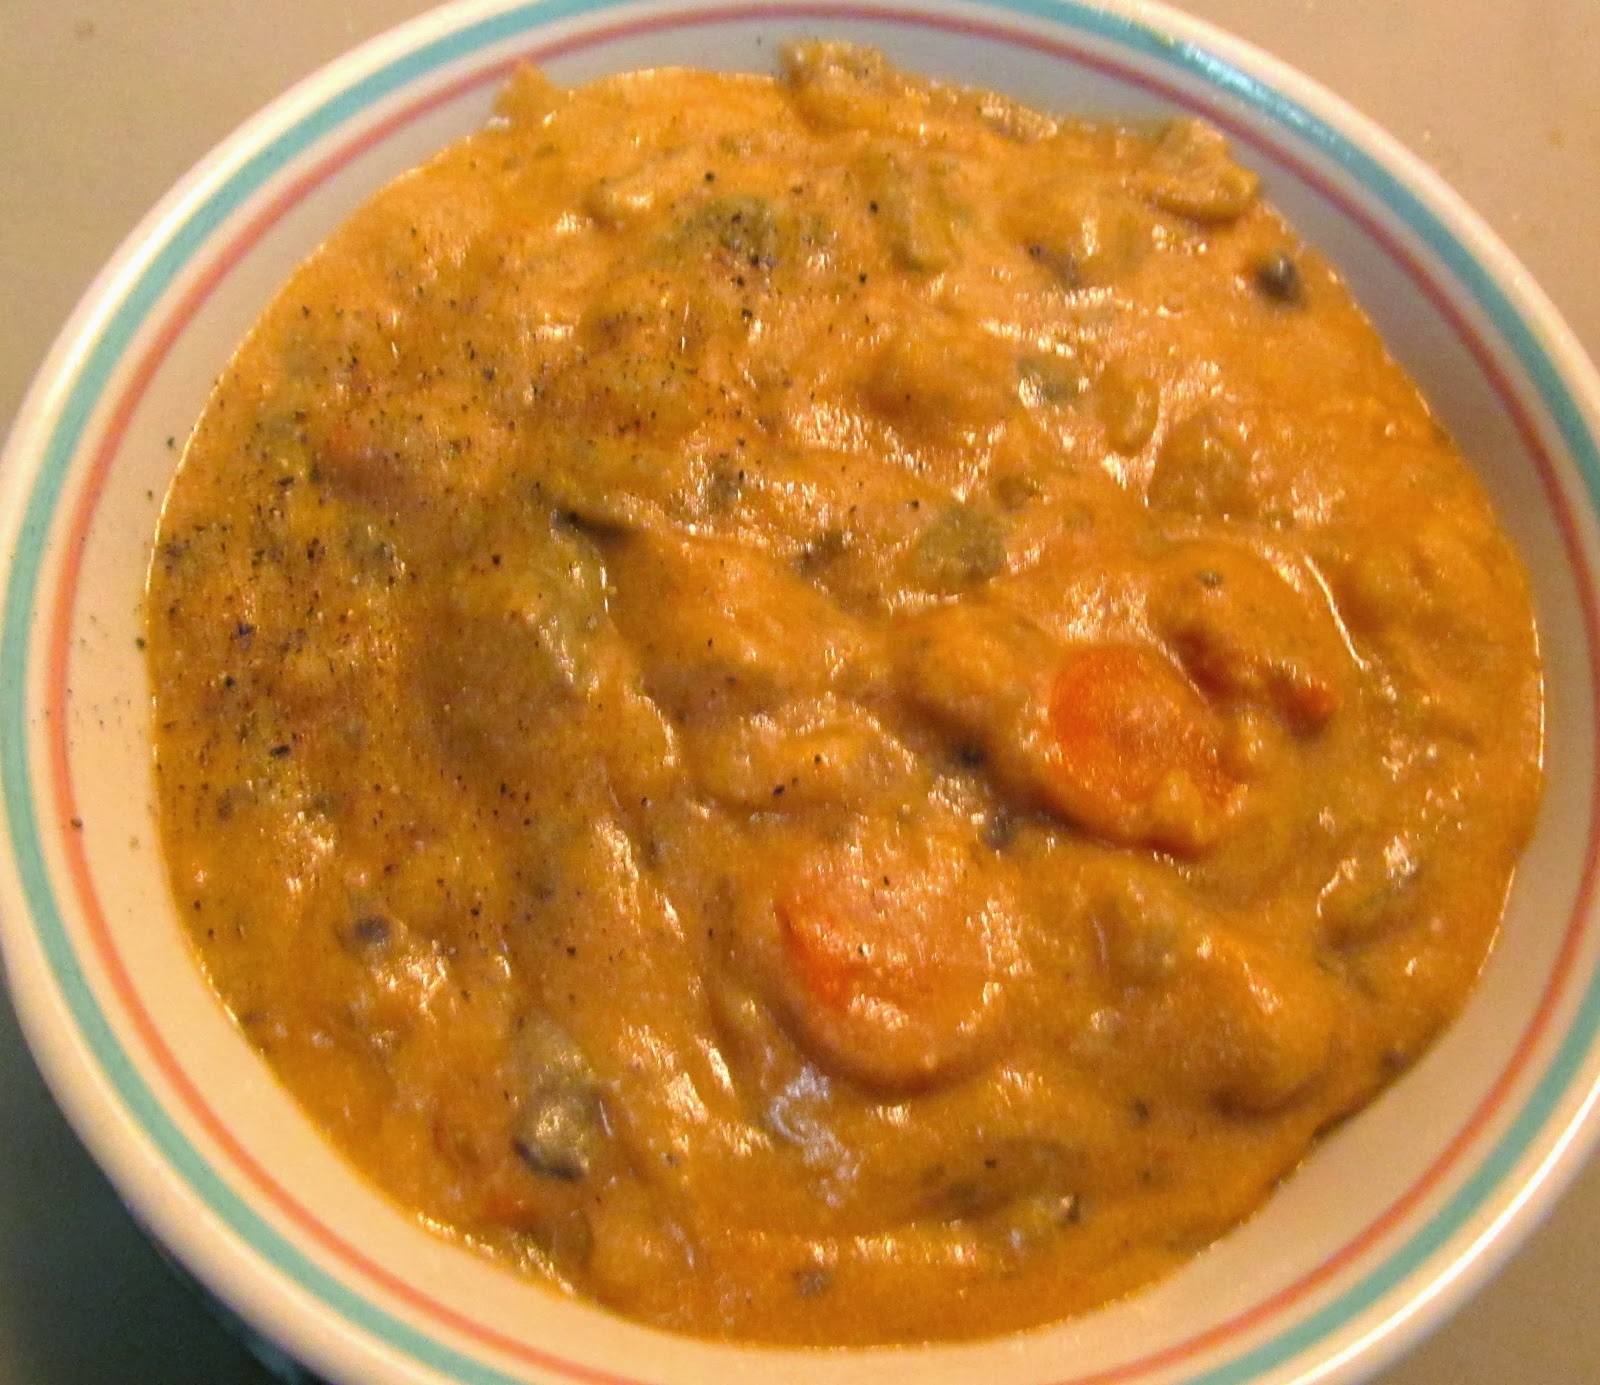
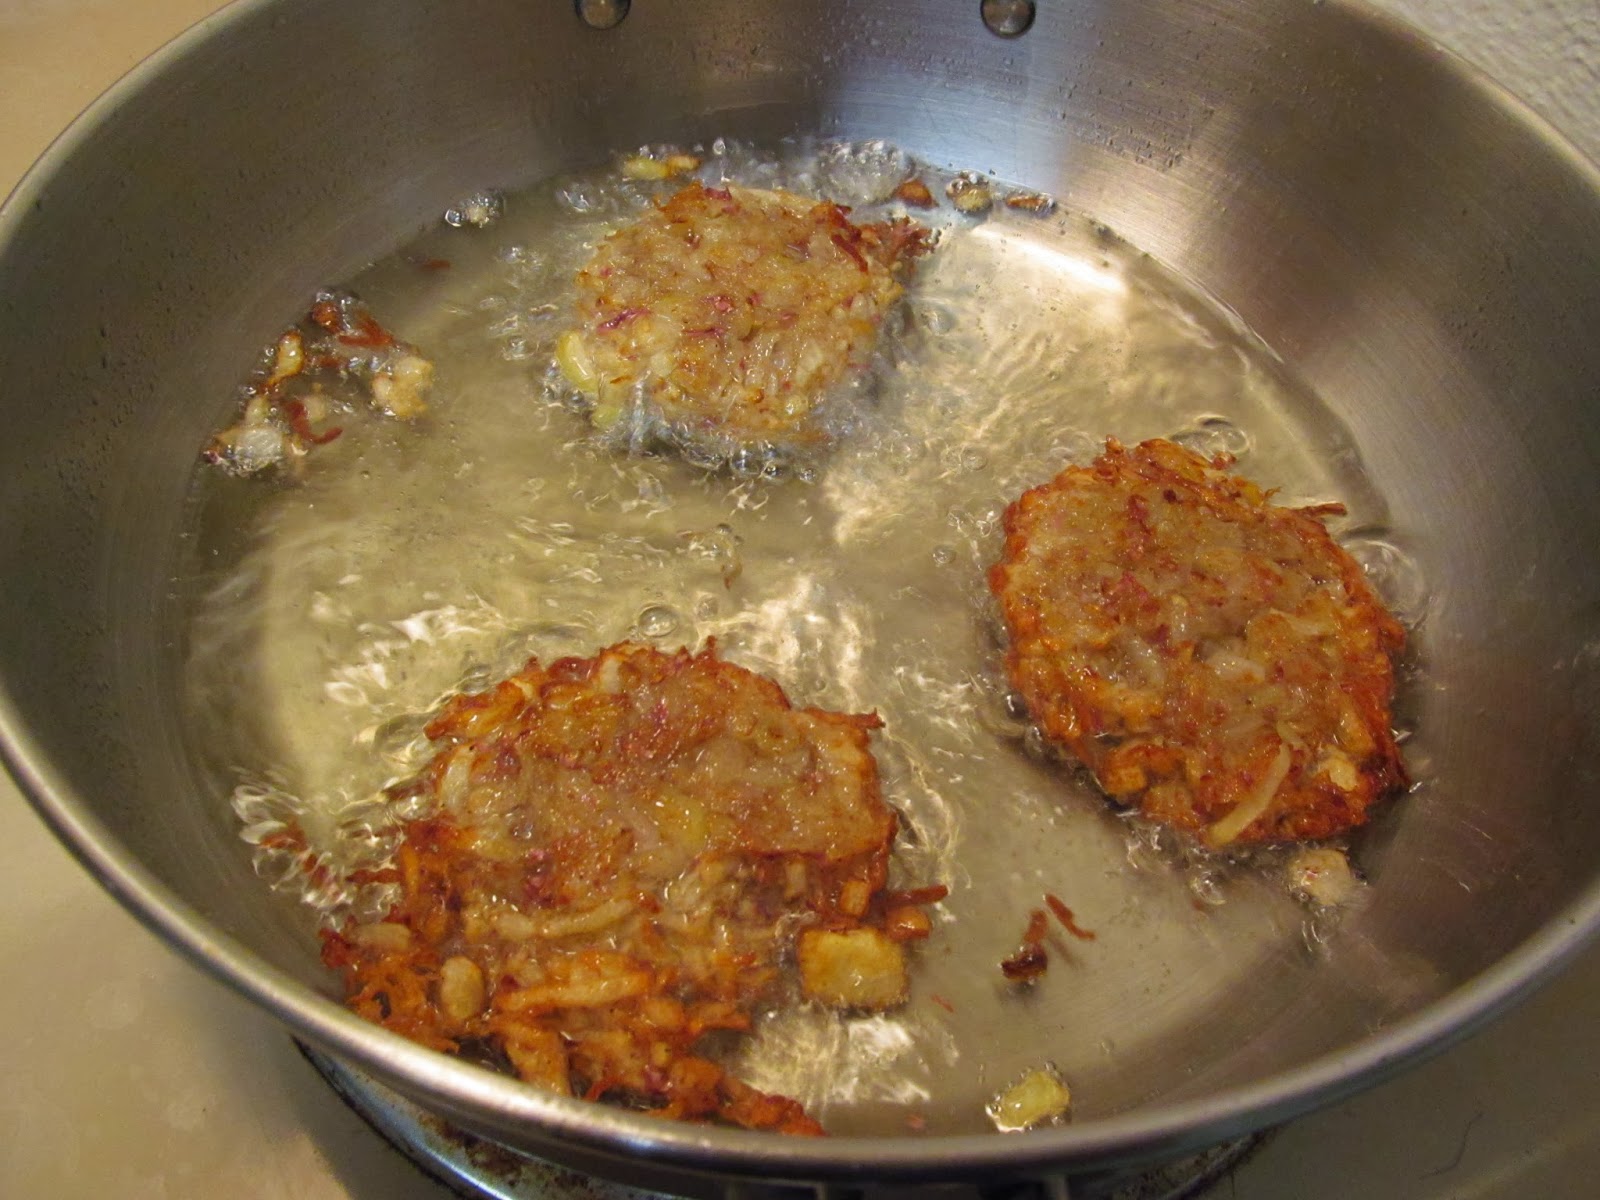
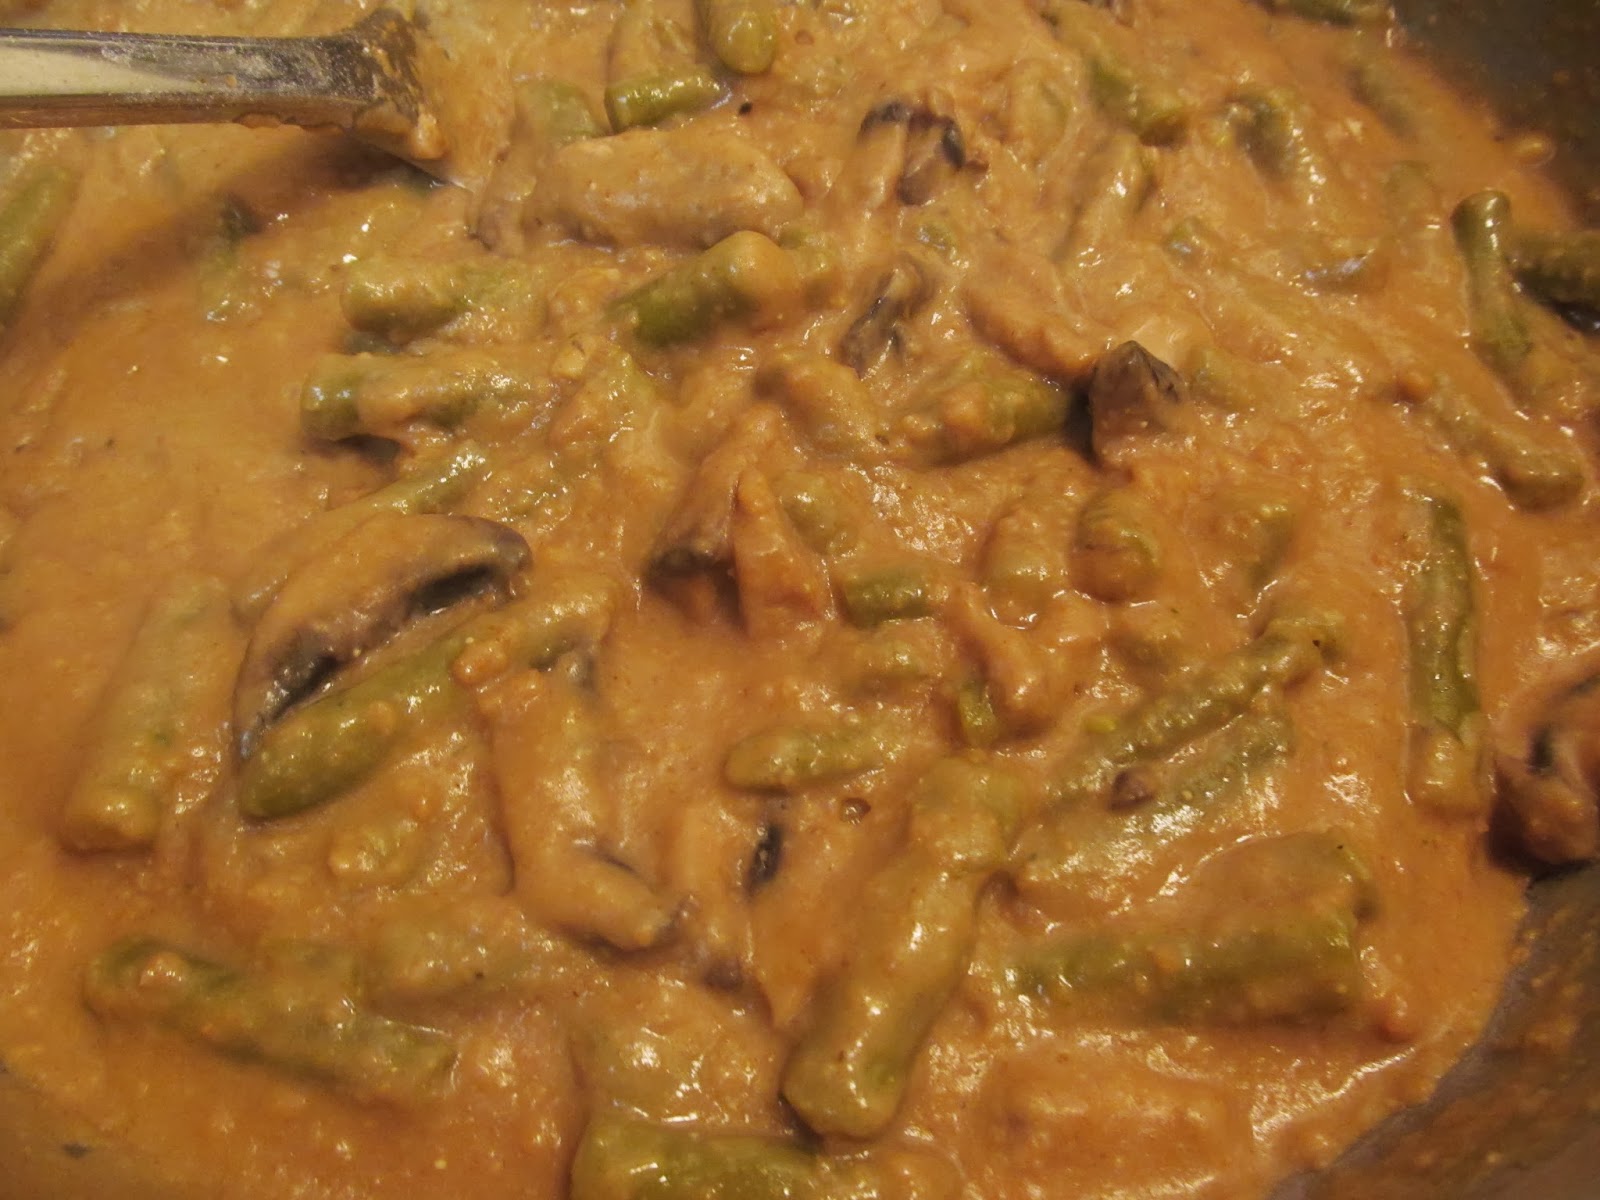
This time I simmered for too long and everything got overcooked
It still turned out great; it was more like a thick stew
The potatoes were mush and the mushrooms lost their chewiness

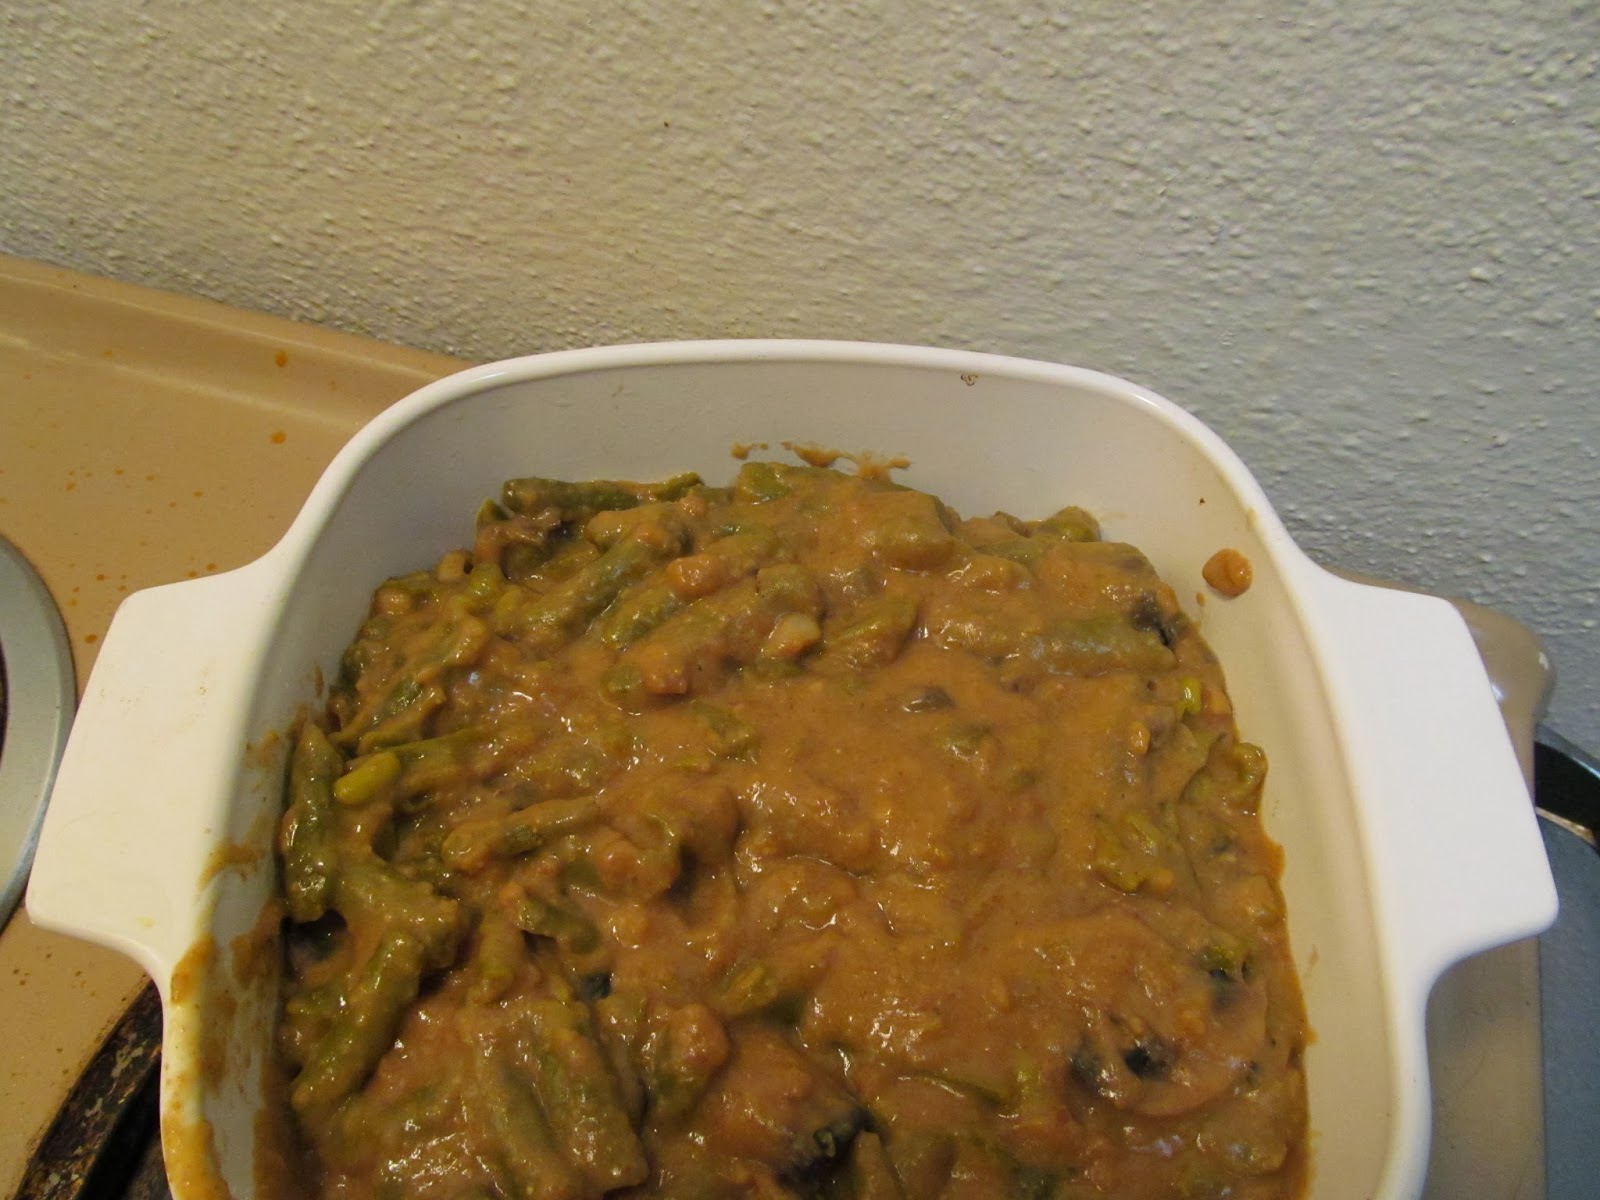
This time was perfect! An incredible recipe for all occasions!

I like to make big batches and store them for through out the week
If your blender is big enough, you can make both batches of
the cashew cream at once; if not, make two separate batches
I learned the hard way and had an overflowing stream of
cashew cream mess to clean up
There you have it. Vegan Clam Chowder. I have a sneaking suspicion that if this were to be served to an omnivore, they would not be able to tell it was vegan! It is that convincing. Make it for your friends and try to deceive them!!
Enhanced by Zemanta

Popcorn

19 Thursday Dec 2013

Posted by whatahipster in Uncategorized

≈ Leave a comment

Tags

Chili powder, food, Garlic powder, healthy living, nutritional yeast, Onion powder, Popcorn, Sea salt, vegan, vegan snack, Yummly

“Popcorn?”, you may say. Yes. I am indeed writing a blog post about how to make stovetop popcorn! Why? Because most people do not know how! Thanks to my dad and our movie nights growing up, I have always known how to use a pan, some oil, and the stove to pop up some of the most delicious corn you have ever tasted in your life. “But I can just go to the store and get a microwavable bag! It is much easier!”, you may say. No. Surprisingly, it is literally the same amount of time and effort to pop your own popcorn than it is to buy the overpriced, mostly non-vegan, store-bought bags. 

Ingredients:

  • ⅓ cup popcorn kernels
  • 2 tbsp. oil of your choice

Here’s what you do:


Heat the oil on medium heat with 3 kernels, covered. Why 3? I have zero idea. Just do it. When the first kernel pops, pour the rest of the kernels in and place the lid on again. Swirl the pan around the stove to keep the kernels and oil moving to prevent them sticking to the bottom of the pot. The popcorn will pop. And pop. And pop. Wait one minute and remove from heat. Trust me. You want all of the popping to be stopped. If a single kernel pops when you have the lid off most of the fluffy, light, airy popcorn will be strewn across your kitchen floor. Now you can take the lid off of the pot and serve with your favorite topping! Just plain old salt is amazing on it. Nutritional yeast also makes a great, savory, cheesy flavor. Why does this work? Huh. All I know is the concept behind this method is that when a random 3 kernels are heated and one of the kernels pops, the oil is at the perfect temperature and the popcorn will not turn out overcooked or burnt. 

Ever get tired of plain, salted, or buttery popcorn? The nutritional yeast from earlier is a miracle worker. Not only does it contain essential minerals and protein, it tastes like cheesy popcorn! I would place the flavor very close to cheddar. 

Here are a few interesting toppings for your popcorn to keep things from getting boring.

Ranch Style

  • ¼ tsp. onion powder
  • ¼ tsp. dried dill weed
  • ⅛ tsp. garlic powder
  • ⅛ tsp. sea salt
  • ⅛ tsp. black pepper
  • ⅛ tsp. vegetable oil
Mix this all together for a garden fresh, salty snack!

Sweet Chili

  • 3 tbsp. confectioners’ sugar
  • ½ cinnamon powder
  • 1 tbsp. chili powder
  • ¼ tsp. sea salt
  • ¼ tsp. cayenne powder
  • 1½ tbsp. paprika
Mix this all together for a kick-in-the-mouth sweet and savory flavor!

Here is a link to so many great vegan popcorn toppings from Yummly.

This is my favorite combination for a topping
Buttery, salty goodness!

Three. Juuuuuuust three

Be sure to cover it, obviously, or there will be a poppy mess

Srsly tho. Make your own popcorn! Save all the money!

Pop! POP! pOp! PoP! pOP! POp!


Enhanced by Zemanta

Potato Latkes with Cranberry Applesauce

09 Monday Dec 2013

Posted by whatahipster in Uncategorized

≈ Leave a comment

Tags

applesauce, Chanukkah, Christmas, cranberries, Hanukkah, healthy living, latke, Potato, Potato pancake, Thanksgiving, Thanksgivukkah, vegan, vegan cooking, vegetarian

Just in time to miss Thanksgivukkah, these latkes are still crunchily delicious! I had intended to get this recipe out before Thanksgiving, but the holiday season is like the riptide currents in the Pacific Ocean; I was being torn every which way and had zero time to post any blogs. Now that life is seeming to calm before the storm of Christmas, I hope to regularly post to the blog again.

This cranberry applesauce is actually useful all fall! It combines traditional fall spices with the tartness of cranberries and green apples that can be served warm or chilled!

Ingredients:

  • 2 cups fresh cranberries         ($0.89)
  • ½ tsp. ground cinnamon             –
  • ½ tsp. ground nutmeg                –
  • ¼ cup brown sugar                ($0.23)
  • ½ cup sweet red wine            ($1.25)
  • 4 green apples                       ($2.76)
Combine the cranberries, cinnamon, nutmeg, brown sugar, and wine in a medium sauce pan and bring to a boil. Reduce heat to low and simmer for 20 minutes. Core, peel, and slice the apples into bite sized chunks. Add the apples, cover, and simmer an additional 20 minutes. Remove from heat, let cool and SERVE!

Red wine brings out the subtle sweetness of the cranberries

I left the skins on the apples the first time but the final
consistency was a bit too chewy

Cook away! The lid is important to keep the steam
inside the pan so it does not dry out

Deliciously sweet and tart cranberry applesauce!
Fried potatoes are basically all you ever crave in life. These potato latkes take a small amount of extra preparation, but are ever so worth it! 

Ingredients:

  • 2 large onions, diced          ($0.24)
  • 1 unit egg replacer                  –
  • 2 tbsp. whole wheat flour       –
  • 1¼ tsp. sea salt                      –
  • 1 tsp. baking powder             –
  • 2 lbs. potatoes                    ($1.27)
  • Vegetable oil for frying        ($0.98)
Grate the potatoes. Place them in the center of a thin cloth like a cheesecloth and wring out the liquid over a bowl. Dice the onions and add the potatoes and onions to a mixing bowl. Pour out the liquid from the potatoes until only the starch remains. Scrape the starch into the mixing bowl. In a separate bowl, mix together the egg replacement, flour, sea salt, and baking powder. Stir until fully incorporated. Add this mixture to the potatoes and onions. Stir well. Heat about 4 inches of oil to 375°F, or slightly above medium heat. Take a handfuls of the mixture and flatten them into 2 inch wide circles. Drop them in the oil with a slotted spatula 3 at a time. If you place too many in the oil, the temperature will drop and the latkes will not cook correctly. Fry until they are golden brown. Place aside to cool on a paper towel. Top with the cranberry applesauce and a dollop of vegan sour cream and you have an instant Thanksgivukkah feast! 

A food processor with a grater attachment is
a much quicker way to grate them
I live in the stone age and hand grated all the potatoes

I also hand diced all the onions
If one of my lovely readers is ever so kind enough
to buy me a food processor I will dedicate a week of my time to
cook for them

This may be the hardest step in the recipe
Keep moving the potatoes around to get the most liquid out

Red skin potatoes will turn your cloth pink
JUST A FAIR WARINING: it does not come out

Eww…delicious starch!

The Batter
My proportions were wrong because I used EnerG egg replacer
If the mixture is too liquidy, add more flour and baking powder
LIQUIDY: (adj.) – the state of being more liquidy than desirable

I have said this before and I will say it again:
DO NOT LET THE CRISPIES THAT FLOAT AROUND
STAY IN THE PAN OR THEY WILL BURN DOWN YOUR HOUSE!

What a nice hipster pic taken with ôggl by Hipstamatic
Jimmy lens with Blanko Noir film for those that care
Seriously though. Make these latkes even if Thanksgiving was last week and you still have 3 half-eaten casseroles in the fridge! It is definitely still fall until December 21st and definitely still the season for fall foods! 
Enhanced by Zemanta

Happy Diwali! Eat some Sweets!

10 Sunday Nov 2013

Posted by whatahipster in Uncategorized

≈ Leave a comment

Tags

Cashew, Dessert, Diwali, happy diwali, Hindu, Indian cuisine, Kaju Katli, lakshmi, vegan, vegan desserts

For those unfamiliar, Diwali is a five day Hindu celebration that occurs in late October or early November. This year, it fell on November 3rd, but I was incredibly busy and did not have time to write a post. I did, however, make a traditional Indian candy, usually eaten for Diwali. It is called Kaju Katli and it is one of the most delicious desserts have ever put in my mouth. I cannot compare it to any American sweets. It. Is. AMAZING! And only 5 ingredients. Here is what you do:

Crush 1 cup raw cashews into a fine powder. I used the flat blade of my Magic Bullet and it worked well. Add 1 tsp. corn starch after the cashews have been powderized and mix again.

Cashews are a delicious choice for this dessert
because they are soft and have a unique sweetness

The cashew powder should be pretty fine but some chunks
are acceptable and will add a nice crunch

The flat blade ensures the cashews will be thoroughly ground
Heat this dry mixture in a skillet on medium-low until it is warm.

Stir occasionally to heat evenly
Bring ¼ cup water to a boil and add ½ cup brown sugar and 1 tsp. ground cinnamon powder. Reduce the heat to low and let simmer for 5 minutes. This should create a thick syrup. It is the most difficult step of this very simple recipe because if cooked for too long, it will be too thick and dry; if cooked for too little, it will not thicken and the end candy will be runny and wet. 

Keep stirring during this step or the sugar will meld to the pan
Add the cashew powder and stir, stir, stir! It will almost instantly create a dough-like substance. Make sure all ingredients are fully incorporated. Scoop the mixture onto aluminum foil and allow to cool. I have found this is best served chilled in the refrigerator for an hour or so. Cut the candies into diamond shapes and serve! 

I had to rush this picture because the cashew powder
immediately stats soaking up the syrup and it must
be stirred quickly

This candy is almost like a sweet nut butter with a hint of cinnamon

This recipe only makes one batch and only a few pieces, so double
or triple the quantities for a party sized batch

Kaju Katli is traditionally served in triangles and has roots
back in Indian culture

Did you know?


Diwali is known as the “festival of lights” and is a time of joy, giving, fellowship, and food. Marking the end of the harvest season, farmers celebrate the good fortune of their crops by making meals and feasting. Bringing in the new year, the goddess Lakshmi is worshiped for her symbolization of wealth, prosperity, and the fortune of another good year ahead. It is believed that on this day, the Lakshmi-panchayatan, or group of five deities, enters the universe. Each member is responsible for a different attribute. 

  • Lakshmi: Divine Energy (Shakti) which provides energy to all the above activities
  • Vishnu: Happiness (happiness and satisfaction)
  • Kubera: Wealth (generosity; one who shares wealth)
  • Indra: Opulence (satisfaction due to wealth)
  • Gajendra: Carries the wealth
  • Saraswati: Knowledge
Another main focus of Diwali is spiritual enlightenment. Hindus strive for the “awareness of the inner light” and celebrate the victory of good over evil during this time of year. With higher knowledge, one may dispel ignorance, as ignorance masks the mind, body, and soul. Only with the realization of the infinite one may be enlightened. 


Happy Diwali, Happy Thanksgiving, and Happy Holidays! 
Enhanced by Zemanta

Quick Baked Tempura

28 Monday Oct 2013

Posted by whatahipster in Uncategorized

≈ 1 Comment

Tags

Baking, Deep frying, tempura, vegan, vegan snack, vegan tempura, Whole-wheat flour

Fried food is just SOooOooO good! Right? Right. While fried food may taste divine, the oil and fat will not feel good after a few clogged arteries. This quick recipe will let you enjoy the amazingly crunch goodness of tempura without frying! Here is what you do:


  • Preheat the oven to 450°F
  • Slice some vegetables into bite sized pieces
  • Mix 1 tsp. corn starch, ¼ cup whole wheat flour, 1 cup unflavored, unsweetened almond milk
  • Mix 1 tsp. salt, 1 tsp. olive oil, ½ cup breadcrumbs in a separate bowl
  • Dip the veggies into the first bowl, then the second bowl and place on a baking sheet
  • Bake for 8 minutes, then flip them over and bake for an additional 8 minutes
These proportions are for a single serving, so try multiplying the measurements if you are serving food for 2 or more impoverished vegans. I love this recipe because the veggies still taste fried and crunchy and delicious without that heavy oil feeling burdening your stomach. 

Try adding some garlic powder to the wet mixture
Any vegetable can use a little extra garlic kick!

Add 4 tbsp. beer to the wet mixture and 1 extra tsp. corn starch
if you are making mushrooms for Beer Battered ‘Shrooms!

Different sizes of rings will coat differently in the batter
Try to make sure the batter is fully covering the veggies

Pre-baked deliciousness

Post-baked DELECTABLENESS 
Cut the oil and fat and bake your tempura! (I still deep fry occasionally…I just cannot resist it)
Enhanced by Zemanta

Green Bean Casserole

27 Sunday Oct 2013

Posted by whatahipster in Uncategorized

≈ Leave a comment

Tags

Casserole, french fried onions, Garlic, Green bean, Green bean casserole, peas, vegan, vegan casserole, vegan dinners, vegan gravy, veganism

Fall means chilly mornings with steaming hot coffee. Fall means blankets and pajamas and cuddling up watching scary movies. Fall also means warm, home cooked meals that warm the body and the soul. It is most definitely casserole season. I love casseroles; in fact, I could probably manage and run a blog solely dedicated to casserole recipes. For now, here is just a plain-old green bean casserole that is anything but plain-old tasting. Let’s go.

Ingredients:

  • 2 cans of green beans             ($0.98)
  • 3 cloves of garlic, minced       ($0.05)
  • 5 large mushrooms                 ($0.16)
  • 2 tbsp. (vegan) butter              ($0.12)
  • 4 tbsp. soy sauce                    ($0.02)
  • 2 cup unsweet almond milk    ($0.20)
  • 6 tbsp. whole wheat flour       ($0.02)
  • ¼ cup french fried onions       ($0.10)
  • 2 tbsp. garlic powder              ($0.08)
Seriously, this casserole costs $1.73 for two generous servings. During these cold nights, I dare you to resist making this casserole and curling up by the fire.

Preparation:


Preheat the oven to 350°F. Mince the garlic and slice the mushrooms. Melt the butter in a saucepan with the soy sauce on medium. Sauté the mushrooms for a few minutes. Add the almond milk, garlic powder, and whole wheat flour. Stir until it thickens. This is basically vegan gravy. It is deliciously salty without the animal products! Open the green beans and add to the gravy mix, along with the minced garlic. Cook for 5 minutes. Add this mixture to an oven safe baking dish and add the fried onions on top. I am very generous with this step. The crispy fried onions will only meld with the casserole filling to create a savory crunch sensation when baked. Bake for 20 minutes or until crispy. Let cool 5 minutes before serving. 

I used button mushrooms but for a more chewy texture
use shiitake mushrooms

Earth Balance Buttery Spread in action again!
It is exactly like dairy butter, only VEGAN!

The soy sauce stands in for the chicken broth and
by adding the whole wheat flour, this mixture
thickens for a nice gravy

I have learned many things since starting this blog but my favorite
tip is probably: invest in stainless steel! It will endure the rough
and tough of everyday cooking while still looking fabulous! 

Incorporating all of the ingredients, the sauce should thicken nicely
and the mixture should be warmed through

This recipe serves two impoverished vegans or
four portion-controlled adults

These are the secret ingredient in ANY casserole
Once baked, these french fried onions crete a tasty layer of
crunchy goodness that compliments the thick and creamy
casserole filling

Next time I am going to pour these crispy french fried onions into
the sautéing skillet right before I add it to the oven-safe
baking dish. This will double the amount of crispy goodness!
I added one can of peas to the mix for an earthy flavor
This basic recipe is very versatile. I have some asparagus I am dying to try in a casserole. Feel free to submit your own suggestions for casseroles or how you liked or hated this one! 
Enhanced by Zemanta

BLT Mac & Cheeze

21 Monday Oct 2013

Posted by whatahipster in Uncategorized

≈ 4 Comments

Tags

bacon, blt, cheese, eggplant bacon, isa chandra, mac and cheese, post punk kitchen, vegan, vegan bacon, vegan mac and cheese, veganism, vegetarian

While blog surfing for vegan mac and cheese recipes to satisfy my constant cheese cravings, I discovered the Post Punk Kitchen! Run by Isa Chandra, author or some of the most popular vegan cookbooks, PPK has amazing recipes, notes, and tips for a rookie chef like me. I decided to try some of her recipes out and MAN OH MAN! So… I do not really miss bacon; I never really enjoyed it as an omnivore. BUT EGGPLANT BACON! This is a must-try, not only because it is crazy delicious, but it is crazy inexpensive too!

Ingredients:

  • 1 eggplant                                 ($1.20)
  • ¼ cup soy sauce                      ($0.07)
  • 1 teaspoon liquid smoke         ($0.03)
  • a drizzle of olive oil

Preparation:


Preheat the oven to 425°F. Slice the eggplant into ⅛ inch slices. Drizzle a baking sheet with olive oil so the eggplant does not stick. I have found this also makes the “bacon” a little crispier. Bake for 8 minutes, rotating the pan halfway through. Remove the pan and flip the slices. Remove the slices if they are starting to become dark brown. Cook for about 3 more minutes. Remove and let cool. Dip the eggplant in a mixture of the soy sauce and liquid smoke. Make sure they are evenly coated. Lower the oven down to 350°F. Bake the bacon again for about 4 more minutes, just to reheat and let the smokiness of the sauce absorb into the eggplant. Time to MUNCH!

Wrap your baking tray with aluminum foil for a quick clean up!

I bought a big eggplant so I chopped the head off and cut it
in half before I sliced it
Smaller eggplants just need to be sliced

Try to slice it super thin so it will become crispy when baked

I used varying sizes for variety

Arrange neatly with no overlap so they bake evenly

The secret ingredient is liquid smoke! What an
amazing flavor!
HINT: for gluten-free, use tamari sauce

Make sure the pieces are crispy before dipping into the sauce
or they will fall apart

VEGAN BACON DELICIOUSNESS

So that is the B part of the BLT. Isa suggests using arugula for the L because lettuce is just SO BORING! I agree. T for tomatoes and now it is time to make the cheeze sauce! I altered her recipe slightly, using less lemon juice because it was a little too citrusy for my liking. 

Ingredients:

  • 1 cup cashews (soaked)       ($1.66)
  • 1 cup vegetable broth           ($0.70)
  • 3 tbsp. nutritional yeast        ($0.85)
  • 2 tbsp. fresh lemon juice      ($0.15)
  • 2 tsp. dijon mustard              ($0.08)
  • 1 medium clove of garlic      ($0.26)
  • salt and pepper to taste

Preparation:


Soak the cashews for at least 2 hours; I usually soak them overnight. Be sure to plan for the cashews expanding slightly; use plenty of water and completely submerge them. Drain the cashews and place all of the ingredients in a blender. Blend until smooth. Cook some pasta al dente and drain it. Add the cheeze mixture and pasta back into the same pot the pasta cooked in. Cook for an additional 3 minutes on medium heat until warmed through. Top with the eggplant bacon, arugula, and tomatoes for the tastiest mac and cheese recipe since Kraft EasyMac!

Cashews work well because they are a naturally soft nut
They give the cheeze a slight sweetness

I use a Magic Bullet Blender, so it took a little bit longer to blend
the ingredients until smooth

Make sure to use raw cashew pieces
Roasted cashews will not soak correctly

Due to the locking feature, I was able to take the lid off
while blending and take this picture
No mess was made but I do not endorse this behavior

While the water was boiling for the pasta
I sliced the tomatoes in half

Grape tomatoes work well for this recipe
They are already bite-sized and slightly sweeter
They also make the final product look pretty

I used brown rice penne pasta to avoid gluten

OH MY GAWD
This seriously has turned into one of my most favorite meals
Huge shoutout to Isa Chandra at the Post Punk Kitchen
So there you have it. If you are ever missing cheese and think you may not be able to make it another day without the delightful dairy product, make this recipe and all shall be well with the world.

Buffalo Tempeh Burger

19 Saturday Oct 2013

Posted by whatahipster in Uncategorized

≈ 4 Comments

Tags

buffalo, buffalo burger, buffalo chicken, healthy living, tempeh, tempeh burger, vegan, veganism, vegetarian, vegetarianism

Sooo….tempeh? What even is tempeh? I had absolutely no idea what tempeh was 6 months ago. In the vegan community, tempeh is like a gift sent from above! Basically, it is a soy product that is very similar to a “burger” patty. True. 

organic 3 grain tempeh trader joe's buffalo chicken
It’s organic too! 

Marinated in buffalo sauce, this tempeh burger imitates buffalo chicken so closely it is may actually contain traces of animal protein. Except, not. Tempeh is 100% vegan. Here’s what you do:

Ingredients for 1 burger:

  • ½ package tempeh            ($0.99)
  • 1 slice havarti “cheese”     ($0.99)
  • 1 slice of a tomato             ($0.12)
  • ¼ of an avocado                ($0.25)
  • ¼ cup buffalo sauce          ($0.23)
  • 1 small burger bun             ($0.37)
  • 1 slice dill pickle                 ($0.16)

Preparation:


Slice the tempeh in half lengthwise. Slice these halves in half again perpendicularly so you have 4 slices, about 3″ X 3″ square. Marinate the slices of tempeh in buffalo sauce for about 2 hours. Preheat the oven to 350°F. Bake in the oven for 40 minutes; turn the tempeh over halfway through cooking and add the slice of cheeses so it will melt. Toast the bun until lightly brown. Spread the extra sauce from the marinade over both sides of the bun. Layer the tomato, avocado, and tempeh slices and the burger is complete! Dill pickles go extremely well with the flavor of buffalo sauce; add a spear to your plate for a tangy treat.

organic 3 grain tempeh trader joe's buffalo chicken
The pineapple took away from the sharp bite of the buffalo.
Discretion is advised.

daiya havarti style dairy free cheese jalapeño garlic
Daiya is the best brand! This jalapeño garlic variety is
perfect for the spiciness of the buffalo sauce!

tomatoes avocados
Delicious colors! The tomatoes calm the spices and the avocados
add a creaminess to balance the spices.

marinade marinate buffalo sauce havarti cheese
Look at that melty cheese! It is almost sinful how amazing
vegan cheese can taste. 

buffalo tempeh burger chicken avocado tomato havarti cheese
The burger was a little tall; try flattening the burger
a tiny bit so it fits in your mouth better.

buffalo tempeh burger chicken avocado tomato havarti cheese dill pickle
This burger seriously competes with any and all buffalo chicken
burger I have ever had. The texture of the tempeh is so meaty.

I had originally made this recipe with sliced pineapple, but it turned out to hinder the already complicated flavors of tempeh, buffalo, tomato, and avocado. I left it out of the recipe, but for a twangy twist on this recipe, add cubed pineapple to the marinade and garnish the burger with a cube on top. 

Did you know?


Another one of those weird asian products you always see but never know what they are, tempeh is originally from Indonesia. Naturally fermented with controlled cultures, this soybean “cake” is firm and grainy. The whole bean is fermented, providing additional nutrition; it has a higher protein, dietary fiber, and vitamin content. Soaked first, the beans and grains are partially cooked while a mild acid is added, usually vinegar. This lowers the pH and created a perfect environment for fermentation. Spores are added and the process is almost complete. After sitting for 24 to 36 hours, the tempeh is considered “ripe”. 

tempeh banana leaves jakarta indonesia
This tempeh is wrapped in banana leaves, ready to sell
in a market in Jakarta

Preparation of tempeh ranges from deep frying to baking. Tempe bosok is even rotten tempeh, used in small amounts as a flavoring! 

tempeh burger bun
Tempeh used as the bread bun for a burger! Looks like I may be
concocting a new recipe soon!
And now you know. You don’t have to be scared of that whitish-gray, lumpy, bean curd any longer! Feel free to comment with suggestions and any cooking tips you might have! 

sources: * http://en.wikipedia.org/wiki/Tempeh 

Baked Acorn Squash Seeds

14 Monday Oct 2013

Posted by whatahipster in Uncategorized

≈ Leave a comment

Tags

acorn squash, baked seeds, fall, garlic salt, healthy living, healthy snack, pumpkin seeds, squash seeds, vegan, winter squash

I was messing around with different squash recipes and came across one using acorn squash. Never having eaten or even seen this type of squash before, I dove in and boiled some squash. Here is a picture of an acorn squash for those like me who had no idea what it was.
baked acorn squash seeds garlic salt vegan snack healthy
This is an acorn squash. It is very firm with a thin outer skin.
Ranging from greenish yellow to orangish brown in color,
the flesh of this squash will soften when boiled.

My boyfriend loved the mashed squash over pasta, although I did not care for it. I will post the recipe soon for those interested. As I was seeding the squash, I noticed they looked very much like pumpkin seeds. Baked pumpkin seeds are the way to my heart, so I quickly googled “baked acorn squash seeds” and found many positive results! I instantly preheated the oven, threw the seeds together, and MUNCHED! Here is how it works:

  • Preheat the oven to 275°F
  • Separate the stringy innards from the squash seeds and rinse thoroughly
  • Pat dry on a cloth towel
  • Place in a bowl with 1 tbsp. olive oil and 1 tsp. garlic salt and mix
  • Spread the seeds evenly on a baking sheet with aluminum foil over it
  • Bake for 15 minutes or until the seeds start turning brown
  • If any seeds start to pop then they are fully baked
  • Let cool and CHOW DOWN

baked acorn squash seeds garlic salt vegan snack healthy
Dry the seeds well so the oil and salt will stick better.

baked acorn squash seeds garlic salt vegan snack healthy
Garlic salt must be constantly coursing through my veins
but feel free to use regular salt or other seasoning of your choice.
Try it with red pepper flakes, oregano, or cinnamon-sugar
for a sweeter crunch!

baked acorn squash seeds garlic salt vegan snack healthy
These acorn squash seeds are smaller than pumpkin seeds
but I feel they have a naturally saltier taste.
They also bake quicker and are crispier than pumpkin seeds.

baked acorn squash seeds garlic salt vegan snack healthy
This seed has popped and some seeds are crispy golden brown!
YUM!

baked acorn squash seeds garlic salt vegan snack healthy
FALL is here! Celebrate with a crispy snack of baked squash seeds!


Soy Sautéed Zucchini and "Meat"balls

13 Sunday Oct 2013

Posted by whatahipster in Uncategorized

≈ 2 Comments

Tags

Australia, beanballs, cheltenham, healthy living, life insurance, make a difference insurance, meatballs, pasta, soy, vegan, veganism, vegetarian, vegetarianism, zucchini

Salty, savory, sautéed vegetables may be my favorite thing in the whole entire world. I had rarely used soy sauce to sauté vegetables before this recipe but from now on, I am using it instead of oil. This recipe puts any spaghetti and meatball recipe to shame! Tasty zucchini “noodles” with fried black bean “meat”balls? Let’s get cookin’! So.

Ingredients:


  • 2 zucchini squash          ($1.57)
  • 1 cup pasta sauce         ($0.75)
  • 1 cup black beans         ($0.12)
  • ¼ cup vegetable oil       
  • ⅛ cup breadcrumbs 
  • 4 tbsp. soy sauce
  • 1 handful of oats
  • 2 tsp. garlic powder

Preparation:


Slice the zucchini into strips. 

Sauté the sliced zucchini in 2 tbsp. soy sauce until tender.


Place the black beans, oats, garlic powder, and 2 tbsp. soy sauce in a bowl and smash them all together. If you like your balls with a little texture, leave some of the beans whole while still creating a mostly smooth mixture.


Roll the bean mixture into spheres. 


Coat the balls with breadcrumbs.

Heat the oil on medium and when it is hot, fry the balls for 5 minutes, turning occasionally. For a crispier shell, fry for about 7 minutes, or until dark brown. Be careful of the small breadcrumb debris that will fall off. If this stays in the oil for too long it will burn and start smoking and the fire alarm will go off and a fire truck will come and you will have to say it was a false alarm and you will be embarrassed and dinner will be delayed and everything will be cold. 


Heat the pasta sauce. (Yes, I used the microwave out of convenience, but I would normally place it on medium-low in a small saucepan for 5 minutes.)


Layer all of the ingredients and serve!


For an amazingly low price of $2.49, this flavor extravaganza is well worth the work! The beanballs may actually be prepared ahead of time without the breadcrumbs. Just place in the fridge for up to 2 days. I am going to try this recipe with yellow squash next time. Feel free to send in suggestions or your own additions! 

Did you know?


Going vegan or vegetarian has a plethora of health benefits. Lowering the risk of heart disease, cancer, hypertension, obesity, strokes, osteoporosis, diabetes, kidney disease, and numerous other serious illnesses, a plant based diet has been shown to be key to a long life. Fewer animals are harmed or killed in consuming only vegetables, fruits, and grains. The meat and dairy industry are the biggest drain on the environment and vegans and vegetarians greatly lower carbon emissions, thus having a minuscule carbon footprint. 

As if these benefits were not enough to make any sensible member of the human species convert to veganism or vegetarianism, Australia is now offering discounted health insurance for avoiding meat! Brian Jones, the managing director in Cheltenham of Make a Difference Insurance says, “Life insurance premiums are calculated based on several factors, including family medical history, lifestyle choices such as alcohol and nicotine intake, so surely a vegetarian or vegan diet should be considered, too.” A discount of up to 20% off premium rates is offered for participants with a qualifying dietary intake. 

sources: Ecorazzi and Herald Sun
← Older posts
Newer posts →

Impoverished Vegan

Impoverished Vegan

Create a website or blog at WordPress.com

Privacy & Cookies: This site uses cookies. By continuing to use this website, you agree to their use.
To find out more, including how to control cookies, see here: Cookie Policy
  • Subscribe Subscribed
    • Impoverished Vegan
    • Already have a WordPress.com account? Log in now.
    • Impoverished Vegan
    • Subscribe Subscribed
    • Sign up
    • Log in
    • Report this content
    • View site in Reader
    • Manage subscriptions
    • Collapse this bar